Mini wreaths are a fun craft project that adds a festive touch of greenery to any space. Their petite size makes them perfect for embellishing small areas, gifts, and packages. Follow this beginner’s guide to create your own mini wreaths with simple materials.
Supplies Needed
Making mini wreaths is an easy, inexpensive craft. You just need a few basic supplies:
-
Floral stems – Look for small grapevine, boxwood, eucalyptus, cedar, or other flexible stems. Mini picks also work.
-
Greenery and decor – Small sprigs of cedar pine eucalyptus, magnolia, berries, baby’s breath, etc. Mini pinecones and ornaments add nice accents.
-
Floral wire – Green wire is ideal for wrapping stems together, Opt for 20-24 gauge
-
Ribbon – Choose wired ribbon in a complementing color, 1/2″ or less in width
-
Scissors and wire cutters – For trimming materials and cutting wire. Needle nose pliers can help too.
-
Hot glue gun – This secures everything in place for a long-lasting wreath.
Step-by-Step Instructions
Follow these simple steps to craft darling mini wreaths:
-
Cut stems – Cut several 6-8 inch floral stems. Bend and twist them into a circular ring shape. Overlap the ends.
-
Wrap the base – Use floral wire to securely wrap the base of the wreath form you created to unite the stems.
-
Add greenery – Glue or wire small sprigs of greenery and embellishments around the wreath base. Cluster in small bunches for fullness.
-
Accent with decor – Tuck in pinecones, berries, mini ornaments, etc. for added visual interest and holiday flair.
-
Wrap ribbon – Adhere a length of wired ribbon around the outer edge to cover any exposed wire and finish it off.
-
Fluff and shape – Carefully bend and adjust the materials to create a full, rounded wreath form. Add any final trimmings.
-
Hang and enjoy! – Attach a ribbon hanger to the top for displaying your mini wreath creation.
Design Variations
The great thing about mini wreaths is you can customize them in so many ways:
-
Themed – Coordinate with decor styles like farmhouse, nautical, rustic, or glam using specific elements.
-
Holiday – Craft mini wreaths for Christmas, fall, Valentine’s Day, spring and more.
-
Colorful – Use colorful picks and ribbons rather than traditional greens.
-
Natural – Stick to neutral dried botanicals like eucalyptus, cotton stems, etc.
-
Whimsical – Work in tiny ornaments, bells, fabric flowers or feathers for a playful look.
Ideas for Using Mini Wreaths
Mini wreaths deserve to be shown off! Here are some creative ways to display them:
-
Hang on cabinet knobs, drawer pulls or light fixtures with ribbon.
-
Arrange on a tiered dessert stand or cake plate for bold visual impact.
-
Cluster on mantels, tablescapes, or as centerpieces.
-
Wire onto gifts or ornaments for extra holiday flair.
-
Twist into headbands, garlands, door swags or candle rings.
-
Adhere to painted pegboard to make an artful display wall.
-
Use in product photography as backdrops or prop decor.
-
Embellish flower pots and planters to complement the plants.
Advanced Techniques for Mini Wreaths
Once you master the basics, try stepping up your mini wreath game with these pro tips:
-
Use a glue gun to adhere stems into a mesh- or canvas-covered wreath form base for structure and ease.
-
Preserve fresh greenery by spraying with floral sealant spray as you work so it retains vibrancy.
-
Incorporate delicate dried flowers, laser cut wood shapes, feathers, or seashells for unique texture.
-
Lightly brush silver or gold paint on pinecones, leaves, or botanicals to make them shimmer.
-
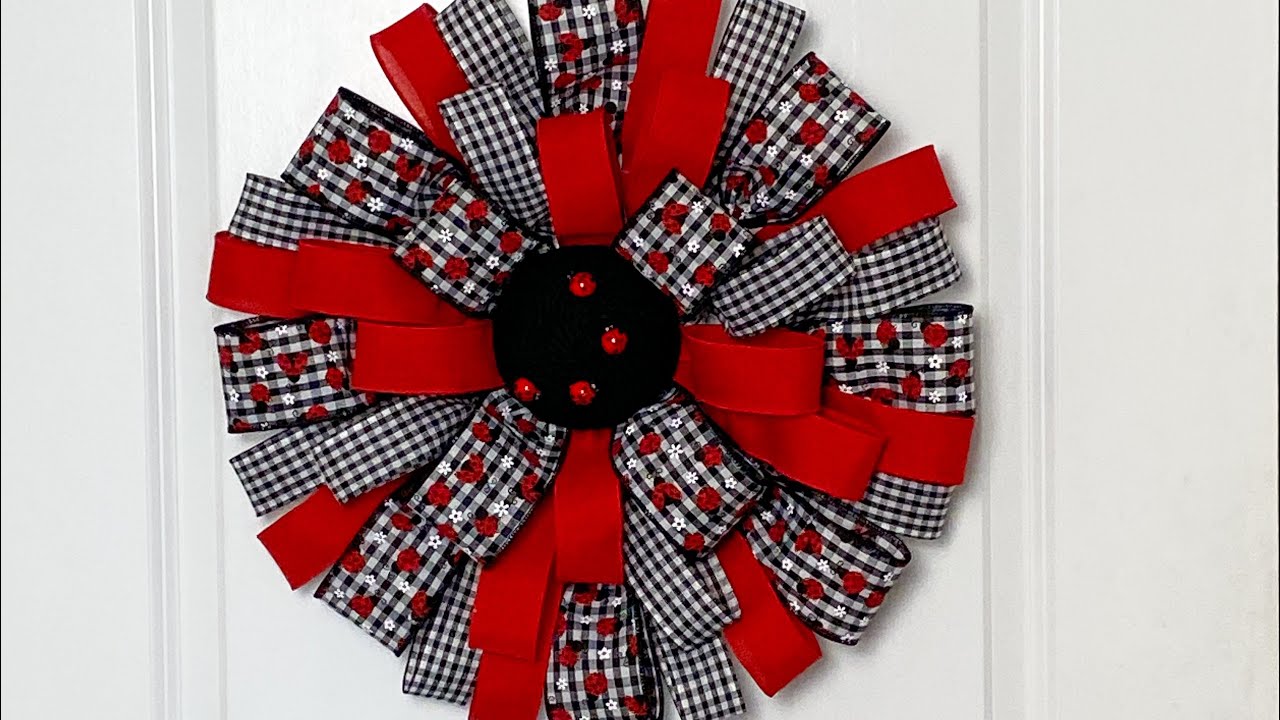
Wrap stems with different ribbon colors and textures – burlap, gingham, velvet – for interest.
-
Embellish with miniature snowflakes, clothespins, bells, battery-operated fairy lights, etc.
-
Use proper florist techniques like binding stems with paper-coated wire for professional touches.
Crafting Mini Wreaths is Fun and Easy
With a little creativity and these simple tips, you can easily craft gorgeous mini wreaths from inexpensive floral materials. The tiny size makes them perfect for any spot needing a special handmade touch. Display them as singular pieces or group multiples together for a showstopping impact.
How to Make A Mini Home Wreath
Step 1: Prep your sign and remove any excess strings. Grab your hot glue gun and 2 of your cable mounts. Add mounts to the outer edges of the sign with a bit of hot glue to help secure.
Step 2: Let’s begin with our 12 cuts of your jute mesh at 20” long. Use your rotary cutter to cut straight on your work mat. Set your pieces in a bundle on the side of your workspace for easy access.
Step 3: These mesh pieces want to naturally curl. Using that to my advantage, I rest one piece up against my stomach. Walk my hands together in the center, creating a ruffle bow tie look. Gluing the mesh pieces together in the middle, add them first along the wreath’s edge, making sure they stay in place with pipe cleaners.
Step 4: Repeat on the inner ring next.
Step 5: Use a ribbon tail board and all of your ribbons. You will wrap 1 ribbon around 6 times for each of your 4 ribbons. They will measure about 13”. Cut on ends. Set your ribbons aside as you work to create your piles.
Step 6: Be sure to dovetail those ribbon ends to give your piece a completed look. To dovetail, make sure ribbons are lined up, fold in half, and cut at a slant.
Step 7: Once all cut, group your ribbons the way you want for your design. I chose my Cabana Stripe 2. 5” Ribbon paired with the 1” Burlap Ribbon. Leaving my 2. 5” Burlap with my 1. 5” White Ribbon. I alternated my pairings as I stacked them in order in a pile for easy grabbing. This will help me as I work through the next steps of creating my wreath.
Step 8: Bring your wreath form back over, and grab your first pair of ribbons from your stack. Fold in half and pinch in the middle. Add to your inner section first by twisting twice with pipe cleaner on your wreath base. Be sure to spread out your ribbon tails as you work.
Step 9: Next repeat that step moving to the outer edge of your wreath frame. Make sure your Cabana Stripe is facing up and can be seen. It is too pretty to have hidden and it will add dimension to your design. Do not worry if your ribbon pieces match up in one section. It is totally fine.
Step 10: Now is the time to add a bow to your wreath if you want to.
Step 11: Cut your bundle of greenery into pieces so that you have enough to tie to each center of the ribbon around the outside of the wreath. Just simply hot glue ends and then insert in place. The pop of green will help break up all that brown and write on your wreath base.
Step 12: Bring your sign back over and weave your 2 pipe cleaners through the cable mounts. Twist one on each to secure it. Find the middle of your sign, then run the pipe cleaner through the mesh and around the frame of your work wreath. This makes it more secure. Don’t pull too tight until you have both sides on. Twist until it is nice and tight, but not too tight that it will flatten the mesh base.
Step 13: Adjust your ribbon tails, making sure your burlap stripe is popping out.
How Do You Hang A Mini Wreath?
It’s easy to hang a small wreath. You can use command hooks or nail the smaller ones to the wall. Don’t worry you won’t need to do anything special to hang a mini wreath. You can hang them just like your larger wreaths. I find command hooks get the job done the easiest!.
How to Create a Mini Wreath | Centerpiece DIY | Dollar Tree DIY | Wreath DIY
FAQ
How do you make a wreath without a form?