We’ll talk about how to grow agapanthus successfully in pots, whether you don’t have much room or just like the way it looks in a pretty pot. [/vc_column_text][vc_single_ =”22489″ add_caption=”yes” alignment=”center” css=”. vc_custom_1698230720771{padding-top: 30px !important;padding-bottom: 30px !important;}”].
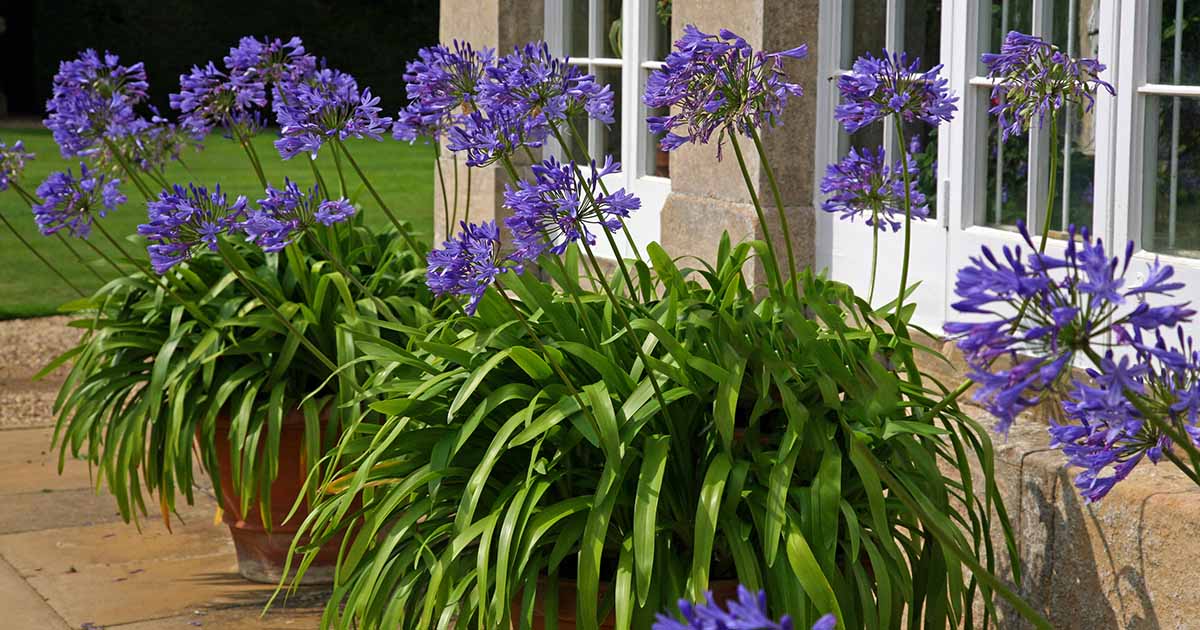
With their vibrant globes of blue, purple, or white flowers on tall stalks, agapanthus make stunning additions to containers. Their lush strappy foliage also provides great texture. Growing these South African natives in pots allows you to move them around your patio deck or balcony to highlight their seasonal blooms.
Follow this complete care guide to successfully grow healthy, flowering agapanthus in pots year after year.
Getting Started with Potted Agapanthus
When starting agapanthus in pots, begin with high-quality nursery plants. You can plant in spring after the danger of frost passes. Choose a spot with full sun for the brightest blooms.
Here are a few tips for planting:
-
Select a pot at least 30-35 cm wide for mature plants or 20 cm for younger plants Clay or plastic pots work well Ensure pots have drainage holes,
-
Use a free-draining potting mix amended with compost or grit. Agapanthus prefer slightly acidic to neutral soil with a pH of 6.0-7.0.
-
Plant agapanthus at the same level they were growing in the nursery pot. The top of the roots should sit 5 cm below the rim.
-
Water thoroughly after planting and let the soil partially dry out between waterings.
-
Apply a balanced liquid fertilizer every 2-4 weeks during spring and summer.
-
Mulch around plants with pebbles or gravel to retain moisture and deter weeds.
Ideal Growing Conditions
Agapanthus thrive in pots outdoors with ample sunlight and warm temperatures. Here are their preferred growing conditions:
-
Sunlight: At least 6 hours of direct sun daily. Morning sun is great, while hot afternoon sun should be avoided.
-
Temperatures: Prefer warm weather with overnight lows above 10°C. Keep above freezing in winter.
-
Soil: Well-draining potting mix, amended with compost or grit.
-
Water: Consistently moist but not soggy. Let soil partially dry between waterings.
-
Fertilizer: Balanced liquid fertilizer every 2-4 weeks during growing season.
-
pH: Ideally slightly acidic to neutral around 6.0-7.0.
Providing these favorable conditions will ensure your agapanthus has what it needs to grow and bloom abundantly.
Watering Recommendations
Establishing a proper watering routine is key for growing healthy agapanthus in pots. Here are some tips:
-
Water thoroughly after planting, letting excess drain from the pot’s bottom.
-
Allow the top few inches of soil to dry out between waterings. Agapanthus prefer moist but not wet soil.
-
Increase watering frequency during hot, dry weather. The soil shouldn’t completely dry out.
-
Reduce watering in cooler weather and winter, watering only when the soil is partly dry.
-
Always water at soil level, avoiding wetting the foliage, to deter disease.
-
If potting mix remains soggy, try mixing in more sand or perlite to improve drainage.
-
Add mulch like pebbles to help retain moisture at the soil surface between waterings.
Adjust your watering routine based on the weather, your specific potting mix, and how quickly the soil dries out. Proper irrigation is vital for healthy roots and lush growth.
Fertilizing for Abundant Blooms
To fuel plentiful blooms, agapanthus benefit from regular feeding during the growing season. Here are fertilizer tips:
-
Use a balanced liquid fertilizer diluted to half-strength. Look for an NPK ratio like 10-10-10 or 20-20-20.
-
Fertilize every 2-4 weeks from early spring through summer. Stop feeding by mid-autumn.
-
Always follow label directions and never over-apply. Excess fertilizer can burn roots.
-
Alternatively, use a balanced slow-release fertilizer applied at planting time and lasting 3-4 months.
-
Increase phosphate levels to promote flowering. Try a formula like 10-30-20.
-
Monitor plants and increase fertilizer strength if growth is slow. Decrease if you notice leaf burn.
Proper fertilization ensures your agapanthus has nutrients for seasonal growth and abundant blooms. Ease off fertilizer as weather cools in fall.
Seasonal Care Tips
In addition to water and fertilizer, your potted agapanthus need some seasonal care. Follow these tips:
Spring
-
Repot rootbound plants in early spring. Select a pot one size larger.
-
Resume regular watering and fertilizing as warm weather arrives.
-
Remove winter mulch from outdoor pots. Prune away dead foliage.
-
Transition indoor plants outside once overnight temps stay above 10°C.
Summer
-
Increase water and fertilizer to support active growth and blooming.
-
Stake flower stalks if needed to keep blooms upright.
-
Prune spent flower stalks back to the base after blooming finishes.
-
Mist plants regularly to boost humidity and deter pests.
Fall & Winter
-
Reduce watering frequency as temperatures cool. Cease fertilizing.
-
Protect outdoor pots from frost and freezing. Bring tender varieties indoors.
-
Cut back foliage to 6 inches for winter dormancy. Stop watering dormant plants.
-
Store dormant agapanthus pots in a cool, dark place like a basement or garage.
Adjusting your care by season will keep your potted agapanthus looking beautiful year-round.
Repotting Guide
Agapanthus plants will eventually outgrow their containers and become rootbound. Repotting into larger pots allows room for roots to spread.
Follow this guide for smooth repotting:
When to Repot
Repot established agapanthus every 2-3 years in early spring before active growth resumes. Check for circling, crowded roots.
Pot Size
Choose a pot one size larger – about 2-5 cm wider – than the current container. The new pot shouldn’t be oversized.
Potting Mix
Refill the pot with fresh well-draining mix. Add extra perlite or sand to improve drainage.
Loosening Roots
Before repotting, gently loosen any circled, matted roots with your hands or a tool to encourage outward growth.
Planting Level
Replant agapanthus at the same level it was originally growing, with the top of the roots about 5 cm below the rim.
Care After Repotting
Water well after repotting and provide extra care the first few weeks. Hold off fertilizing until established.
With room to grow, your repotted agapanthus will soon take off with vigorous growth and blooms.
Troubleshooting Common Problems
While generally robust, potted agapanthus can encounter a few problems. Here’s how to troubleshoot common issues:
-
Lack of blooms: Ensure plant gets 6+ hours of sun daily. Fertilize regularly and prune spent blooms to encourage reblooming.
-
Sparse foliage: Increase sunlight exposure and fertilize more often. Repot if rootbound.
-
Leaf yellowing: Usually indicates overwatering. Allow soil to dry out between waterings.
-
Wilting: Can signify underwatering. Check soil and water thoroughly if dry. Also can be root rot – minimize wet soil.
-
Pests: Aphids, mealybugs, scales – treat with insecticidal soap. Ensure good air circulation.
-
Diseases: Root rot from wet soil, botrytis from humidity – improve drainage and air flow.
Catching problems early allows you to take corrective care action before your agapanthus sustains major damage.
Bringing Agapanthus Indoors
Many agapanthus varieties aren’t hardy below freezing. You’ll need to bring potted plants indoors for winter if you live in an area with cold winters. Here are some overwintering tips:
-
Select a bright spot indoors near a sunny window. Supplement with a grow light if needed.
-
Cut back watering but don’t let plants dry out completely. Mist leaves occasionally.
-
Stop fertilizing. Resume at half strength after spring transition outside.
-
Prune foliage down to 6 inches to limit transpiration and prevent leaf yellowing.
-
Maintain indoor temps around 15°C. Keep humid by grouping pots together.
-
Transition plants back outside in spring once overnight lows stay above 10°C.
With the right care, your potted agapanthus will sail through winter and be primed for vigorous regrowth and rebloom next year.
Enjoying Agapanthus as Spectacular Container Plants
With their eye-catching flowers and arching straplike leaves, agapanthus offer intrigue and color to patio pots. Follow this guide for growing happy, flowering agapanthus in containers. A few essentials like ample sun, proper watering, and timely fertilizing will keep your plants blooming beautifully year after year.
Maintaining Potted Agapanthus[/vc_column_text][vc_column_text]Now that we’ve potted up, our work has only just begun! Even though agapanthus is a low-maintenance plant, we can still give it ongoing care to help it stay healthy and beautiful.
Water your potted agapanthus regularly, especially during dry periods. To get more flowers to bloom, remove the spent flowers from the base and regularly remove the yellow leaves from the base to keep the plant looking its best.
Keep the soil consistently moist but avoid waterlogging as this can lead to root rot.
Managing Agapanthus Size Without Repotting[/vc_column_text][vc_column_text]If repotting isn’t an option for your agapanthus, there are still ways to keep it contained to a smaller size. Here’s how:
Pruning and dividing your agapanthus can help to manage its size. Cutting back the plant’s leaves may make it look smaller, but it doesn’t help the roots much. You may be better off removing certain rhizomes completely, which is known as dividing the plant.
To do this, the root ball must be carefully cut into several smaller pieces, each with its own set of roots and shoots. Then you can move one or more of these divisions back into the old pot. You can move the extra rhizomes somewhere else, give them to your neighbors, or just throw them in the compost bin.
If plants possess plant breeder’s rights (PBR), they mustn’t be propagated for selling. They’re only permitted to be propagated for personal use. Nurseries employ specialised methods, often using tissue culture, to cultivate them. Depending on your schedule, buying them might be simpler and more cost-efficient. You might want to do it yourself, though, if you have the time and don’t plan to sell them.
Fill in the rest of the root zone that was in the old pot with new potting mix. [/vc_column_text][vc_single_ =”22497″ add_caption=”yes” alignment=”center” css=”. vc_custom_1698729386526{padding-top: 30px !important;padding-bottom: 30px !important;}” img_caption=”You can clearly see two separate plants here. This plant’s roots are very easy to separate, so you could plant one in a different pot. This cultivar is a compact variety with vibrant blue blooms called Bingo Blue™ Agapanthus hybrid ‘ANDbin’ PBR”][vc_column_text el_id=”troubleshooting”].
Caring for agapanthus – Golden Rules
Can Agapanthus grow in pots?
This may be hard to achieve in your garden, which is why growing agapanthus in pots is such a good idea. Terra cotta pots look especially good with the blue flowers. Choose either a small container for one plant or a larger one for multiple plants, and cover the drainage hole with a piece of broken pottery.
How do you care for Agapanthus?
Water regularly. Agapanthus comes in both half hardy and full hardy varieties, but even the full hardy ones will likely need some help to get through the winter. The simplest thing to do is to bring your whole container indoors in the autumn – cut back spent flower stalks and faded foliage and keep it in a light, dry area.
How much sunlight does Agapanthus need?
The pot should have at least a 12″ diameter. Agapanthus requires full, direct sunlight for at least 8 hours a day for the biggest and best blooms. You can sneak away with just 6 hours, but give it 8 for those long green stems and gorgeous purple petals. Note the opposite is also true- too much sunlight and you’ll end up burning your foliage.
Do Agapanthus need a lot of water?
So if you’re growing both in the soil and in containers, your potted agapanthus will need to be watered a lot more often than the ones planted in the soil. The material of the pot you chose also makes a difference. Terra cotta pots are porous, meaning they have thousands of tiny holes that absorb and funnel out water.