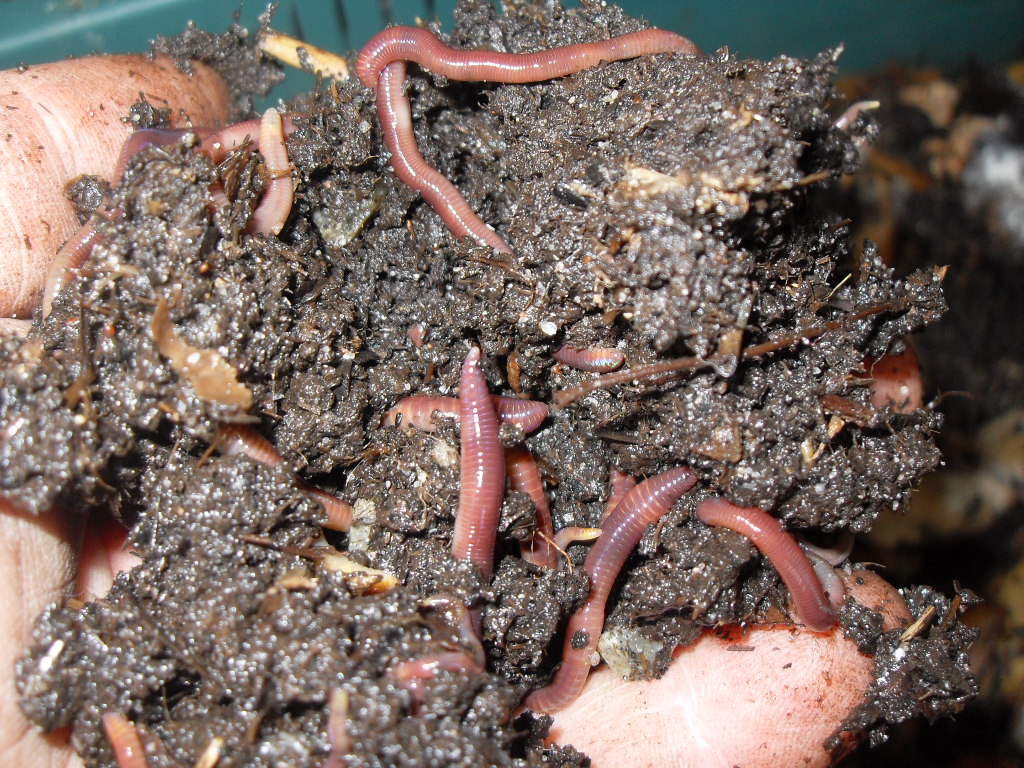
Coffee grounds can be an excellent addition to your worm bin, providing nutrients and grit that is beneficial for your worms. However, too much coffee can cause some issues that need to be managed. Used in moderation and balanced with carbon-rich materials, coffee grounds can improve your vermicomposting results.
Why Worms Like Coffee Grounds
Worms are attracted to coffee grounds for several reasons:
-
Nutrition Coffee grounds contain proteins oils sugars and other nutrients that worms can digest. The grounds still contain nutritional value even after the beans are roasted and brewed.
-
Grit: The gritty texture of coffee grounds helps worm’s gizzards grind up food particles since worms don’t have teeth. This aids their digestion.
-
Moisture retention Coffee grounds hold moisture well, helping keep worm bins from drying out. Worms need moisture to breathe through their skin.
-
Natural pesticide: Coffee contains chemicals like caffeine that can deter pests like slugs, snails and insects from invading the bin.
-
Microbes: Pre-composted grounds contain beneficial microbes that worms feed on. Fresh grounds are sterile after brewing and need time for microbes to recolonize.
Potential Problems and Solutions
While worms enjoy coffee grounds, too much can cause some issues:
Acidity
Coffee grounds are acidic with a pH around 6. This can be harmful to worms in large quantities. Solution: Add crushed eggshells or lime to balance the pH. Test the bin contents to keep the pH between 6-7.
Drying Out
Dry coffee grounds can form hardened clumps that cut off air flow. Solution: Keep grounds moist when adding to bin. Mix with juicy food waste like fruit. Cover with bedding.
Overheating
The nitrogen in coffee grounds can cause excessive heating as they break down. This raises the temperature too high for worms. Solution: Don’t add more than 25-50% coffee grounds. Mix in carbon-rich bedding like shredded paper.
Poor Drainage
The fine texture of grounds can clump together and restrict drainage. Solution: Fluff up and stir the bin regularly. Mix in structured bedding like egg cartons. Add a drainage layer of rocks or sticks on the bottom.
Mold Growth
The acidity and moisture encourages mold growth. Solution: Allow grounds to pre-compost for 1-2 weeks before adding to bin to decrease acidity. Mix into bedding and don’t let clump.
Best Practices for Using Coffee Grounds
Follow these tips to successfully add coffee grounds to your worm bin:
-
Pre-compost the grounds for 1-2 weeks before adding to decrease acidity and increase microbes.
-
Mix grounds with bedding like shredded paper or cardboard to introduce more carbon.
-
Use pocket feeding to give worms the option to eat the grounds. Don’t mix directly into the whole bin.
-
Limit coffee grounds to 25-50% of the total food waste added.
-
Keep grounds moist to prevent drying out but make sure excess liquid can drain away.
-
Bury grounds under bedding to prevent pests and smell.
-
Fluff and stir bin regularly to aerate and prevent clumping.
-
Monitor temperature and pH. Adjust as needed if outside optimal range.
-
Add grit like eggshells if coffee grounds are the primary food source.
Used in moderation, coffee grounds can provide an excellent nutritional boost to your worm bin. Pay attention to moisture, acidity, and aeration when adding the grounds to keep your bin in balance. With some extra care, you can safely reuse this common kitchen waste to feed your worms.
Coffee & Compost: The Truth About Coffee Grounds in the Worm Bin
FAQ
Can I put coffee grounds in worm Farm?
Does coffee affect worms?
Do grub worms like coffee grounds?
Do mealworms like coffee grounds?
- A Complete Guide to Caring for Yuki Cherry Blossom Shrub - January 23, 2025
- Identifying Red Hot Poker Seeds: What to Look For When Harvesting Torch Lily Pods - January 23, 2025
- A Complete Guide to Harvesting Evening Primrose Seeds - January 23, 2025

