A self-watering capillary tray is a wicking tray that has its own water source. It can be used to water seedlings in pots. All you have to do is occasionally top up the main water reservoir, and that’s all!.
They’re great for watering seedlings, freshly rooted cuttings, and anything other plants that require constant moisture.
Starting seeds indoors provides a huge head start on the growing season. But keeping those fragile seedlings evenly moist can be a challenge. Self-watering seed trays provide consistent moisture levels, preventing costly errors that lead to dried out or diseased seedlings. With a few simple materials, you can easily create DIY self-watering systems for your seed trays.
Why Use Self-Watering Trays?
Self-watering trays offer major benefits for seed starting
-
Maintain constant moisture in the root zone as seeds germinate and seedlings grow No more drying out or overwatering
-
Provide a reservoir of water that wicks up to roots when needed. Less daily watering required.
-
Promote stronger, healthier roots and foliage growth with steady access to water.
-
Allow you to leave seedlings unattended for a few days without risk of drought stress.
-
Prevent problems with fungus and damping off diseases by avoiding excess moisture on leaves.
-
Let you focus your time on other gardening tasks instead of daily watering.
6 DIY Self-Watering Tray Designs
With minimal materials and tools, you can create simple yet effective self-watering systems for your seed trays. Here are 6 designs to try:
1. Plastic Bottle Drip Irrigation
Recycle plastic bottles by poking a few small holes in the bottom and nesting them inside seed trays. Fill bottles with water and the dripping action keeps soil moist.
2. Absorbent Mat Wicking
Place trays atop absorbent mats made of felt, wool, or cotton towels folded into layers. Mats wick up water from a reservoir below.
3. Sandwich Trays
Stack two trays together with a water reservoir in the bottom tray. Holes in the top tray allow wicking action into the upper root zone.
4. Terracotta Reservoir
A layer of terracotta balls holds moisture in the base of the tray. Position seedling cells above the reservoir and water flows up by capillary action.
5. Sub-Irrigation Tray
Fit a shallow tray underneath a deeper seed tray. Water in the shallow tray is wicked up through drainage holes to the upper root zone.
6. DIY Commercial Mat Replica
Make your own fiber mat by wrapping a thin microfiber towel around the bottom of a tray. Works just like commercial mats.
Choosing Trays and Materials
Almost any shallow tray or container will work for a self-watering system. Look for these features:
-
Trays 2-3 inches deep work best to allow adequate water capacity. Avoid taller trays where seeds may sit in standing water.
-
Trays and materials must be BPA-free plastics or food-grade materials. Avoid chemicals leaching into soil.
-
Make sure trays and materials are clean. Disinfect used trays with a 10% bleach solution before reusing.
-
Match water reservoir size to your tray’s seedling capacity. Bigger trays need a larger reservoir.
-
Select mat materials that absorb and wick water well, like felt, cotton, hemp, or recycled T-shirt yarn.
How to Use Your Self-Watering Trays
Follow these tips for success with your DIY self-watering seed trays:
-
Fill the water reservoir to just below any drainage holes in seed trays. Refill when the reservoir empties.
-
Lift seed trays periodically to check that the bottom is moist but not soggy. Adjust water levels as needed.
-
Use seed starting mix in the upper tray to avoid soils that stay too wet. Mix may contain peat, vermiculite, coir or compost.
-
Allow condensation to evaporate after watering before replacing tray lids.
-
Transplant seedlings to larger containers once 2-3 true leaves emerge.
Get a Head Start on Your Garden
With a self-watering system for starting seeds, you’ll gain healthier, more vigorous seedlings ready for transplanting. A dependable water supply allows you to gain weeks of growth indoors before your last frost. Select a design that fits your space and needs. Your garden will get off to a thriving start when you reduce the risks of under and overwatering with DIY self-watering trays.
How Does a Capillary Watering Tray Work?
This capillary watering tray works by the principle of wicking. Because the terracotta pot is porous, water seeps through it. The water then moves through the capillary mat, which absorbs it. Plant pots sitting on the capillary mat will wick water up from it to the plant roots.
- The water slowly leaks out of the terracotta pot and onto the capillary matting.
- The synthetic material used for capillary matting soaks up water like a sponge.
- The clay in the plant’s pot soaks up water from the wet capillary matting.
Here’s a simple explanation how capillary action works in a capillary watering tray.
- One of the things about water is that it sticks to itself. This is called cohesion. We’ve all seen this happen: two drops of water touch and join together to form a single drop.
- A property of water that makes things wet is called adhesion. Water also sticks to other things.
Small drops of water can join together to form a larger drop. In the capillary watering tray, the water in the potting mix connects to the water in the capillary mat, which in turn connects to the water in the terracotta pot. The three objects then work like one big wick, drawing an even amount of water across themselves as long as there is water in the terracotta pot to draw from.
So, when the plant pulls water out of the potting mix or dries out from evaporation, water will wick back into it to replace it. This way, the plant gets the water it needs and stays happy, which is how we like them!
Step 1. Gather the materials
The capillary watering tray is built around a plastic tray with drainage holes.
Pictured below is a plastic seedling punnet tray that is used commercially in nurseries. Any plastic tray with drainage holes will work. Plastic seedling punnet tray.
Next, we’ll need a sheet of capillary matting. It’s a grey synthetic fabric about 5mm thick that doesn’t rot when exposed to constant moisture.
It can be purchased from stores that sell greenhouse or hydroponic supplies.
Note: Instead of the capillary mat, you might be able to use any absorbent material—even newspaper—which will break down over time but is easy to replace. I haven’t tried it yet, but if you want to, please do so and let me know what you think! Capillary matting is a synthetic material that doesn’t rot and soaks up water very well.
The final component required is a small terracotta pot. The one used here is a 5″ (13cm) wide pot. Some silicone sealant will also be required. A small terracotta pot—the size doesn’t matter much here—it just needs to be big enough to hold water!
Step 2. Seal the drain hole in the terracotta pot with silicone sealant.
Silicone sealant (or something else) is used to close the hole in the pot so it can hold water and not leak. Allow the sealant to harden. Terracotta pot with drainage hole sealed with silicone sealer.
Step 3. Cut capillary mat to size
That is, the capillary mat needs to be cut so that it fits nicely in the tray’s bottom. Capillary mat cut to size to fit in plastic seedling tray.
Step 4. Sit terracotta pot water reservoir in the centre of the capillary tray
When the silicone sealant has dried properly, the capillary watering tray can be set up. Place the terracotta pot in the centre of the tray. This position ensures an even level of moisture right through the tray.
Step 5. Relocate pot and tray to a protected location
It’s hard to move the pot and tray once they’re full of plants, so put them where they’ll stay.
It’s best to put the plants somewhere protected with some shade or dappled sunlight. Weak plants don’t like being in direct sunlight or strong winds, and the water will evaporate faster in those conditions. Pot place in centre of tray for even watering of pots.
Step 6. Place pots of plants in tray and fill terracotta pot with water
Spread out the plant pots around the terracotta pot water reservoir so that each one gets enough water.
Next, fill the terracotta pot with water. Fill the terracotta pot water reservoir with water. In this picture, Japanese maple (Acer palmatum) seedlings in tube pots are placed on the capillary watering tray.
Step 9. Water the plant pots to start them wicking
Water the plants in pots until extra water starts to drip from the bottom of the pots onto the capillary mat. This will start the wicking process into the potting mix. Watering pots sitting on the capillary watering tray.
Step 10. Top up water level in terracotta pot as needed
Maintain the water level in the terracotta pot to ensure that the plants don’t run out of water.
If the terracotta pot accidentally runs dry, fill it back up with water and then water each plant pot again to get the wicking to work again.
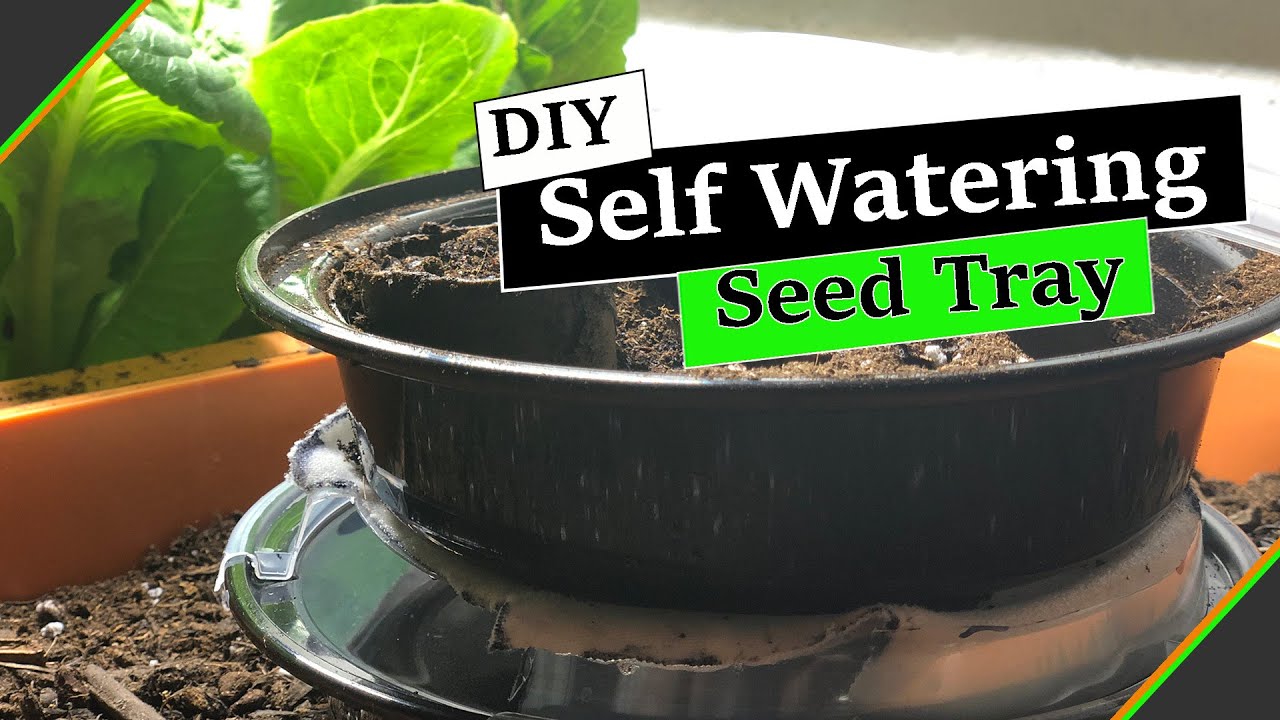
DIY Self-Watering Seed Tray | Using Bootstrap Farmer Microgreens Tray | water seedlings while away!
FAQ
How do you make a self-watering system for seedlings?
Do self-watering seed trays work?
What can I use instead of seedling trays?
How to make your own seed starter tray?
How do you set up a terracotta watering treay?
Cut the capillary matting to size so that it fits neatly into the bottom of the plastic tray. 6. When the silicone sealant has dried properly, you’re ready to set the watering treay up. Place the terracotta pot in the centre of the tray. This ensures an even level of moisture all around the tray.
What is a water tray & how does it work?
It’s basically a tray with its own water supply, that you sit your pots in, and it automatically waters them for you. All you have to do is occassionally top up the main water reservoir, that’s all! They’re great for seedlings, freshly rooted cuttings, and anything else that needs constant moisture. How Does it Work?
What is a self-watering capillary tray?
A self-watering capillary tray is a wicking tray with its own water supply, which can keep seedlings in pots watered. All you have to do is occasionally top up the main water reservoir, and that’s all! They’re great for watering seedlings, freshly rooted cuttings, and anything other plants that require constant moisture.
How do I set up a self-watering system?
Follow our simple guide to setting up a self-watering system, below. Total time: 30 minutes Set up a flat tray over a container of water and cover with capillary matting. Add a piece of matting, which will function as a wick, drawing up water from the reservoir below. Fill the water reservoir right up to its brim and thoroughly wet the matting.
- How to Grow Gorgeous Climbing Roses on a Wooden Fence - March 24, 2026
- Avoid These Plants When Companion Planting with Oregano - March 24, 2026
- 15 Great Trees to Plant Near Your House - March 24, 2026