Today I want to show you how to grow blackberries. You can grow blackberries from seeds or cuttings. I’ll show you how to take care of them and when and how to pick them. Even though the topic is growing, pruning, and picking blackberries, I’d also like to talk about how great they are for your health.
These little berries are powerhouses filled with antioxidants and beneficial phytonutrients that will blow your mind!
You can use these step-by-step instructions whether you have ever gardened before or this is your first time. I’ll give you growing tips that I’ve learned over the years, as well as ways to fix problems that blackberries often have.
If you want to see results quickly in your garden, pick a type that does well in your area and is ready to plant as soon as spring comes around. Your local nurseryman will guide you on what type of blackberry to get. There are a lot of great new kinds of blackberry plants out there. To help you choose which ones to plant in your garden this spring, we’ve made this simple chart. Trailing, erect, arching, thornless, or prickly, there is a blackberry bush with your name on it!.
Want to grow blackberries indoors? Or in tubs? We have you covered. Find out how to grow blackberries in this easy-to-follow guide. It will make you want to grow more berries and fruits. The more food you can grow yourself the better.
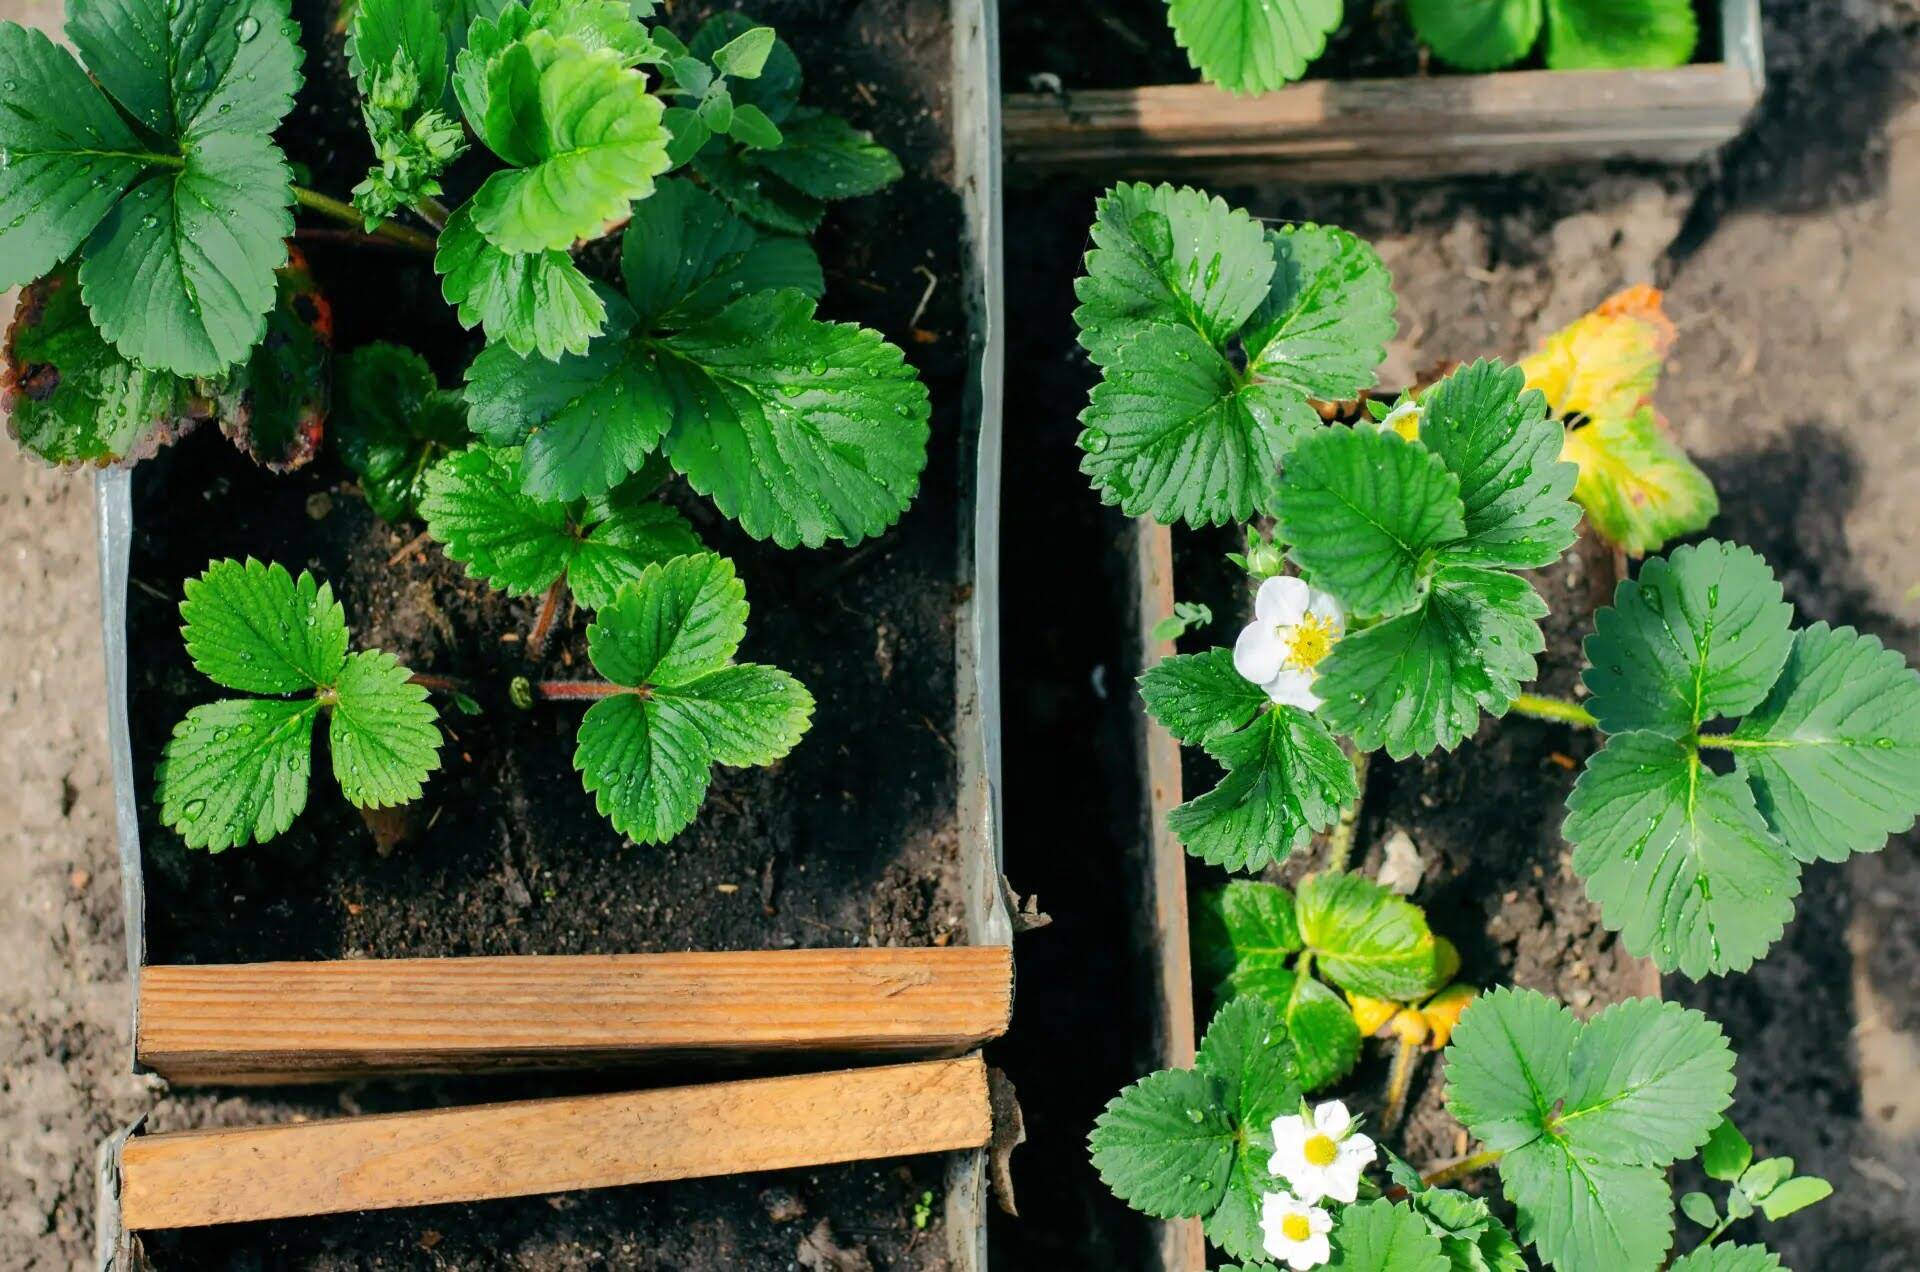
Let’s talk about where blackberries come from, what they are, and why we love them before we get to “how to grow them.” These deep purple berries are not even berries in the botanical sense. The term “aggregate fruit” is the correct term because they are made up of multiple druplets.
Their rampant growth habit has caused them to be “outlawed” in many places. They are considered naturalized in many countries but are classified as invasive weeds. In the US, thornless blackberries have been developed. The advantages of thornless cultivars will be listed further on.
Because blackberries are so good for you, a lot of work has gone into creating hybrids and cultivars. Now we have varieties that have the following traits:
For any home gardener, the sweet, complex flavor of a fresh-picked blackberry is a taste of summer at its finest. While blackberries can be purchased at grocery stores, nothing compares to plucking ripe, juicy berries straight from your backyard vines. If you dream of harvesting bushels of homegrown blackberries, growing them from seed is a rewarding (if challenging) endeavor. In this complete guide, we will walk through each step – from collecting seeds to transplanting seedlings to enjoying your first fruitful harvest.
An Overview of Growing Blackberries from Seed
Blackberries grow on perennial, brambling vines that produce fruit on two-year-old canes. They can be propagated from tip cuttings, root cuttings, or by seed. Growing from seed allows you to expand your variety selection, but requires more time and patience compared to other propagation methods
Here’s a general timeline if going from seed to fruiting plant:
- Collecting seeds: Mid-summer when berries are ripe
- Stratifying seeds: 4-6 months
- Germinating seeds: 2-4 weeks after stratification
- Growing seedlings: 8-12 weeks indoors after germination
- Transplanting outdoors: After the last spring frost once seedlings have 4-6 true leaves
- First harvest: The second year after transplanting seedlings outdoors
So starting blackberries from seed can take over a year before you harvest your first homegrown berries But the wait is well worth it when you bite into that first juicy, seed-grown blackberry! Let’s look at each step in more detail
Collecting and Storing Blackberry Seeds
The first step is gathering viable seeds from ripe, healthy blackberries at the height of summer. Look for plump berries growing on vigorous canes Avoid collecting seeds from under-ripe or diseased fruits
Extract the tiny seeds from the berries by mashing the ripe fruit and rinsing away the pulp under running water. Allow the cleaned seeds to fully air dry. Store them in an airtight container in the refrigerator until you are ready to stratify them.
Properly stored, blackberry seeds can maintain viability for 3-4 years before germination rates begin to decline.
Stratifying Seeds to Break Dormancy
Blackberry seeds have a physiological dormancy that must be overcome through a process called stratification. This mimics winter conditions, cold-treating the seeds to trigger germination.
To stratify blackberry seeds:
- Place seeds between damp paper towels or moist peat moss.
- Put the seeds in a sealed plastic bag.
- Store the bagged seeds in the refrigerator for 3-4 months.
- Check moisture levels periodically and remoisten if needed.
Exposing the seeds to these cold, moist conditions for an extended time helps break dormancy so the seeds germinate readily when sown.
Germinating Seeds Indoors
Once stratified, blackberry seeds are ready for sowing. Starting seeds indoors provides control over conditions for optimal germination.
Follow these steps for sowing stratified seeds:
- Fill seed trays or pots with seed starting mix. Moisten the soil.
- Plant 2-3 seeds per cell, 1⁄4 inch deep. Gently water again.
- Cover trays with plastic wrap to retain moisture.
- Place trays on heat mats set to 70-75°F if possible.
- Once sprouted, remove plastic and provide 14-16 hours of light daily.
- Thin seedlings to one per cell once the first true leaves appear.
With proper care, germination should occur within 2-4 weeks. Don’t allow soil to dry out which can inhibit the process. New shoots emerging signal successful germination.
Caring for Blackberry Seedlings
Newly germinated blackberry seedlings require attentive care to grow strong and healthy:
- Water seedlings regularly to keep soil consistently moist but not saturated.
- Transition seedlings to full sunlight exposure gradually over 7-10 days.
- Transplant into larger containers once roots fill cells, burying stem up to first leaves.
- Fertilize monthly with balanced 10-10-10 fertilizer diluted to half-strength.
- Monitor for pests like spider mites and aphids. Remove any infected leaves immediately.
- Grow seedlings indoors for 8-12 weeks before hardening off.
With attentive watering, lighting, spacing, and pest management, your seedlings will thrive and size up quickly.
Hardening Off and Transplanting Outdoors
Blackberry seedlings need gradual hardening off before being transplanted into outdoor garden beds. This toughens and prepares them for direct sun, wind, and weather fluctuations.
To harden off seedlings:
- Set them outdoors in a shady spot for a few hours daily, increasing time over 7-10 days.
- Bring plants back indoors at night until risk of frost has passed.
- Allow seedlings to remain outdoors overnight after 10-14 days of hardening off.
After the last spring frost date, transplant hardened off seedlings into garden beds enriched with compost. Space plants 2-3 feet apart in rows spaced 8 feet apart. Dig holes large enough to accommodate the root ball and bury stems at the same depth as in pots. Water deeply after transplanting.
Providing Support for Optimal Growth
As vines establish and grow, blackberries require trellising or staking for support and improved yields. Construct trellises before planting using sturdy end posts and 2-3 horizontal wires. After transplanting, gently train vines toward supports. Continue training canes as they lengthen and produce offshoots.
Proper pruning and maintenance is also key. Remove any diseased or dead stems in late winter. During the growing season, prune off suckers emerging from the root zone to prevent overcrowding.
Enjoying Your First Harvest
If all goes smoothly, you can anticipate your first small blackberry harvest in year two after transplanting seedlings. Pick berries when they are plump, deep black, and easily release from the stem. The flavor and yields will continue improving in subsequent years.
Growing blackberries from seed requires attentive care and patience. But the reward of plucking homegrown, seed-sown berries fresh from your backyard is well worth the extra time and effort. Follow this guide, and you’ll be harvesting bushels of juicy blackberries before you know it!
How to Grow Blackberries from Seed
Here is a step by step guide for growing blackberries from seed:
- Start by buying fresh berries (or seed in a packet). If you buy it fresh, you’ll have to take out the seed.
- To get the seed out, put the fresh seed in a food processor and blend it until it turns into a pulp.
- Put it through a sieve that has holes big enough to let the pulp pass through.
- Using a spatula gently press remaining pulp through sieve.
- Wash seeds (still in sieve) until the flesh is removed.
- Spread seeds onto a coffee filter and allow to dry.
- Place seeds onto damp peat moss.
- In a sandwich bag, put the peat and seeds. Store in the fridge for 3 to 5 months. The seeds will begin to crack open in the cold.
- In spring remove bag and plant seeds.
- How to plant seeds: The pot (ideally a nursery flat) needs holes in the bottom to let water drain. Add soil to until full to the top. As soon as the soil has dried out and is still damp, put seeds on top of it.
- Put down no more than 1/16 inch of fine seedling mix (no bark bits) to protect the plant.
- Keep moist. Place in a warm, protected area that gets partial sun. You will need a tub and our instructions on how to move plants from a seedling tray to a pot will help you do this.
- If you want to train the canes and keep them straight, you can add a trellis to the pot when the blackberry plant gets bigger. The plants can also be moved into the ground on a site that has already been prepared. See section titled “How much space do blackberries need?”.
How to Grow Blackberries Indoors
- If you want to grow blackberries indoors, pick plants that grow straight up.
- The pot should be 12-14 inches (30-35 cm).
- Place pebbles in the bottom.
- A mix of organic compost and slightly acidic potting mix should be used to fill the pot. Leave about one to two inches of space at the top of the pot.
- Transplant as you would for a container.
- Before you plant, water the soil and let it soak in so that the whole mix is wet.
- Make sure it gets 6 hours of daylight. So place the pot in a suitable place. Or use a growing lamp. If you plant blackberries indoors, you can keep them safe from cold weather, which can hurt new growth and fruiting buds.
If you’re growing Blackberries indoors, Prime-Jim and Prime-Jan are good varieties to choose. Both these types are primocane-fruiting varieties.
Blackberry Plant Growing From Seed (124 Days Time Lapse)
FAQ
Is it hard to grow blackberries from seed?
How fast do blackberries grow?
Can you grow a blackberry bush from a blackberry?
Do blackberry bushes produce fruit the first year?
- How to Grow Gorgeous Climbing Roses on a Wooden Fence - March 24, 2026
- Avoid These Plants When Companion Planting with Oregano - March 24, 2026
- 15 Great Trees to Plant Near Your House - March 24, 2026