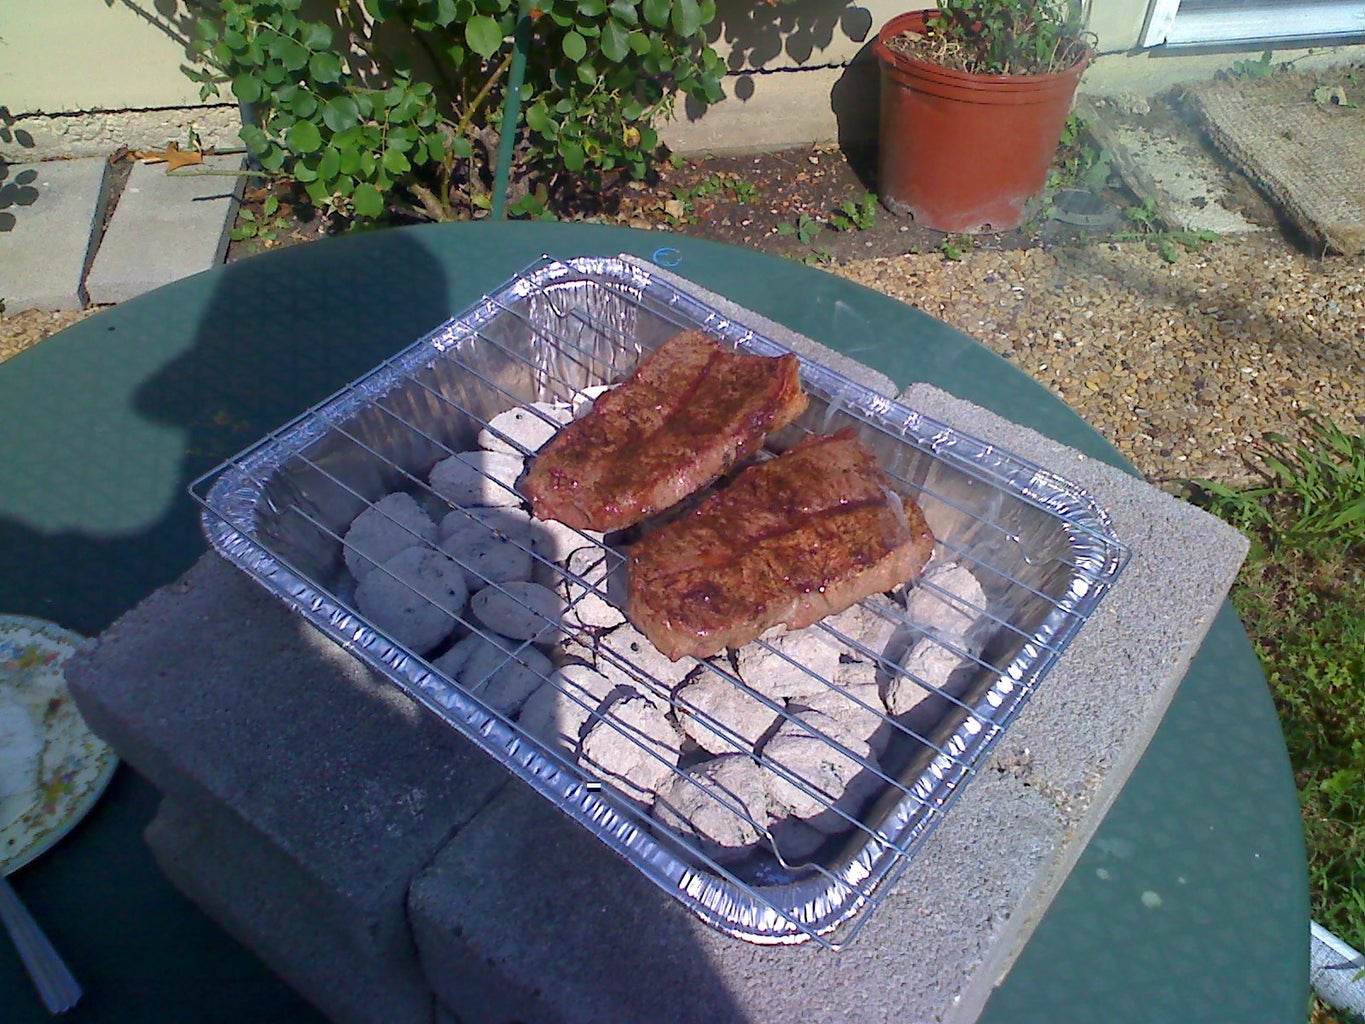
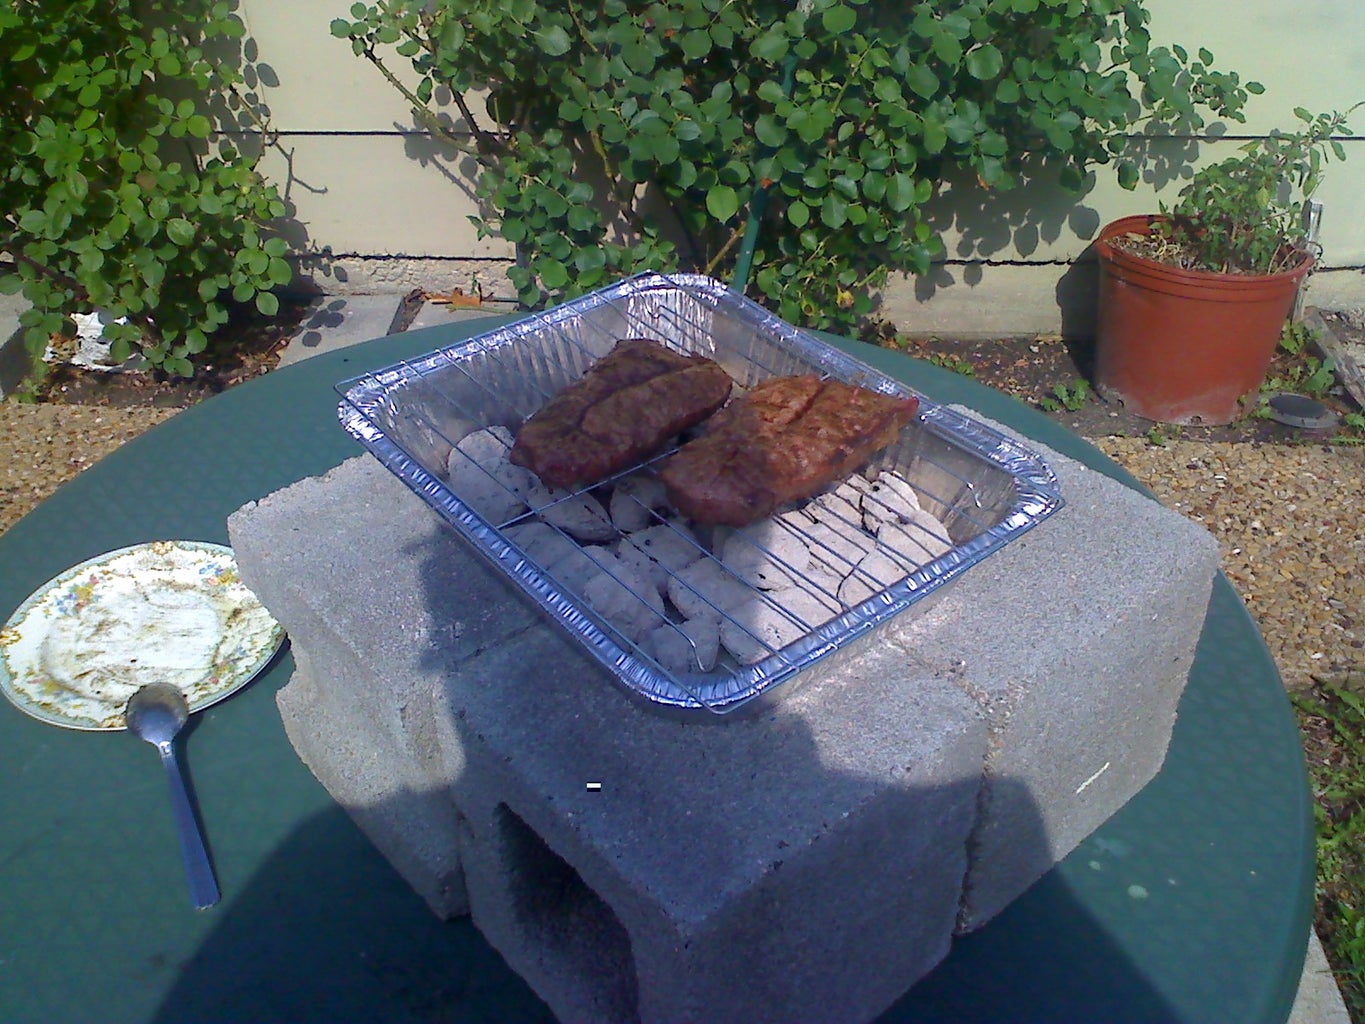
Barbecuing on a warm summer day is one of life’s great pleasures And cooking on a grill you built yourself makes the experience even more satisfying Constructing your own charcoal grill is easier than you might think. With some basic materials and DIY skills, you can create a functional and long-lasting backyard grill.
This step-by-step guide will walk you through the process of building your own charcoal barbecue from scratch We’ll also provide tips for customizing it to suit your grilling needs. Follow along and you’ll be hosting backyard BBQs on your homemade grill in no time!
Planning Your Charcoal Grill Design
Before building, consider what size and features your charcoal grill needs based on factors like:
-
How many people do you usually cook for? Size the grill’s cooking surface accordingly.
-
Is portability a priority, or will it be stationary? A wheeled cart design can allow moving the grill.
-
What grill features do you require? Side tables, storage, prep surfaces, etc.
-
How often will you use the grill? Frequent use merits investing in a more heavy-duty build.
-
What aesthetic are you going for? Rustic brick? Sleek metal? Personalize it.
Make a list of your charcoal grill must-haves to guide your DIY build.
Gather Your Materials and Tools
Building a charcoal grill requires simple materials available at your local hardware store. Here’s what you’ll need:
Frame Materials:
- Bricks or cinder blocks
- Metal brackets
- Bolts and washers
Grill Materials:
- Steel wire mesh
- Metal rods or angle iron
Tools:
- Drill
- Wrench
- Heavy work gloves
- Safety goggles
- Masonry chisel
Optional frame materials: wood, metal sheets, etc. Gather any additional decorative items or grill features you’ll add like side tables.
Construct the Grill’s Frame and Base
The frame or base provides the foundation for your grill and its size largely determines the grill’s cooking surface. Here are two common ways to build a charcoal grill base:
Brick Base
Stack bricks or cinder blocks into a rectangle at least two blocks high. Cinder blocks are lighter but bricks retain heat better. Use either firebricks or regular bricks lined with tin foil.
Mortar bricks together using refractory cement for extra stability if desired. Just stacking works too. Make the interior rectangle slightly smaller to hold the charcoal.
Metal Frame
Join metal brackets into a rectangle using bolts/washers. Weld if you can, or pre-drill holes and bolt. Make the frame suitably sized for your cooking needs.
Attach metal sheet sides or wood panels to the frame if having an enclosed cart. Add handles, wheels, shelves, etc.
Add the Cooking Grate
The cooking grate supports and contains the charcoal, providing your grill’s cooking surface. Construct it using:
-
Steel wire mesh: Cut mesh fencing or hardware cloth to lay inside your grill’s frame opening. It allows air flow. Rustic look.
-
Metal rods: Weld, bolt or weave thin metal rods into a grid-like grate. Durable and conducts heat well.
-
Metal angle iron: Weld pieces of angle iron into a frame in a grid pattern. Provides rigidity. Can be flipped over to sear.
Optional: Elevate the cooking grate using brackets, chains, or metal posts. Allows controlling temperature by moving grate closer to/further from coals.
Include Vents for Airflow
Proper airflow feeds oxygen to your charcoal fire. Add vents by:
-
Leaving gaps between bricks/blocks
-
Drilling holes along the base of a metal frame
-
Cutting vents into the side of an enclosed grill cart
Strategically place vents on side/bottom of grill to direct air flow over coals for optimal heat control.
Finishing Touches
-
Paint or stain wood components
-
Seal any exposed wood with a protective finish
-
Add handles to lift grill lid
-
Append side tables, shelves, storage, etc.
-
Apply high-temp paint if painting metal surfaces
Break in Your DIY Charcoal Grill
Once constructed, break in your grill by:
-
Seasoning the cooking grate
-
Starting a hot fire and letting it burn for 30-60 minutes
-
Scraping off any residue afterwards
Your homemade charcoal grill is now ready for grilling! Enjoy cooking up meals all summer long.
Customizing and Improving Your Grill Over Time
Part of the fun of DIYing your own charcoal grill is that you can continually upgrade and modify it. Over time, you may want to:
-
Add new accessories like side burners or prep stations
-
Upgrade key components like the cooking grate
-
Incorporate new materials like stone or tile
-
Increase ventilation for better temperature regulation
-
Weld on hooks for grilling tools
The possibilities are endless when you build something yourself. Let your needs and imagination guide improvements over the years.
Helpful Tips and Tricks
Follow these pointers for success when taking on a DIY grill project:
-
Watch DIY videos to pick up tips before starting
-
Make a complete list of required materials
-
Have an assistant for heavy lifting
-
Go slowly and carefully during construction
-
Account for airflow and ventilation
-
Use high-quality materials for longevity
-
Season and break in the grill before first use
-
Be ready to tweak your design along the way
Taking the time to build your own charcoal grill results in a handcrafted BBQ station perfect for your needs. And it will bring you pride and joy for years to come!
Frequently Asked Questions
What are the benefits of building your own charcoal grill?
You can customize features, get exactly what you want, save money, learn new skills and feel pride using something you built.
What can I use instead of bricks or cinder blocks?
Stones, metal tubes, poured concrete and stacked landscaping blocks work too.
What metals work best?
Iron, steel and stainless steel all withstand high heat. Stainless resists rust and requires less seasoning.
How do I make the grill portable?
Add wheels, attach legs with pivot points, or make the base shorter to pick up and move.
What should I use to seal wood components?
High-heat paint or stain for grilling surfaces. Standard exterior sealants work for side tables, etc.
Final Thoughts
Constructing your own charcoal grill results in the ultimate customized backyard cooking station. The building process allows you to include the features, size and materials tailored specifically to your needs. Plus, you can modify and upgrade your DIY grill continually over time. So don’t be intimidated to try making your own BBQ grill from scratch. With the right plans and safety precautions, you can build a high-quality charcoal grill that will bring you summers of joy. Fire it up and start grilling!

Introduction: $2 Charcoal Grill


