We’ve talked a lot about starting seeds, and we’ve talked a lot about starting seeds in cell trays, flats, or soil blocks.
What we haven’t talked about of course is direct sowing into the field. If you’re a flower farmer, direct sowing is great because it saves you a lot of time. You don’t have to baby the seeds in cell trays, watch them grow, and then move the seedlings to a new spot. All of these steps take a lot of time, especially in April and May, which are our busiest months.
By direct sowing certain flowers, it really makes your life easier. Plant your seeds in the ground, keep the bed free of weeds, and water it regularly. Soon, plants will be growing—it’s so much easier than seedling transplants.
Actually, this is how most big farmers plant their crops: they use big, expensive machines to directly sow the seeds and drill them into the ground. This is what we’ll be doing, though it will be smaller and have fewer moving parts.
Note that there are correct times to sow certain crops. Some hardy annuals, like ammi, larkspur, and bells of Ireland, do best in late fall, when the ground is still warm from summer but the air is getting cooler and the days are getting shorter. On the other hand, some tender annuals, like basil, zinnias, and broomcorn, need warm soil to germinate quickly and fully in late spring or early summer.
A simple and lovely early summer bouquet can be made by planting calendula, cosmos, daucus, and flax and dill next to each other.
But as easy as it sounds, there are disadvantages to direct sowing. While it sounds amazing, the actual reality is that things get a little more complicated.
As I mentioned previously, it’s mostly annuals that we direct sow. They grow quickly and have a short growing season, which makes them great for direct sowing. This is true for both hardy and tender annuals.
A good bet for annuals that will direct sow well is if they self-sow on your property. Some people say that some plants do better when they are planted directly. For example, larkspur will keep growing on your property even after you’ve told it not to. It will just spread by seed.
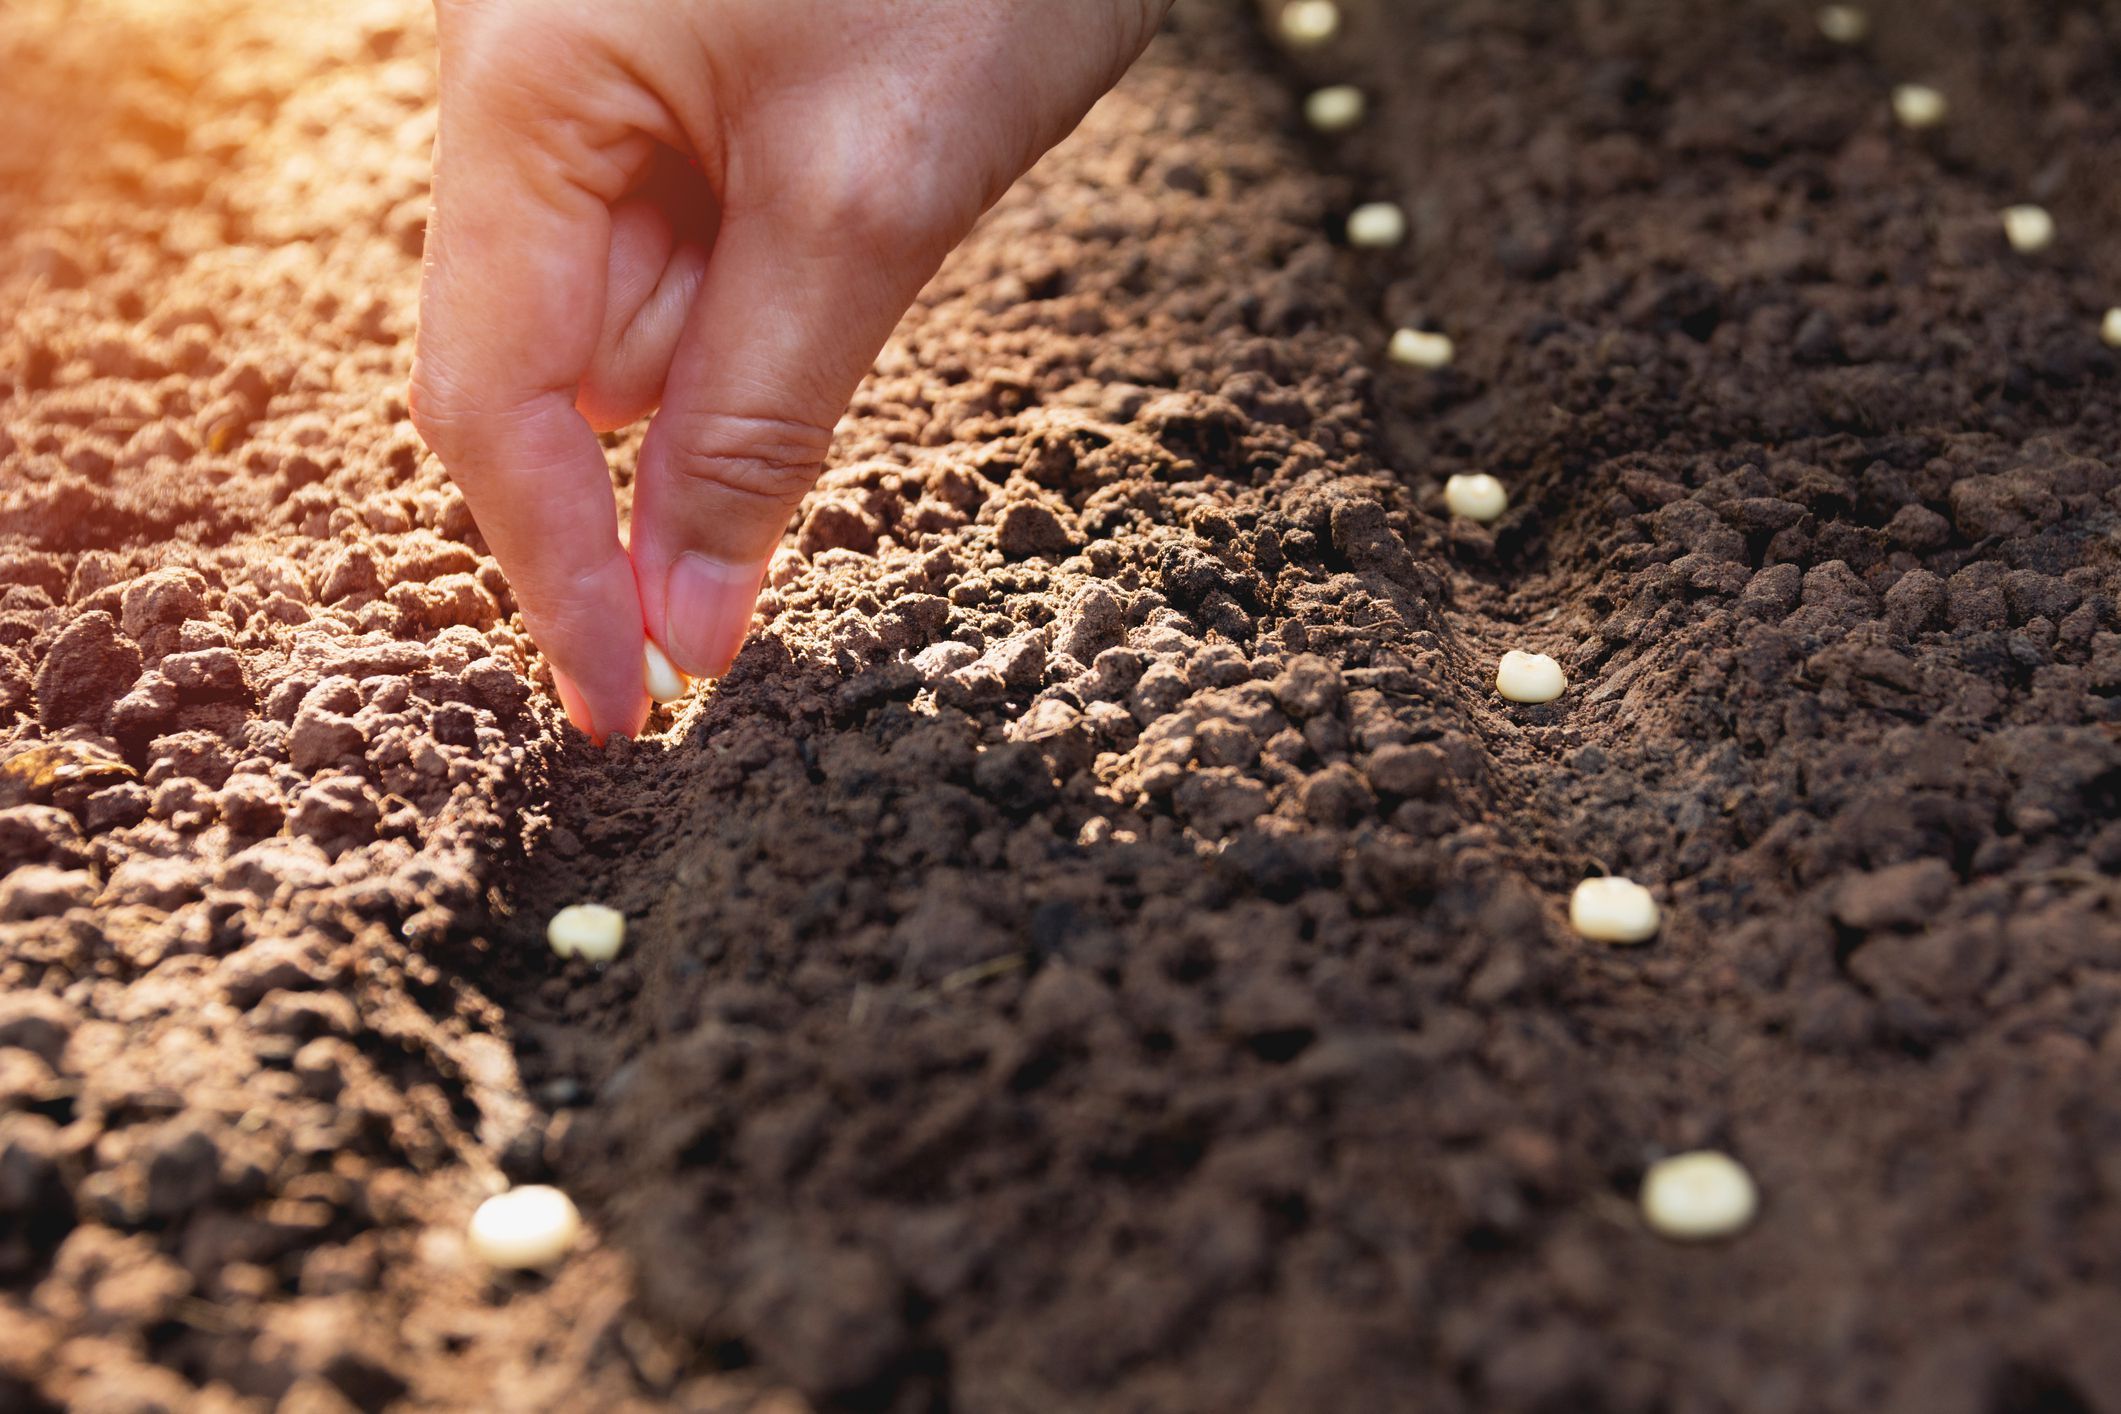
1) Make sure your seedbed is clear of any rocks, branches, or other things that could make it hard to plant. Rake and smooth your bed to a fine tilth.
2) We also like to ensure that it is as weed-free as possible. You can get your bed ready to plant by watering it and putting a frost cloth over it to heat it up. Once the seeds start to sprout, pull them out. Or if you’re using black landscape fabric, that can also help to suppress weeds. The occasional weed seed will make its way in, but these are easy to pull out. You just don’t want a stand of weeds or a lot of weed seeds that will make your life harder in the future.
3) To plant our seeds, we will either make a very narrow trench about an inch deep and sprinkle the seeds into it, or we will lay down a wooden board or stick and plant seeds one at a time if they are easier to handle, like zinnia, sunflower, or pea seeds. We’ll gently water the seeds in with a watering wand and then cover them with frost cloth in the cooler months. This helps keep the moisture in, keeps animals and birds from eating the seeds and seedlings, and warms the soil to help the seeds germinate. We’ll leave the frost cloth on for a week or two while the seeds sprout.
4) Make sure you keep the area well watered and moist to encourage good seed germination. If you live in a place that is always wet and rainy, you might want to put up some plastic to keep the area dry so that your seeds don’t get soggy. Once the seeds sprout and get their true leaves, we’ll take off the frost cloth and pull out any weed seedlings that have appeared. You can also separate seedlings, but we don’t do that very often because we like to force our plants to flower as much as possible.
5) After that, you just need to take care of the baby seedlings like you would transplants: water, fertilize, net, and pinch them all the way through harvest!
Many crops do better with direct sowing, even if it’s not for every crop you grow. This will make your life easier, especially during the busier times of the year, which can make you a happier flower farmer and find a better work-life balance.
Direct sowing flower seeds directly into your garden soil can be a fun, easy way to grow beautiful flowers. By skipping starting seeds indoors, you avoid the hassle of transplanting seedlings later on. However, direct sowing does come with some challenges. Following the right process helps ensure success when sowing flower seeds outdoors
When to Direct Sow Flower Seeds
Timing is important when direct sowing flowers. You’ll want to wait until any danger of frost has passed and soil temperatures have warmed sufficiently for the type of flower you are planting. Cool-weather loving annuals like larkspur and poppies can be direct sown in early spring. Most tender annuals like zinnias, marigolds, and cosmos need warm soil, so wait until late spring or early summer to sow their seeds.
Check the seed packet for the recommended soil temperature for germination. You can use a soil thermometer to check the temperature at planting depth. As a rule of thumb, 70°F is warm enough for most flowers.
Preparing the Seed Bed
Good preparation is key to direct sowing success. Follow these tips:
-
Remove any existing weeds, debris, or mulch from the area you will sow.
-
Loosen the top few inches of soil with a hoe or garden fork. Break up large clumps.
-
Mix in 1-2 inches of compost or well-rotted manure. This organic matter provides nutrients for seedlings and improves drainage.
-
Rake the seed bed smooth and level. Remove any rocks or sticks you uncover.
-
If possible, allow the prepared bed to sit for 1-2 weeks. This lets any newly exposed weed seeds germinate so you can remove them before sowing flower seeds.
How to Direct Sow Flower Seeds
Once your seed bed is prepped, it’s time to sow. Follow these steps:
Make Shallow Rows
Use a hoe handle or stick to mark rows in the soil. Rows should be spaced according to the seed packet directions, often 12-18 inches apart. Depth depends on the flower variety but is usually 1⁄4-1⁄2 inch deep.
Sow Seeds Evenly
Very small seeds can be sprinkled from your fingers along the rows. Gently rake seeds into rows with the back of a rake. Larger seeds can be sown individually. Follow spacing on the seed packet.
Cover the Seeds and Firm the Soil
Use a rake or your hand to gently cover seeds with soil. Be careful not to bury too deeply. Use a tamper or press firmly with your hand to ensure good seed-to-soil contact.
Label Rows
Make sure to mark rows with plant name and date sown. This avoids confusion later on. Popsicle sticks or other garden markers work well.
Water Gently
Use a watering can with a rose attachment to gently mist seeds. Keep soil moist but not saturated until seeds sprout. Avoid heavy watering that could wash seeds away or cause soil crusting.
Caring for Seedlings
Once sprouted, tender young seedlings need attentive care:
-
Water regularly to keep soil evenly moist, especially in hot weather.
-
Apply mulch like shredded leaves or straw around seedlings to retain moisture and discourage weeds.
-
Thin overcrowded seedlings to recommended spacing on seed packet. Snip off rather than pulling.
-
Weed carefully to avoid disturbing fragile roots.
-
Provide partial shade if seedlings appear to be wilting in hot sun.
-
Be patient! Some flowers sprout quickly but others can take 2-3 weeks to emerge.
Tips for Direct Sowing Success
Here are some useful tips to help ensure success:
-
Sow seeds in wide rows rather than narrow single-file rows. This allows you to thin plants while still achieving a full row of flowers.
-
To save seeds, allow some flowers to remain undeadheaded and go to seed at season’s end. Many will self-sow the following year.
-
Use netting to protect newly sprouted seedlings from hungry birds who love plucking tender greenery.
-
Interplant quick-growing annuals like calendula with slower seeds to provide a “nursery crop” that offers protection.
-
Mix wildflower varieties together in rows for a colorful, informal look requiring less precision.
-
Sow hardy annuals like poppies and larkspur in fall in mild winter climates. Sprouts emerge with cooler weather.
While direct sowing flower seeds does require more patience compared to using transplants, the reward of seeing your flowers grow from seed is worth it. Follow the tips above to ensure your successes outweigh your failures when direct sowing flowers in your garden.
Great for large volume crops
There are some crops that we need a lot of in large volumes. On our flower farm, we grow a lot of different crops, such as annual baby’s breath, bachelor buttons, basil, dove millet, German millet, broomcorn, branching sunflowers, and small zinnias. They are also some of the easiest plants to grow directly, which is great because we need to plant hundreds or thousands of them and the thought of doing that by hand is scary. I’m happy that they can be direct sown instead!.
No transplantation issues, no hardening off needed
Unlike transplants grown inside, you don’t need to harden off direct sown seedlings. You don’t need to transplant them either, which is even better. I think that most flower farmers’ work in the first half of the year (until July) is actually moving and establishing all the plants that will be harvested in the second half of the year. This is hard for most of us because it all comes at once in April, May, and June.
We can focus on crops that need a little more care, like lisianthus, eucalyptus, dahlias, and mums, because we can direct sow some crops. This saves us a lot of time at that time of year.

But as easy as it sounds, there are disadvantages to direct sowing. While it sounds amazing, the actual reality is that things get a little more complicated.
How to direct sow flower seeds
FAQ
Can you sow flower seeds directly into the ground?
Can I just scatter flower seeds?
Is it better to direct sow flower seeds?
Should you direct sow seeds into your garden soil?
If they successfully reach the sprouting stage, they’re more likely to survive the long run. If you’re direct sowing seeds into your garden soil, here are several steps to follow for optimal results: 1. Enrich the soil.
How do you sow seeds in a garden bed?
When preparing a garden bed for direct sowing, be sure to pull all weeds and remove any large rocks, sticks and large clumps of dirt. The soil should be fine and enriched with compost. Use a rake to loosen the soil and level it off to an even surface before you begin planting. How heavily should you sow seeds outdoors?
How do you Seed a flower plant?
Timing is crucial for successful direct seeding: Consult local frost dates to determine the optimal time for direct seeding. Some plants prefer cool soil, while others require warm soil for successful germination. Implement succession planting by sowing seeds in intervals to ensure a continuous harvest or a prolonged display of flowers.
How do you direct plant seeds?
Successfully direct sowing seeds starts with preparing your outdoor planting bed. You need to loosen the soil at least three to four inches deep to give the eventual roots a proper anchor. Casting an inch or two of seed starter potting soil over the row gives direct-sown seeds a neutral base to germinate in.
- Mediterranean Pink Heath in Summer – Tips for Care and Maximizing Bloom - April 9, 2026
- How to Grow Gorgeous Climbing Roses on a Wooden Fence - March 24, 2026
- Avoid These Plants When Companion Planting with Oregano - March 24, 2026