Now let’s talk about a simple but effective way that I love to use to make my garden bigger and share the joy of gardening: dividing hosta and sedum plants. (two of my favorite plants!).
If you’re like me, you’re always looking for ways to make your garden grow and thrive. It’s like hitting the jackpot when you divide these lovely perennials! It’s a simple process that not only helps you grow more plants but also lets you share your gardening love with your friends and neighbors.
Sedums are popular succulent perennials that thrive in rock gardens, containers, and hot, dry areas of the landscape. Also called stonecrops, most sedums form low carpets of colorful foliage and dainty star-shaped flowers. These tough plants multiply readily, making dividing sedum plants a simple way to gain more of these beauties.
Follow this step-by-step guide to properly divide sedum plants for vigorous new growth.
When to Divide Sedum Plants
Most sedums are best divided in early spring as new growth emerges or in late summer after flowering ends. Select a time when the soil is moist but not saturated. Avoid dividing during hot, dry weather.
Key times to divide sedum plants
- Early spring as new leaves appear. Provide shade until rooted if temperatures are high.
- Late summer or early fall after bloom. Allow 6 weeks before frost for roots to establish.
- Summer during active growth, Extra watering will be needed Wait until after bloom for best recovery
signs It’s Time to Divide Sedum
Watch for these cues that mature sedum plants are ready for division:
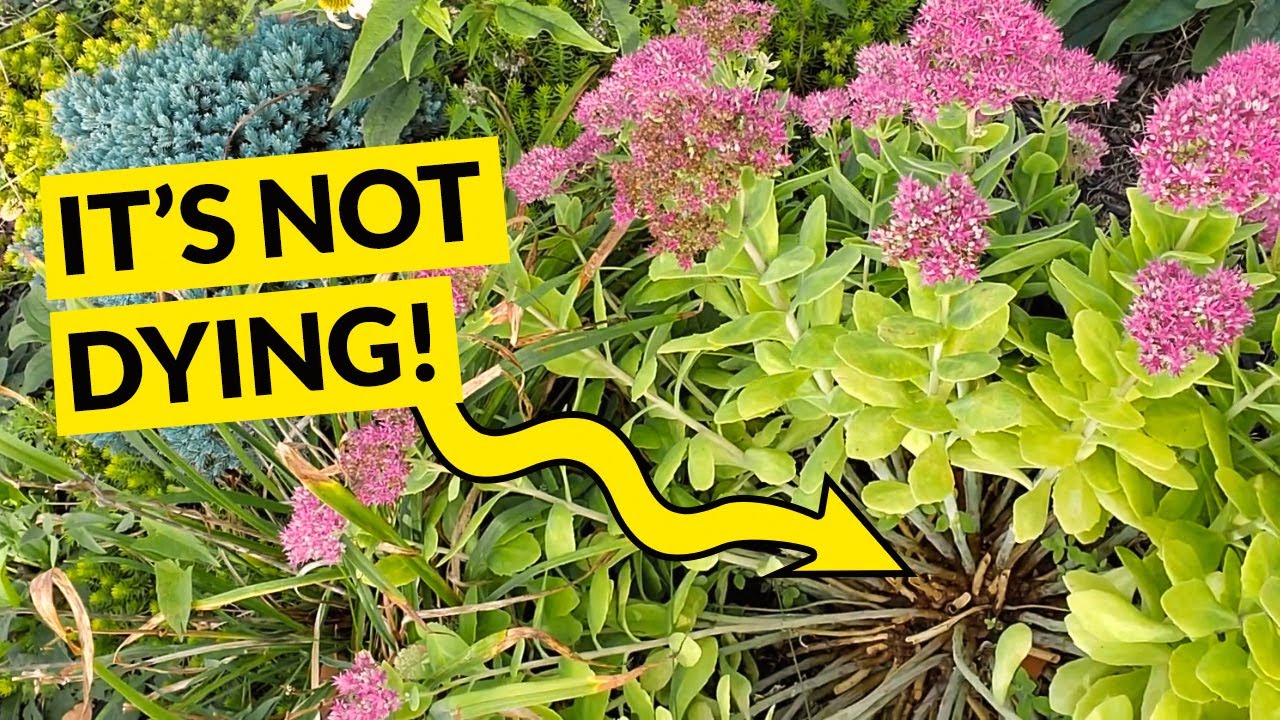
- Centers die out and growth occurs mainly around the edges.
- Blooms decline, with smaller flowers and fewer blossoms.
- Plant becomes crowded, with divided sections visibly apparent.
- Division is needed every 3-4 years to maintain plant vigor.
How to Prepare for Division
Follow these tips to get sedums ready for dividing:
- Water plants 1-2 days before dividing if soil is dry.
- Remove sedum plants from containers and loosen roots.
- Cut back tall sedums by half to reduce transplant stress.
- Sterilize tools with diluted bleach to prevent disease spread.
- Prepare new pots or garden beds with amended, well-drained soil.
How to Divide Sedum Plants
Gently divide root masses into smaller sections following these steps:
- Lift plant out of pot or loosen from ground with a garden fork.
- Shake off excess soil and remove old stems and leaves.
- Gently pull or cut root mass into smaller pieces using hands or a sharp knife.
- Ensure each new division has 3-5 healthy leaves and plenty of roots.
- Discard any diseased or overcrowded sections.
Caring for Newly Divided Sedums
Proper care after dividing promotes quick establishment. Follow these tips:
- Plant divisions at the same soil depth as originally grown.
- Firm soil around roots and water well after planting.
- Keep soil evenly moist for several weeks until new growth appears.
- Provide light shade for 1-2 weeks if transplanting in summer.
- Remove any flowers the first season so plants invest energy in roots.
- Apply dilute liquid fertilizer monthly to encourage new basal growth.
Dividing Specific Types of Sedum
Follow these division guidelines for popular sedum species:
- Divide low-growing kinds like dragon’s blood stonecrop in early spring as growth resumes.
- Separate upright sedums like Autumn Joy in spring before new stems appear.
- Divide creeping sedums that root along stems like angelina any time during active growth.
- Propagate non-hardy tender sedums like Burrito indoors early to allow time for rooting before frost.
- Cut back trailing sedums like coral necklace before dividing to reduce water loss.
Troubleshooting Poorly Rooted Divisions
If sedum divisions fail to establish, try these troubleshooting tips:
- Mist leaves daily for 2 weeks to reduce transpiration until roots grow.
- Temporarily shade plants during hot, dry weather to prevent wilting.
- Propagate in pots until better rooted before transplanting into the garden.
- Remove any flowers the first year so energy goes to root and leaf growth.
- Water more frequently than mature plants while new roots develop.
Dividing sedum plants is an easy and effective way to gain more of these tough yet beautiful succulents. Follow proper timing, methods, and care for the healthiest new plant divisions possible.
Can hostas be divided during summer?
While it’s possible to divide hostas in summer, it’s not ideal as the plants are in full growth. I think the best times to divide them are in the spring or fall, when they are mostly dormant. This will help the plant handle the stress better and increase its chances of a successful transplant.
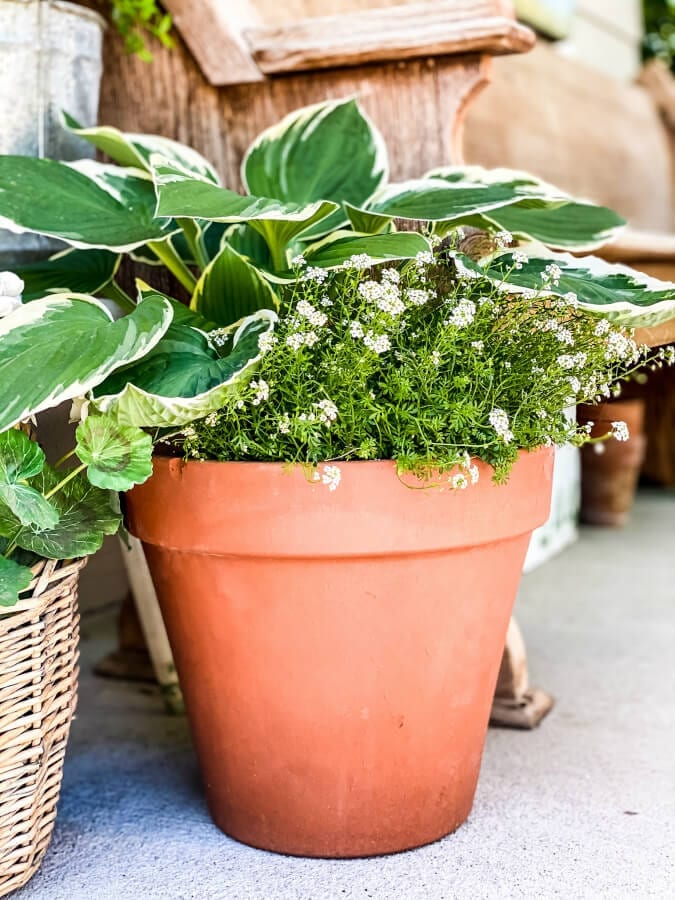
How to divide hostas in pots?
To divide hostas that are growing in pots, follow these steps:
- Water the hosta thoroughly to reduce stress before dividing.
- Carefully remove the entire plant from the pot.
- Shake off the extra dirt gently to reveal the roots and crown.
- Cut through the plant’s crown with a clean, sharp knife to make smaller pieces with healthy roots.
- In a new pot with fresh, well-drained soil, plant each piece at the same depth it was growing at before.
How to Transplant and or Spliting the Garden Plant “Autumn Joy Sedum”Sedum
FAQ
When should you split sedum?
Can you transplant sedum in summer?
How do you multiply sedum?
How do you divide creeping sedum?
How do you divide a sedum plant?
Separating sedum is a quick process. If you choose to divide after bloom, cut taller species down to 6 inches (15 cm.) to reduce transpiration and make division easier. Use a shovel and dig several inches (8 cm.) around the plant and carefully excavate the root mass. Shake off excess soil and check the roots for any damaged portions.
Do sedum plants grow well in shallow soil?
A hardy plant that grows well in shallow soil, this is a sedum variety for almost every garden. We like to divide sedum into two main categories based on the plants’ growth habits: low-growing sedum and upright sedum. Low–growing sedum spreads along the ground, reaching only a few inches (or less) in height.
What are the two types of Sedum?
In general, the genus is divided into two categories: low-growing sedum and upright sedum. The low-growing sedums stays short and spread, whereas the upright sedum forms vertical clumps and looks great along borders and in flower beds. Several plant species that were previously classified as sedums have been reassigned to new genera.
How do you propagate sedums using the leaf method?
The first step in propagating sedums using the leaf method is to choose a healthy plant. Look for a plant that is free from disease and pests, and has healthy leaves. It is also important to choose a plant that is not in bloom, as this can affect the success of the propagation.
- How to Grow Gorgeous Climbing Roses on a Wooden Fence - March 24, 2026
- Avoid These Plants When Companion Planting with Oregano - March 24, 2026
- 15 Great Trees to Plant Near Your House - March 24, 2026