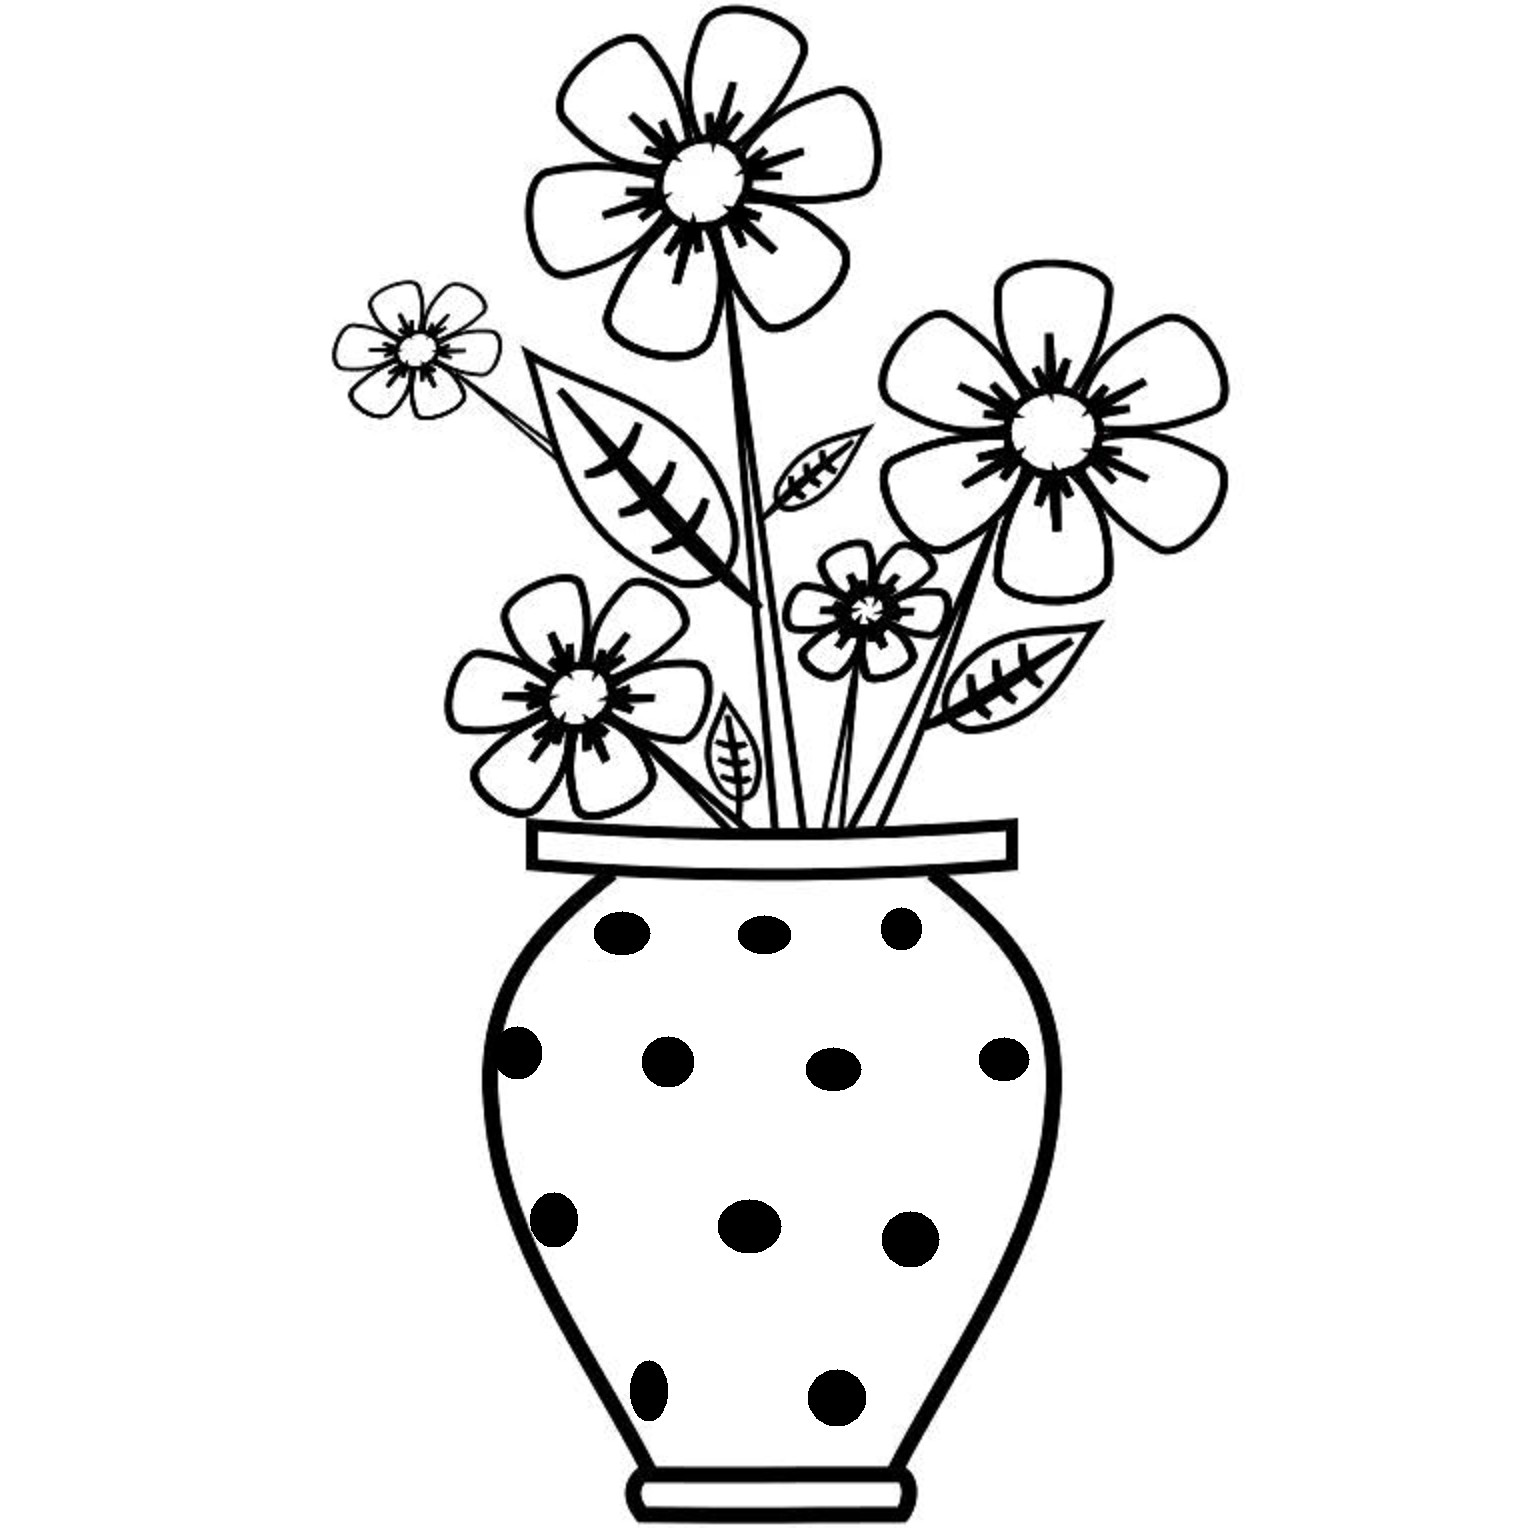
Drawing flowers is one of my favorite hobbies. There’s something so relaxing and fulfilling about creating a beautiful blossom on paper. And it’s a great creative outlet that anyone can enjoy, even if you don’t consider yourself an artist.
In this simple, easy-to-follow tutorial, I’ll show you how to draw a pretty flower in a pot using basic shapes and lines. This is perfect for beginner doodlers or anyone who wants to practice their drawing skills. We’ll take it step-by-step so you can create a lovely flower sketch in no time!
Gather Your Drawing Supplies
Before we start the drawing process you’ll need to grab a few supplies
-
Paper: You can use plain white printer paper, drawing paper, or mixed media paper. The important thing is using thicker paper that can hold up to erasing.
-
Pencil: I recommend using a standard No. 2 pencil or an HB graphite pencil for sketching. You’ll want something with good erasing capabilities.
-
Eraser: Get a soft, pliable eraser that can erase pencil lines cleanly without smudging. I like kneaded erasers best.
-
Ruler or Straightedge (optional): Having a straightedge tool like a ruler or triangle makes it easier to draw straight lines. But it’s not required.
Once you’ve got your supplies, you’re ready to start this easy flower drawing tutorial!
Step 1: Draw a Light Basic Shape for the Pot
Let’s begin with the pot that will hold the flower. Using your pencil, very lightly sketch a basic half-circle shape near the bottom of your paper:

Keeping your strokes super light is key so you can easily erase as needed Don’t press hard on your pencil at first,
Step 2: Refine the Pot Shape and Draw the Rim
Now refine the pot shape, erasing guide lines as you go. Draw a line straight down from each side of the half circle. Then connect the bottom to make a rounded rectangle shape for the pot:

To finish the basic pot, draw a curved line above it for the rim. Erase any remaining pencil guides from the first step.
Step 3: Draw Angled Lines for Dimension
To start giving the pot some dimension, lightly sketch angled lines coming down from the rim at each corner:

These angles will make the pot look more three-dimensional once we add shading later.
Step 4: Outline the Basic Shape of the Flower
Now lightly sketch a circle shape above the rim of the pot for the flower. Then draw a smaller circle in the center:

These overlapping ovals will form the basic outline for our flower. Keep your pencil very sharp for fine details like the central circle.
Step 5: Draw the Flower Petals
With the basic flower shape done, we can start drawing in the petals. Begin with one petal coming from the top of the flower down towards the center. Then draw more petals going around:

I did five petals in this flower, but you can draw as many as you like – the more petals, the fuller your bloom will be! Make them slightly wavy for a natural look.
Step 6: Refine the Petals and Add Leaves
Now refine the shape of each petal using smooth, curved lines. Erase any rough sketch lines.
Then draw a leaf shape on each side of the flower, like the example:

The leaves help balance the composition and frame the flower nicely. Feel free to experiment with different leaf shapes!
Step 7: Start Adding Shading to the Pot
We’re almost done! Let’s start shading to bring this flower drawing to life. Use your pencil to lightly shade the side of the pot:

Shade the angled lines you drew earlier to make them recede. This creates the illusion of form! Leave the front of the pot white for now.
Step 8: Finish Shading the Pot and Flower
Now darken the shading on the side of the pot, leaving the front clean and white. This contrast will make the pot look three-dimensional.
Also start shading the flower, as shown below. Shade the area behind the petals slightly darker:

Remember to keep your shading light and gradual. Slowly build up tones for a smooth look.
Step 9: Add Final Touches and Erase Guide Lines
Our flower in a pot drawing is almost complete! Add any final touches you want, like deeper shading or details. I’m darkening the petal edges just slightly.
Finally, carefully erase any remaining guide lines:

And that’s it – you did it! I hope you enjoyed this easy 9 step tutorial for drawing a flower in a pot. It’s a great beginner drawing exercise.
Feel free to get creative and make it your own by experimenting with different flowers, pots, leaves, shading techniques and more. Proudly display your finished flower drawing and keep practicing your skills! Gardening and art make a beautiful pair.