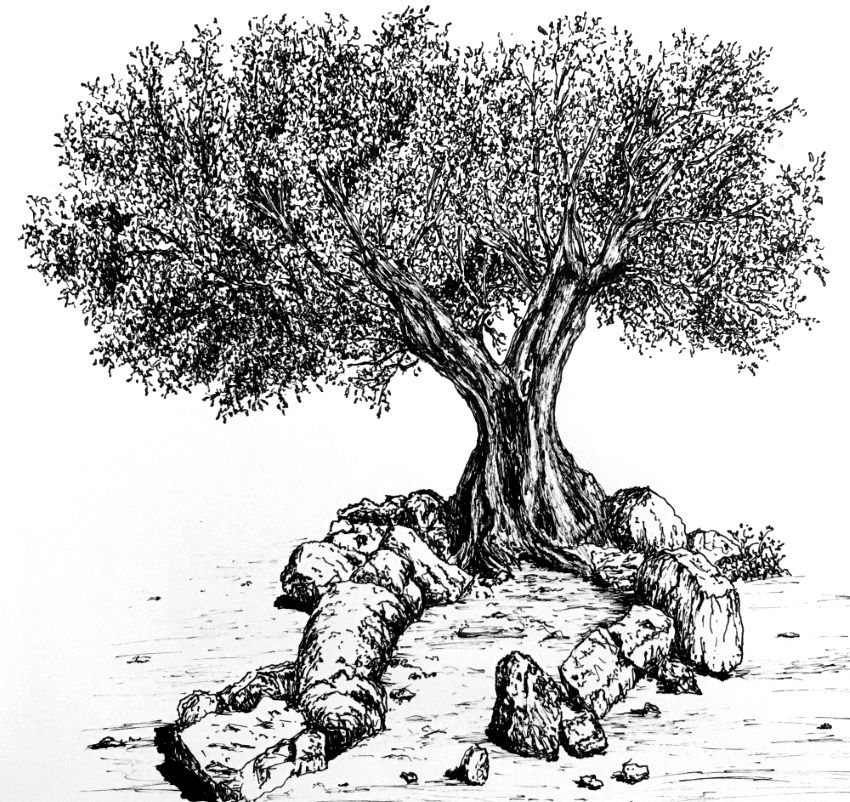
This short video shows you how to draw an olive tree in 5 easy steps. It’s great for kids and people who are just starting out as artists.
The s above represents how your finished drawing is going to look and the steps involved.
Here are the steps one by one. If you click on any of them, you can get a High Resolution PDF version that you can print.
Make sure you also check out any of the hundreds of drawing tutorials grouped by category.
As someone whose always loved spending time outdoors sketching nature, olive trees hold a special place in my heart. With their gnarled trunks, silvery-green leaves, and exotic fruit, they have such unique character and beauty.
If you want to learn how to capture that beauty in your own drawings, you’ve come to the right place! Drawing realistic trees can seem daunting, but have no fear – this easy, step-by-step olive tree drawing tutorial breaks it down into simple stages. We’ll go from sketching basic shapes to adding intricate detail, so you can develop your artistic skills as you follow along.
Even if you’re a total beginner you’ll be amazed what you can achieve by the end! Here’s what we’ll cover
- Step 1: Sketch the Basic Tree Shape
- Step 2: Add the Trunk and Branches
- Step 3: Draw the Leaves and Foliage
- Step 4: Include Additional Details like Olives and Shadows
- Step 5: Finish With Inking and Coloring (optional)
Ready to try your hand at drawing this iconic tree? Let’s get started!
Step 1: Sketch the Basic Tree Shape
First, lightly sketch the basic shape of the olive tree using simple lines and shapes. Here are some tips to nail down the foundation
- Draw a large upside-down U shape for the main canopy. Olive trees often have a rounded, dome-like shape.
- Add a curved line below for the tree trunk. Angle it slightly to one side.
- Draw some basic large branches coming off the sides of the trunk at different heights and angles.
At this stage, keep your lines light and sketchy. We’ll add more detail later. Focus on getting the overall form in place.
Step 2: Add the Trunk and Branches
Now let’s build up from our basic structure and start mapping out the trunk and branches:
- Thicken the trunk and make it slightly irregular with bumps and knots. Olive tree trunks tend to look gnarly and twisted.
- Draw the main branches extending from the trunk, with some smaller branches shooting off of them. Angle them randomly.
- Use curved, zigzaggy lines to illustrate the natural movement and flow of the branches.
Vary the line weight – make some branches thick and some more slender. Remember trees have a logical growth pattern, with branches getting progressively thinner toward the top.
Step 3: Draw the Leaves and Foliage
Here comes the fun part – transforming our bare tree into a leafy masterpiece! To draw lively olive leaves and foliage:
- First sketch small, teardrop shapes radiating outwards from the ends of the branches. This represents the basic leaf clusters.
- Draw tiny ovals to fill out the overall shape of the foliage at the ends of branches.
- Finally, draw many individual oblong leaves sprouting from branches, varying the sizes and angles. Olives leaves are elongated and pointy.
Make the leaves dense toward the outer canopy, and sparser closer to the inner trunk. Use a feather-light touch so the leaves look delicate and wispy.
Step 4: Include Additional Details like Olives and Shadows
You can take your olive tree to the next level by incorporating extra details like:
-
Olives – Add tiny oval shapes scattered throughout the foliage to represent the fruit. Draw them in small clusters.
-
Shadows – Since olive trees are so bulbous, they cast interesting shadows. Use shading to show the sunlight hitting parts of the rounded form.
-
Textures – With a kneaded eraser, lift out highlights along some edges of leaves to convey their semi-transparent, silvery texture.
Work lightly when adding extra elements so the initial structure still shows through.
Step 5: Finish With Inking and Coloring (optional)
Once your pencil sketch is complete, you may want to finish it off by inking over the main lines and adding color. Here are some tips:
-
Inking – Trace over the key contours with black pen or marker. This will neaten and define the drawing.
-
Coloring – Paint the leaves with cool greens and grays. Add earthy browns to the trunk and warm golden green hues to the olives.
And that’s it – you officially know how to draw an olive tree! With practice and patience, you can develop this basic process into your own realistic rendition.
Some final tips before you embark on your olive tree drawing journey:
-
Use photo references to understand the structure. Studying real olive trees helps enormously.
-
Take it one step at a time. Don’t be discouraged if your first attempts feel clumsy. Tree drawing is a skill built over time.
-
Relax and have fun! Art should be enjoyable. Draw olive trees because you appreciate their beauty.
Now you have all the techniques you need to start drawing olive trees like a pro. Be patient with yourself, delight in the creative process, and let your love for these magnificent trees shine through in your art. I can’t wait to see the masterpieces you create!
Frequency of Entities:
olive tree: 21
draw: 16
leaves: 7
branches: 7
trunk: 5
olives: 2
How to Draw an Olive Tree – Step-by-Step Tutorial
Step 1: First, draw the trunk. Draw a straight line that curves to the left toward the top. A few spaces over, draw another line that mirrors the last line and curves the same direction.
Step 2: Next, draw the roots. Draw a few small wavy lines along the bottom of the trunk.
Step 3: Now, draw the branches. Draw a curved line from the left side of the trunk that goes in and then slightly back out at the end. On the right side of the trunk, do the same thing. Leave some space and draw a small line on the left that looks like the end of your curve that goes outward. From that line, draw a short line going up. Then, use a long line to mirror those lines, but leave some space between them. Mirror the line on the right side leaving a little space. Now, make a long branch in the middle by drawing two wavy lines on either side of your inside lines.
Step 4: Then, draw the twigs. Along the sides of all the branches that stick out, draw long, wavy lines that end in a curved “V.”
Step 5: Finally, draw the leaves. Off of one of your twigs, draw a small wavy line with three ovals at the end. Draw this all over your twigs for the leaves.
How to Draw a Olive Tree Easy step by step
How to draw an olive tree?
Focus mainly on brightness values, while drawing marks with shape and direction like the reference image. Keep in mind: Each olive tree trunk has its own “personality”, but all olive trees share common basic shapes. Tree trunks are like cylinders. Avoid drawing a tree trunk with a flat bottom (unless it is on the horizon).
How do you draw a tree?
Step 1: First, draw the trunk. Draw a straight line that curves to the left toward the top. A few spaces over, draw another line that mirrors the last line and curves the same direction. Step 2: Next, draw the roots. Draw a few small wavy lines along the bottom of the trunk. Step 3: Now, draw the branches.
How to draw a perfect olive branch?
By following the simple steps, you too can easily draw a perfect Olive Branch. 1. Begin by sketching the stem. Draw two long, curved lines that run relatively parallel to one another. Bring them together at a point on one end. Connect them with a short curved line on the other. 2. Draw some olives.
How do you draw a tree with big leaves?
For trees with big leaves, like a banana tree, first draw a study of the leaves from different angles. For a realistic result, make sure there is no symmetry, and that each leaf is unique. You can use markers; they work well with pens. Look at some reference images, or actual trees, before drawing the tree trunk.