There aren’t many things more impressive than a big planter for an indoor or outdoor container garden.
Big containers easily dominate the commercial landscaping world by creating an awe-inspiring focal point or functional room dividers. They also make the room look fuller by raising the plant in a pot and adding more decorations.
Who wouldn’t be impressed if they walked into a hotel lobby that was filled with big planters and lush trees?
This is probably why tall and large planters are so popular in interior design right now. They easily add a touch of modern style to any room, indoors or out.
Tall planters can frame the doorway to your storefront or be used to divide the space inside your restaurant. However, you will need to find a way to fill that big pot.
To do this, you need to know how much soil you need and what kind of filler rocks will work best for you.
Giant planters make a dramatic statement in outdoor spaces. But filling oversized containers can require huge amounts of potting mix which gets expensive. Rather than spending a fortune on bags of soil, try these handy tricks for affordably filling large planters!
Why Fillers Are Helpful
Using filler materials mixed in with potting soil offers several advantages:
- Saves money by reducing the amount of potting mix required
- Reduces overall weight, making containers easier to move
- Improves drainage and aeration in the planter
- Provides volume and structure to support plant roots
Mixing lightweight fillers with regular potting soil gives you the same great growing capabilities while cutting down the cost.
Ideal Lightweight Fillers
Many inexpensive household materials work perfectly as planter fillers. Look for lightweight, non-degradable items such as:
- Plastic water and soda bottles
- Unused nursery pots
- Packing peanuts
- Foam takeout containers
- Old pool noodles
- Styrofoam packaging
- Pinecones
- Aluminum cans
Avoid any materials that could decompose, shift, or compact over time like wood chips, peat moss, or newspaper The filler should be permanent
How to Incorporate Fillers
The key is layering your fillers and soil in the right proportions:
- Cover drainage holes with mesh or gravel to prevent clogging
- Fill bottom third of planter with filler materials
- Cover fillers with landscape fabric to prevent soil from filtering down
- Fill middle third with potting mix
- Top third can be more fillers and then soil for plants
-Blend different fillers together for variation
Mix chunky items like bottles and foam with smoother fillers like peanuts. Layer the textures for stability. Top off with 2-4 inches of potting soil for healthy plant growth.
Filler Ideas for Various Planters
Get creative with these filler suggestions tailored to specific planters:
- Metal troughs: Sturdy aluminum cans lined up can provide structure. Top with soil and trailing plants.
- Concrete urns: Pack in chunks of pool noodles to take up space. They’re waterproof and durable.
- Wooden barrels: Use crushed up pinecones for excellent drainage. Their earthy look complements wood planters.
- Ceramic pots: Fill bottom half with packing peanuts. They’re lightweight and move around easily when planting.
- Window boxes: Incorporate plastic water bottles laid horizontally to conserve soil while supporting plants.
- Raised beds: Form “columns” of soda bottles buried upright to divide sections and leave space for roots to spread.
Plants that Thrive in Filler Planters
Once your giant planter is filled, add some dramatic plants! Choose cascading varieties with flexible roots that will grow through the fillers:
- Trailing annuals like petunias, million bells, and creeping Jenny
- Vining vegetables like cucumbers, beans, and peas
- Evergreen shrubs or vines like ivy, euonymus, and chokeberry
- Ornamental grasses with vertical height to contrast the fillers
- Sun lovers like marigolds, zinnias, geraniums, and lavender
With the right filler materials, you can create stunning planters on a budget. Get creative with your containers and fillers this season!
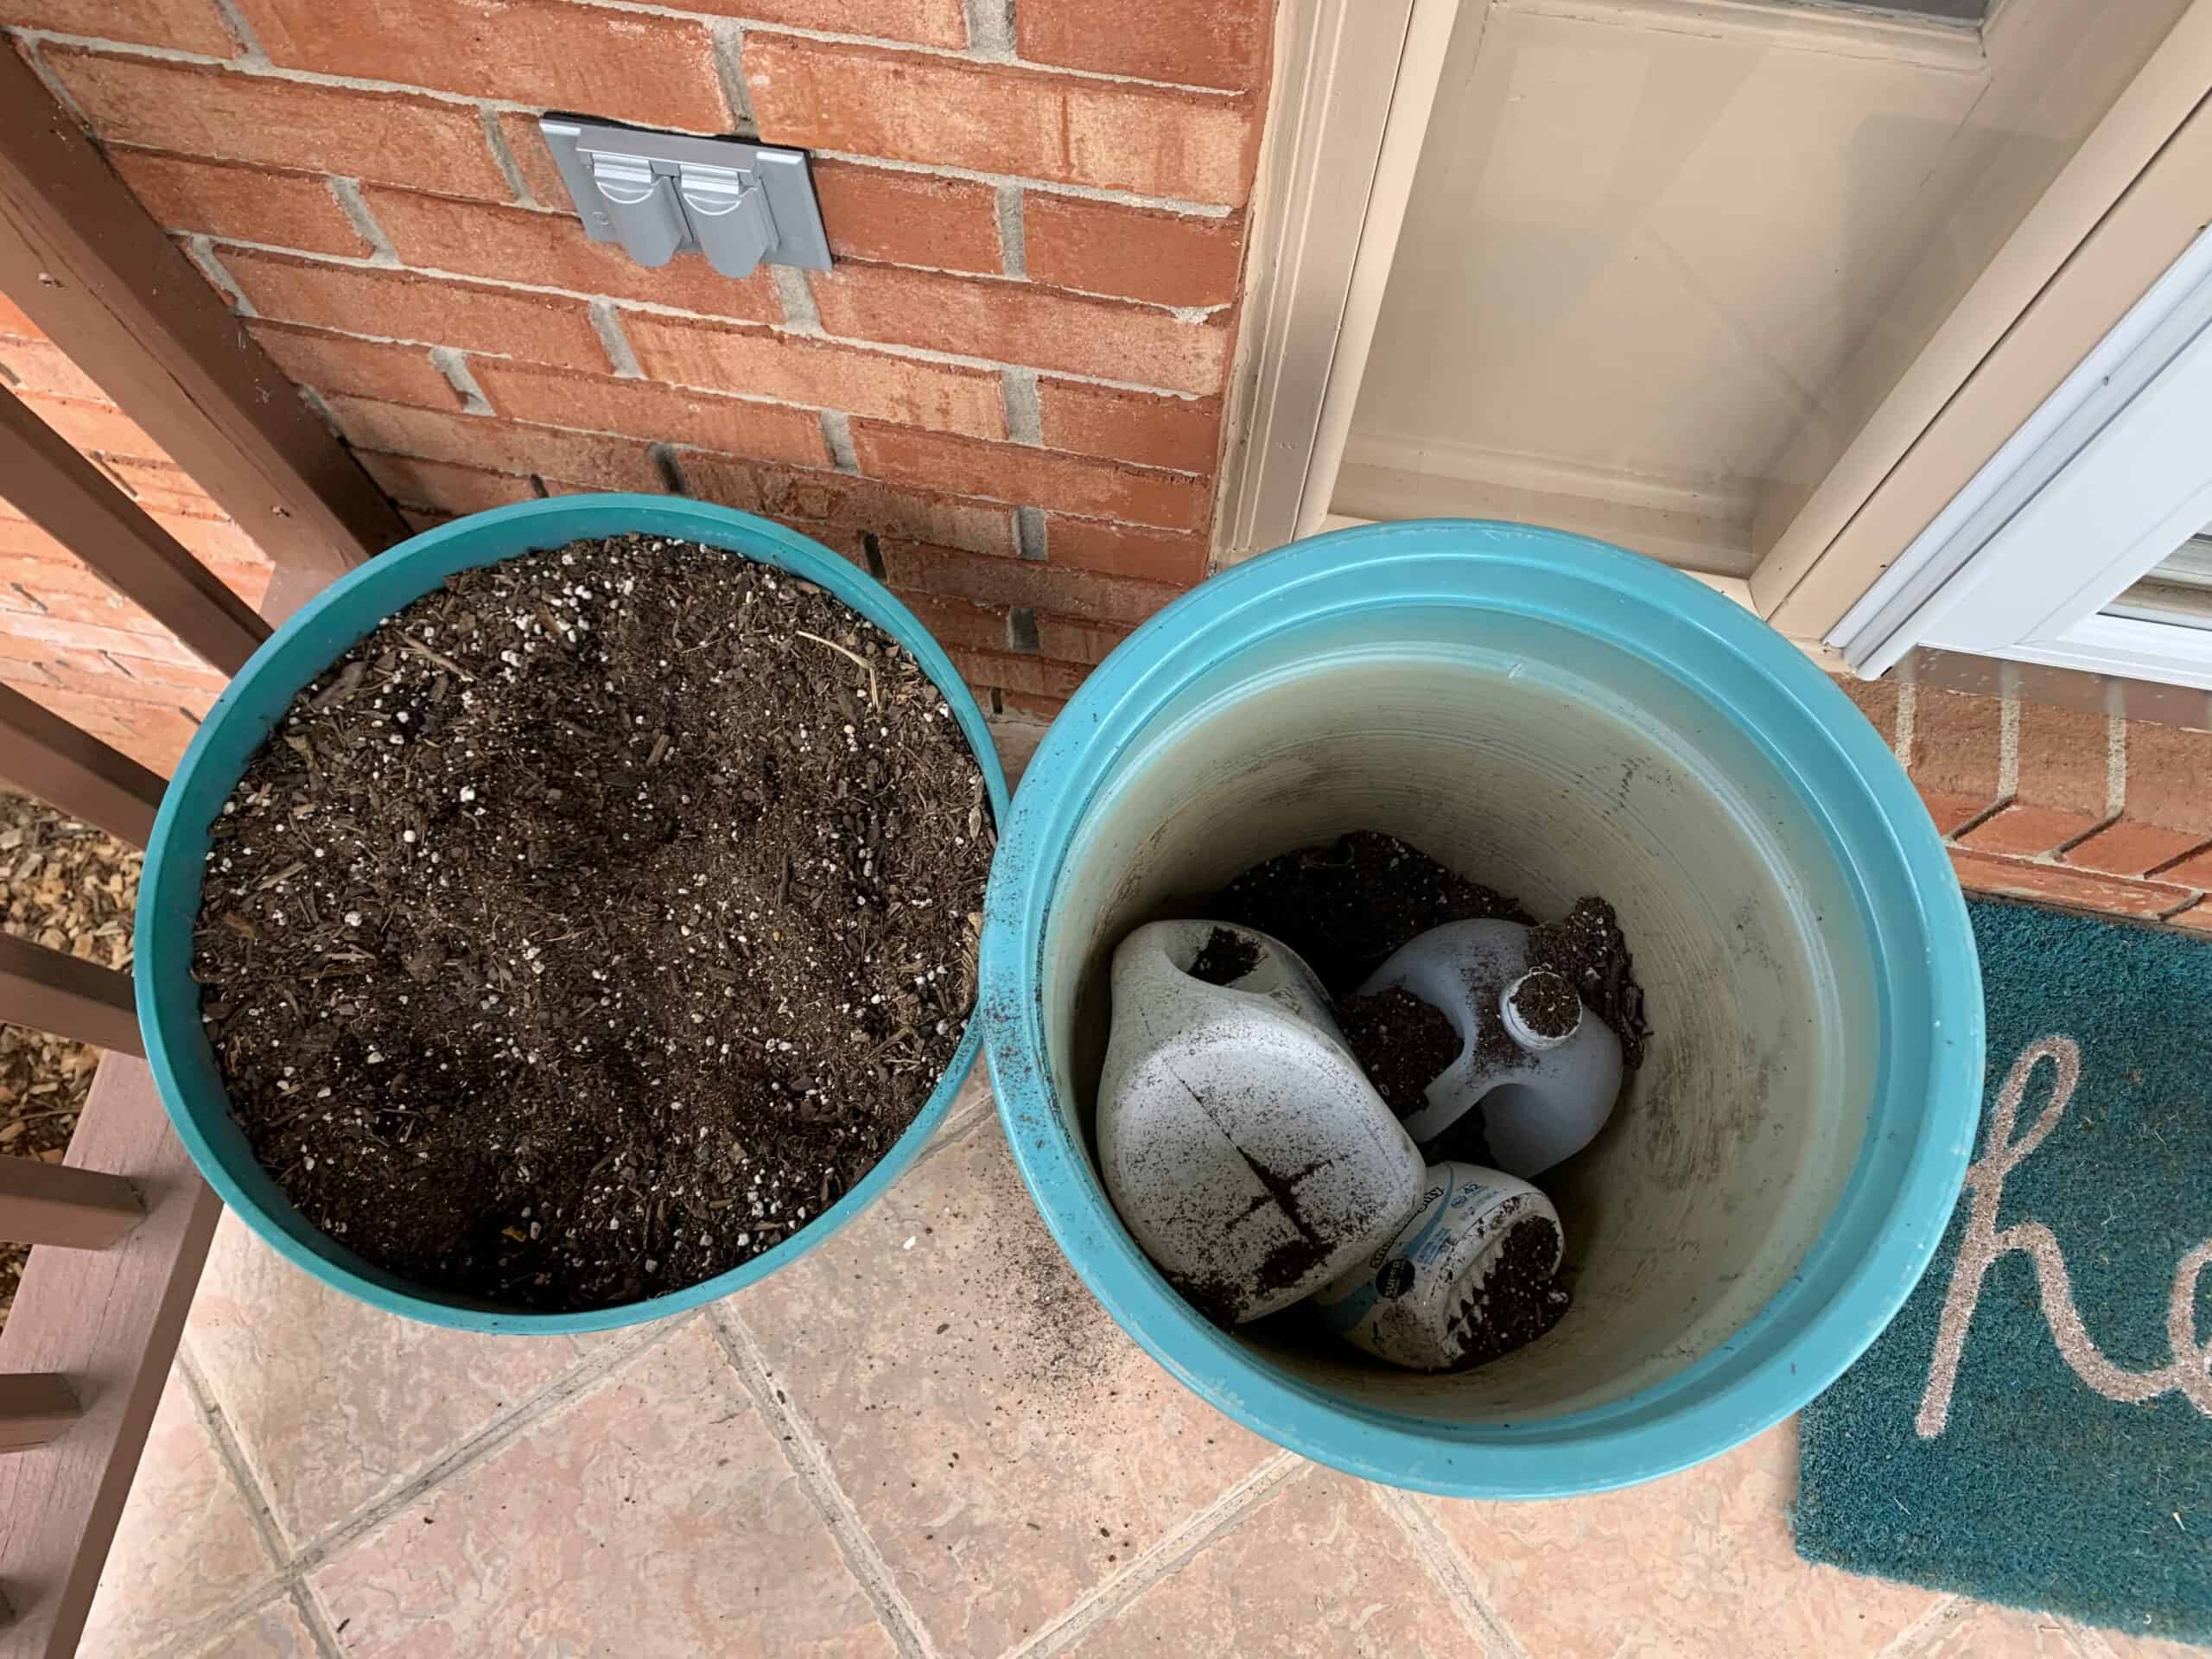
Add the pot filler
Next, depending on how much space you need, put enough filler into the bottom of a large planter. Use either lightweight pot fillers or heavy pot fillers as is suitable for your needs. Make sure you do not overfill the large container, leaving enough room for root depth. You can research the needs of the plant online or check in with your landscaper.
If you want to use light fillers like Styrofoam blocks, you might want to put a heavy brick or tile at the bottom to keep the container stable. It is a good idea to cap water bottles or plastic jugs to avoid water collecting in them. Should you choose to use packing peanuts, it is best to put them in a bag or sack. This ensures a neater removal should you need to empty the container in the future.
If you decide to put heavy things in the bottom of your tall planter, don’t start filling it until you know for sure where you want it to stay.
Check again to make sure the filler you pick is good for plants, especially if they are meant to be eaten.
Put in your potting soil
Now, you are ready to fill up the large planter with potting soil. Fill the planter to about two inches below the rim to reduce water overflow.
It is usually best not to use garden soil or soil from the ground because they are full of weed seeds and might not have enough nutrients or fertilizer to keep the plant healthy.
Potting soil is important, especially for plants that will be kept indoors. It should be light and well-balanced with organic matter, peat, and perlite, and it should also help water drain away.
How To Save Money On Potting Soil When Filling Large Containers, Pots, Planters.
- How to Dig a Garden Bed: A Step-by-Step Guide for Beginners - April 14, 2026
- The Moderate Growth Rate of the Stunning Edith Bogue Magnolia - April 10, 2026
- Cultivating Vibrant Dahlias in Garden Beds – A Complete Growing Guide - April 10, 2026