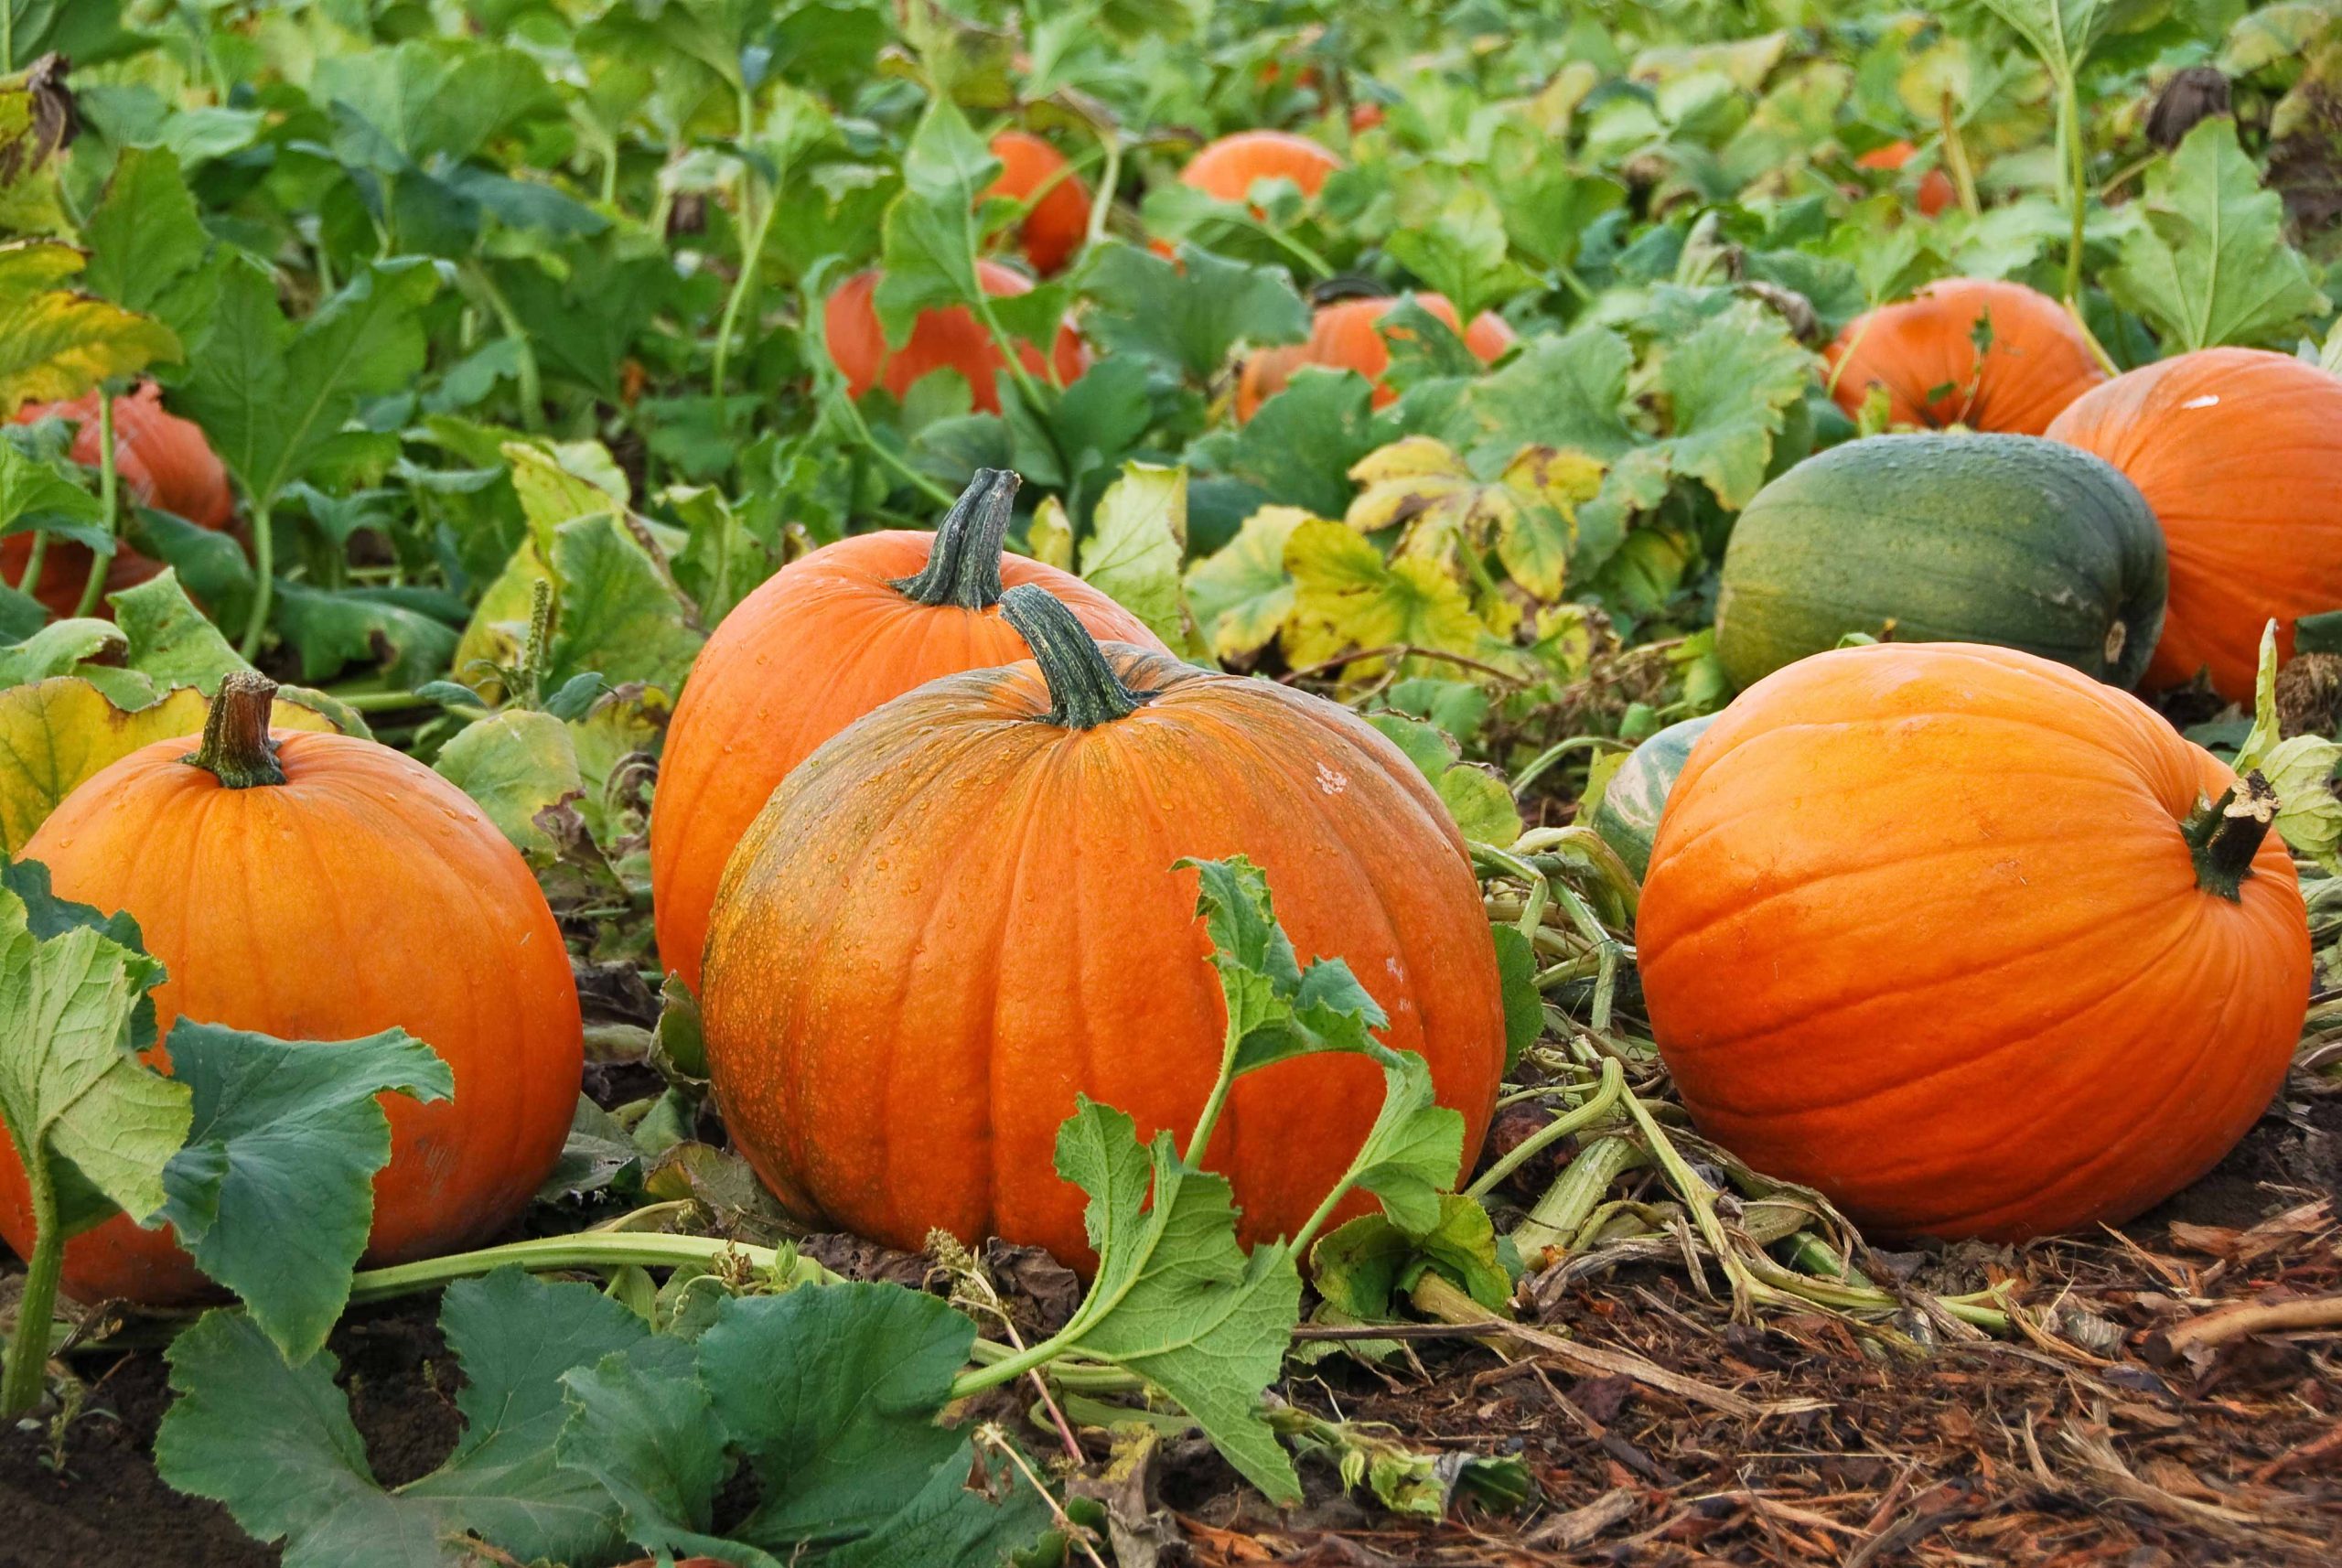
Growing a pumpkin inside another pumpkin is a fun gardening activity that allows you to observe the full life cycle of a plant. By planting pumpkin seeds in a hollowed-out pumpkin shell and watching sprouts emerge, kids can learn about germination, plant growth, decomposition, and more.
In this article, we’ll cover how to grow a pumpkin in a pumpkin step-by-step. We’ll also discuss the science behind it and tips for making this experiment successful. Let’s grow some pumpkins!
Step-by-Step Instructions
Follow these steps to grow your own pumpkin inside a pumpkin
1. Choose your pumpkins
Select two small to medium-sized pumpkins One will be carved out to hold soil and seeds The other will provide fresh seeds for planting.
Mini pumpkins or sugar pie varieties work best since they aren’t too large Avoid bigger carving pumpkins, which rot faster
2. Scoop out pumpkin #1
Cut off the top of the first pumpkin. Scoop out all the stringy insides, seeds, and pulp. Scrape the insides clean. Only the hollowed shell should remain.
Save the top to place back on later. The pumpkin shouldn’t need holes since it will decompose.
3. Extract and clean seeds
Remove the seeds from the second pumpkin’s interior and rinse off any pulp coating the seeds. Pat seeds dry with a paper towel.
Inspect seeds and pick out any that are damaged or shriveled. Only use healthy white seeds for planting.
4. Add soil and plant seeds
Fill the hollowed pumpkin about 3/4 full with quality potting mix. Make sure soil is damp, not soggy.
Plant 3-5 pumpkin seeds, evenly spaced and pushed down about 1 inch into the soil.
5. Lightly water and close up
Lightly water the planted seeds without saturating. Place the pumpkin top back on. If it doesn’t stay, that’s fine.
6. Watch it grow!
Set the planted pumpkin in a spot with sun exposure and wait. Check daily and keep the soil moist but not soaked.
Within a few days, sprouts should emerge! Remove the top once leaves open to prevent mold.
7. Transplant outside
When sprouts have 4-6 leaves, transplant the whole pumpkin outside into garden soil and watch your pumpkin vine continue growing.
The Science Behind It
Growing pumpkins inside pumpkins lets you observe some fascinating science:
-
Germination – Seeing seeds sprout demonstrates how dormant seeds spring to life when conditions are right.
-
Seed coats – The coats protect seeds until water penetrates them, allowing the embryo to emerge.
-
Seed nutrients – Food stored within seeds provides an initial energy source for seedlings to grow.
-
Decomposition – As the pumpkin shell slowly breaks down, it releases nutrients into the soil for the plant.
-
Plant life cycle – All stages are seen – seed, germination, seedling, rapid vine growth, flowers, and ultimately fruit/seeds again.
-
Heirloom cycle – The next generation of pumpkins grows nourished by the previous one.
Tips for Success
Follow these tips to ensure your pumpkin experiment goes smoothly:
-
Start with fresh, unblemished pumpkins without mold or rot.
-
Thoroughly clean out strings and pulp, which can harbor mold.
-
Use sterile potting mix, not garden soil which may contain diseases.
-
Allow freshly extracted seeds to dry before planting.
-
Plant multiple seeds in case some don’t germinate.
-
Keep soil moist but not waterlogged.
-
Give pumpkins plenty of sun.
-
Once sprouted, remove lid to prevent mold from humidity.
-
Transplant the pumpkin plant into the ground once established.
Enjoy a Botanical Learning Experience
Growing a pumpkin inside another pumpkin provides a fun hands-on gardening activity. Kids will love peeking in to check progress as sprouts emerge from seeds. The final product delivers an amazing conclusion when a mature vine unfurls from the original pumpkin shell. Enjoy spring harvesting whatever type of pumpkin you planted!
Have you tried growing pumpkins in pumpkins before? Share your experiences in the comments! I’d love to hear any tips you have to make this experiment even more successful.
Author Description Hey there, We are Blossom Themes! We are trying to provide you the new way to look and use the blogger templates. Our designers are working hard and pushing the boundaries of possibilities to widen the horizon of the regular templates and provide high quality blogger templates to all hardworking bloggers!As a veterinarian turned homeschool mom, I love creating fun, hands-on learning experiences (especially science experiments) for my kids as well as sharing them with others!
How to Grow Pumpkins at Home From Seed
- The Ultimate Guide to Growing Strawberries in Raised Beds - August 8, 2025
- No-Dig Garden Beds: The Easiest Way to Grow a Beautiful Garden - August 6, 2025
- How to Protect and Preserve Wood for Raised Garden Beds - August 6, 2025


