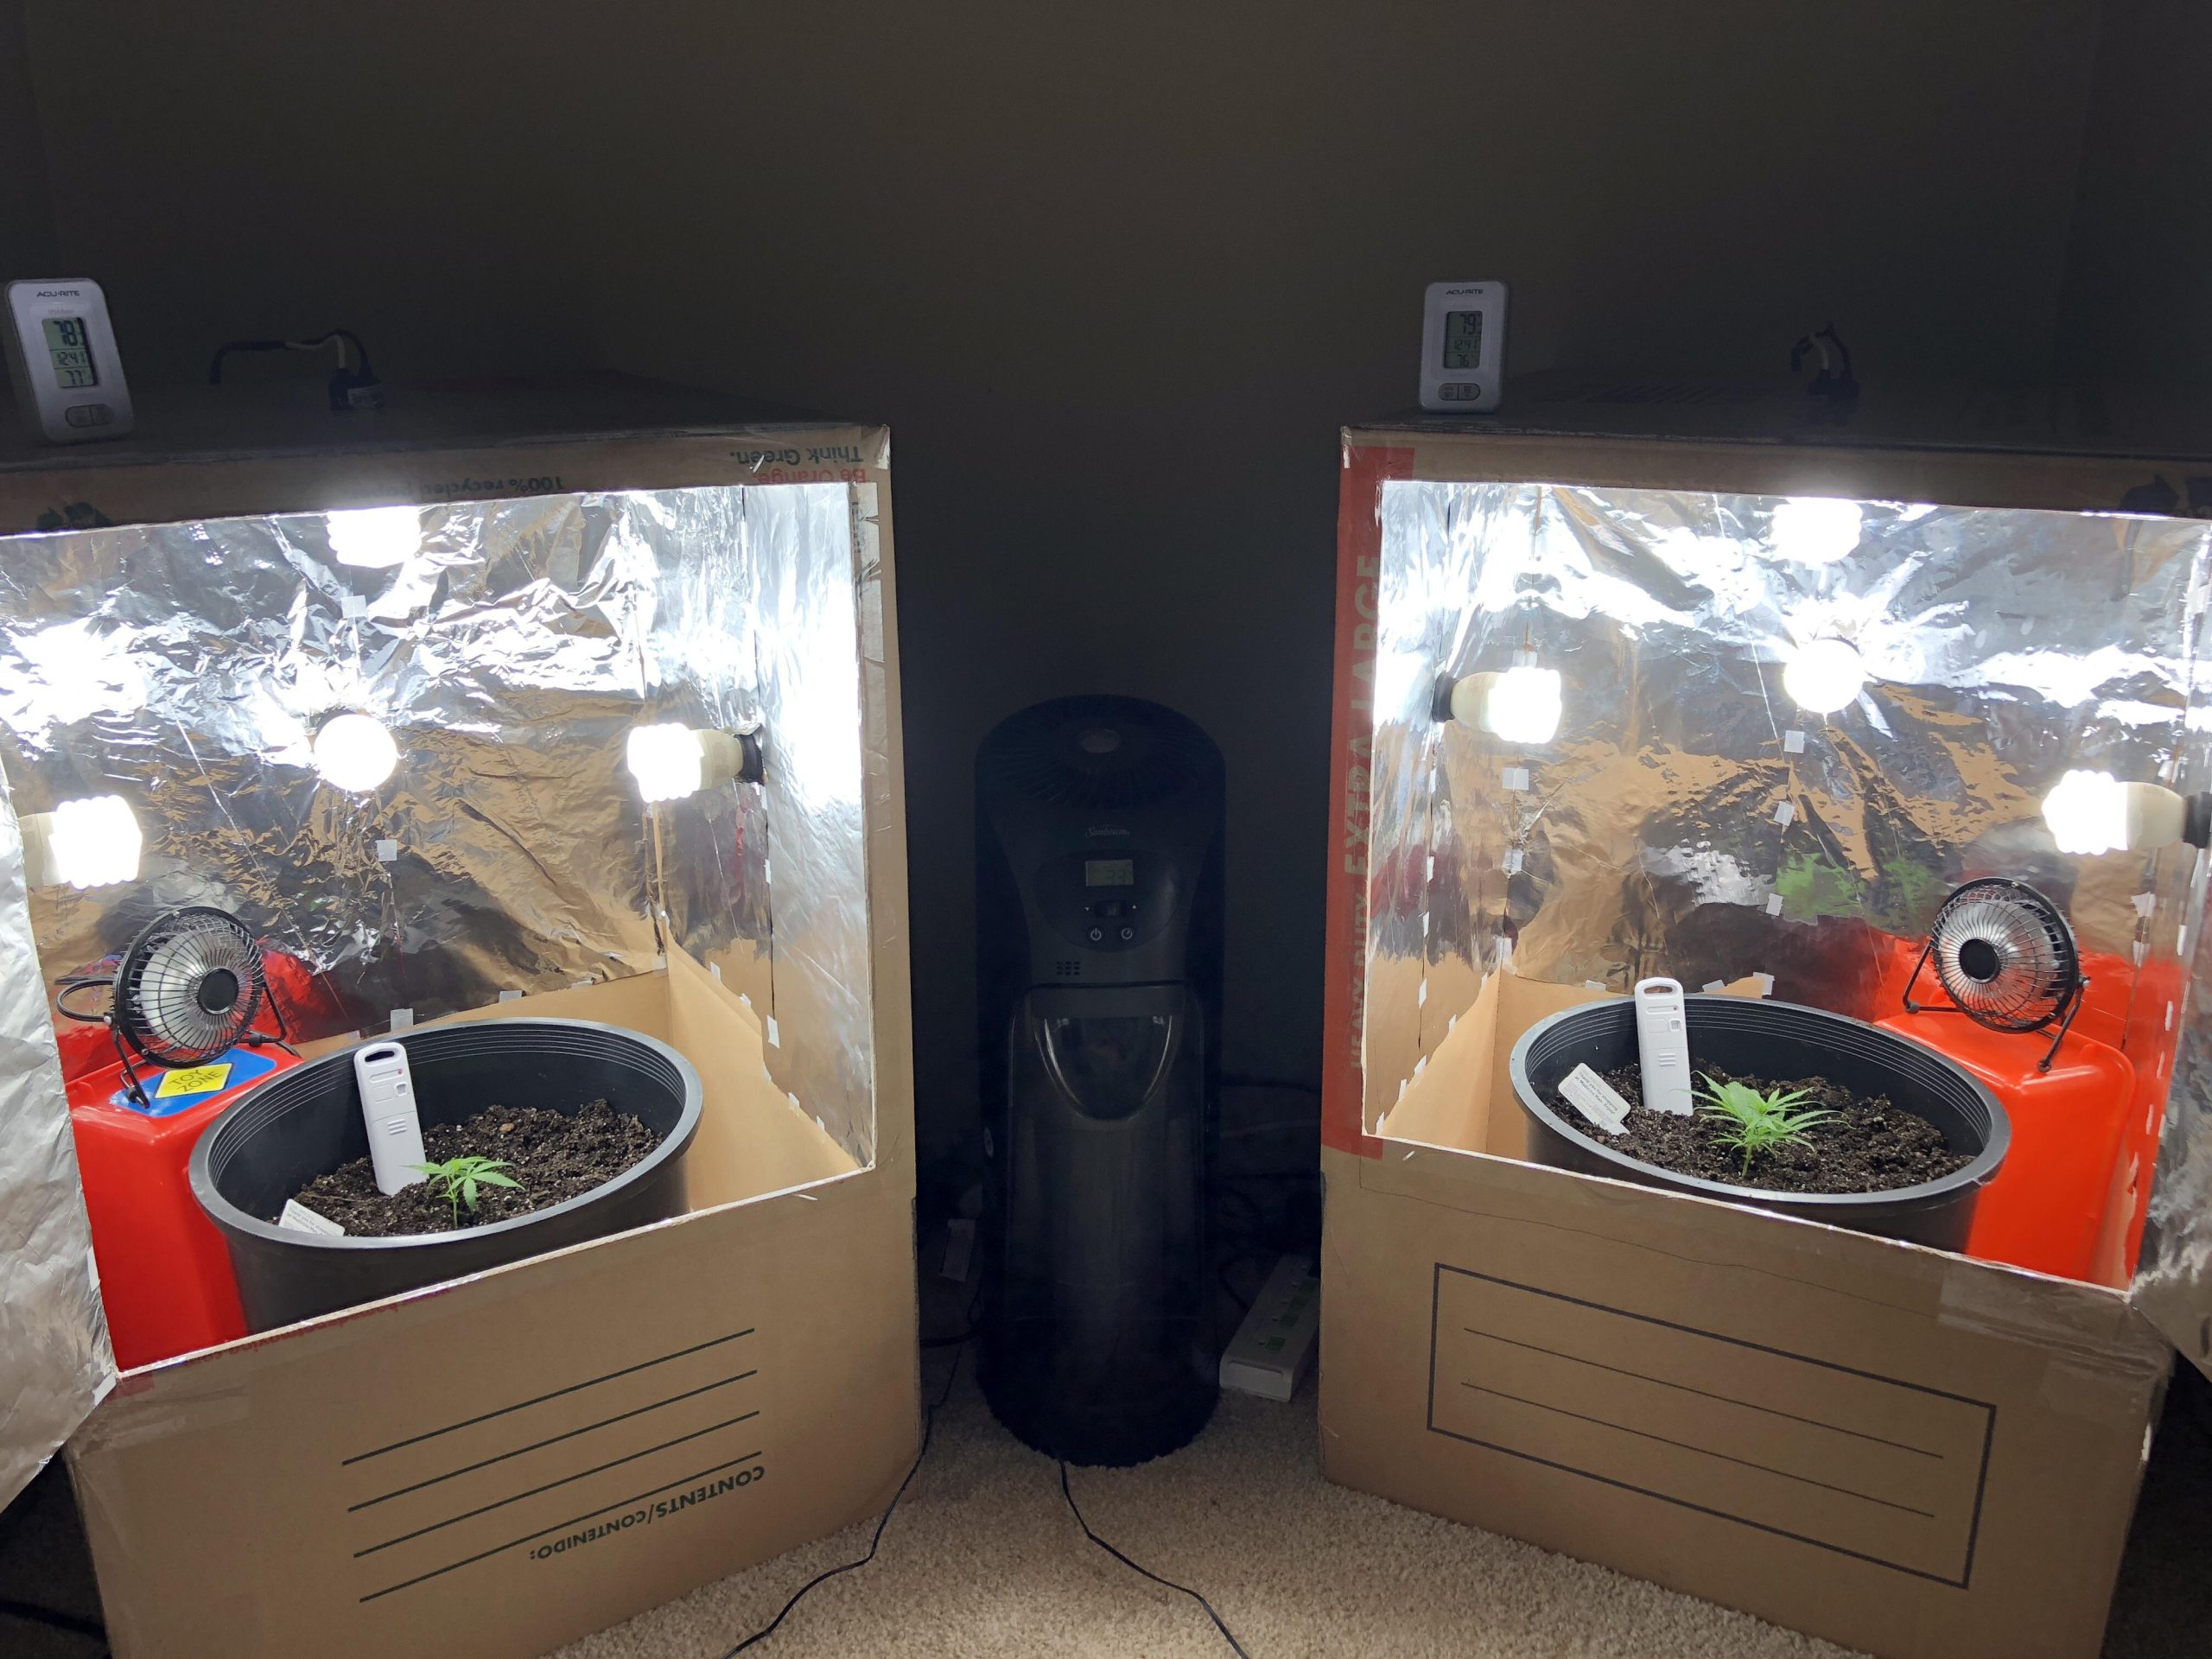
Growing plants indoors can be challenging, especially when it comes to providing the right environment. A grow box allows you to control lighting, temperature, humidity and more to help your plants thrive. The best part is you can build your own DIY grow box on a budget using common materials and basic tools.
What is a Grow Box?
A grow box, also called a grow cabinet, is an enclosed container used for growing plants indoors. It allows you to provide optimal and controlled conditions for plant growth. Grow boxes come in many sizes but are generally 1-4 feet tall and 1-3 feet wide. They are made using wood, plastic or metal and feature lighting, fans, and other components to monitor and adjust the environment inside.
The main benefits of using a grow box include:
- Controlling light exposure and optimizing the light spectrum for specific plants
- Maintaining consistent and ideal temperature and humidity levels
- Protecting plants from pests and diseases
- Allowing indoor gardening in small spaces
- Providing privacy and security for plants like cannabis
Key Components of a Grow Box
While you can make a simple box with a light and call it a grow box including the following components will greatly improve your results
-
Grow lights LED grow lights that provide full spectrum light are ideal, Fluorescent lighting also works well,
-
Exhaust fan and ducting: An exhaust fan pulls hot air out to control temperature. It requires ventilation ducting leading outside the box.
-
Intake fan: An intake fan brings fresh air in from outside the grow box.
-
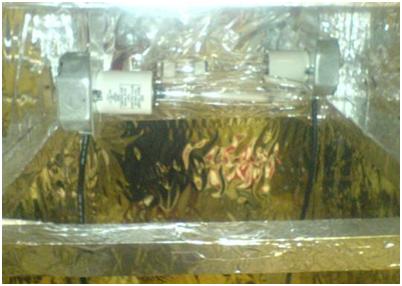
Reflective interior: Lining the walls with reflective material like mylar helps maximize light exposure. White paint also works.
-
Temperature and humidity monitor: A hygrometer allows you to track temperature and humidity. Some come with a thermostat to control fans.
-
Air circulation fan: A small fan inside the box circulates air and strengthens plant stems with gentle airflow.
-
Timer: A timer automates your grow light on/off cycles. Many LED lights come with built-in timers.
Optional enhancements like hydroponic systems, CO2 supplementation and odor control can be added as your grow box evolves.
How to Build a Grow Box – Step by Step
Building your own grow box is a satisfying DIY project. Follow these steps to create a fully functional box tailored to your space and plant needs:
1. Plan the Design
-
Decide on an ideal size and layout based on your available space and what you want to grow. Common sizes are 2x2x5 ft and 3x3x6 ft.
-
Make a list of the components you’ll include like lights, fans, reflective materials, etc.
-
Draw up plans for the box frame including the layout of components. Consider how you’ll access the inside for maintenance.
-
Select materials. Plywood, 2x4s and power strips work well. Recycled wood lowers costs. Avoid treated lumber.
2. Build the Frame
-
Construct the top, bottom and 4 sides using your plans. The full frame lays the foundation.
-
Attach panels of plywood or other materials to create the walls. Screws allow you to remove panels later if needed.
-
Build and attach any internal structures like elevated shelves for plants.
-
Add support beams across the open top to mount components to later.
3. Add Ventilation
Proper ventilation manages temperature and humidity while providing fresh air:
-
Cut out an exhaust hole near the top of one side. Add ducting that extends outside the box.
-
Install the exhaust fan over the exhaust hole pushing air out.
-
Cut an intake hole near the bottom on an opposite side. Cover with insect mesh.
-
Position the intake fan to draw fresh air in through the intake opening.
4. Install Grow Lighting
LED grow lights are energy efficient and allow adjusting the light spectrum.
-
Mount LED light panels to the ceiling (top) of the grow box using chains for adjustable height.
-
Or for fluorescent lighting, attach light sockets to the top and insert full spectrum tubes.
-
Add a reflective material like mylar or foil to the walls and ceiling to maximize light efficiency.
-
Install a timer to control the light cycle. Many LEDs come with built-in timers.
5. Add Environmental Monitoring
Monitoring tools help optimize the environment:
-
Mount a thermometer/hygrometer to track temperature and humidity.
-
Use a thermostat controller to automatically adjust fans maintaining ideal conditions.
-
Add a small circulation fan inside the box to circulate air.
6. Finish Up
-
Seal any gaps and light leaks with caulk or weather stripping to contain the environment.
-
Give the box power by installing a power strip connected to a GFCI outlet for safety.
-
Test all electrical components and make any adjustments needed.
-
Give the box a test run! Add some plants and monitor conditions over a few days.
Customizing Your Grow Box
Part of the fun of a DIY grow box is customizing it for your unique situation. Here are some ideas:
-
Add a grow box window for convenient monitoring of plants. Use acrylic, plexiglass or glass.
-
Use spray foam insulation for a lightweight and bright interior vs. reflective panels. Then paint white.
-
Install electrical outlets inside the box for plugging in devices. Use GFCI outlets for safety near moisture.
-
Improve odor control with an activated carbon filter attached to the exhaust fan venting outside.
-
Auto-water plants by adding an automatic hydroponic irrigation system or drip lines.
-
Use casters to make the grow box mobile so you can move it around as needed.
-
Monitor remotely using WiFi-enabled sensors and cameras. Control lights and fans with a smart app.
-
Stack multiple mini grow boxes vertically to save space!
Whatever your goals and setup, have fun designing and building your own custom grow box creation. Then enjoy the rewards of growing thriving indoor plants!
Introduction: How to Make a Grow Box From a to Z
Step 4: Light in the Light Chamber
Building a Fully Automated DIY Grow Cabinet
FAQ
How much does it cost to build a GrowBox?
How tall should a GrowBox be?
How do you use a DIY marijuana grow box?
To use a DIY marijuana grow box, first test out the door, fans, and lights. Use your surge protector to ensure that all necessary components can be plugged in. Your DIY marijuana grow box is now ready for all of your weed-growing needs. Turn on the lights and the fans, place your plant (or plants) inside, and water as needed.
How do you install a grow box?
Place the back, sides, floor, and top on the frame of the cabinet, securing the particleboard with wood screws. A fan is necessary for a grow box to help improve airflow – it will get stuffy inside that cabinet!
How do I build a successful grow box?
Understanding hydroponics is the first step in building a successful grow box. There are many different types of hydroponic systems, each with their own advantages and disadvantages.
How to build a stealthy grow box?
Here’s my step-by-step guide to building a stealthy grow box. It is based on converting a wooden wardrobe. Step 1 – Mark a 4-inch diameter hole in the top part of the wardrobe for where the extractor will sit. Cut out the hole, making a clean finish. Step 2 – Do the same at the bottom part of the wardrobe.
- A Complete Guide to Caring for Yuki Cherry Blossom Shrub - January 23, 2025
- Identifying Red Hot Poker Seeds: What to Look For When Harvesting Torch Lily Pods - January 23, 2025
- A Complete Guide to Harvesting Evening Primrose Seeds - January 23, 2025


