For any avid birdwatcher, keeping backyard feeders full of tasty treats is one of life’s simple pleasures Watching colorful songbirds like cardinals, chickadees, and finches flock to your handcrafted feeders to feast on homemade bird seed blocks is a heartwarming experience But with the high cost of pre-made seed blocks from the store, is it possible to DIY nutritious bird blocks at home for a fraction of the price? The answer is a resounding yes!
In this step-by-step guide, I’ll walk you through the easy process of crafting wholesome homemade bird seed blocks that both you and your feathered friends will enjoy. No special skills are required, and you likely already have most, if not all, of the ingredients on hand. Let’s get started!
What You’ll Need
The beauty of homemade bird seed blocks lies in their simplicity Here’s everything you’ll need
-
Bird seed – A wild bird seed mix black oil sunflower seeds thistle/nyger seeds, millet, safflower seeds, cracked corn, oats, etc. Mix and match to suit the birds in your yard.
-
Gelatin – Plain, unflavored gelatin acts as the binder. Knox is a readily available brand.
-
Water – Cold water helps “bloom” the gelatin.
-
A mold – Any plastic, silicone, or metal container will work to shape the blocks.
-
Cooking spray (optional) – For easy release from the mold.
-
Add-ins (optional) – Dried fruit, nuts, cheese, peanut butter, suet, etc.
And that’s it! Simple affordable ingredients from the grocery store. Now let’s put them together.
Step 1 – Bloom the Gelatin
First, you’ll want to “bloom” the gelatin. This softens and activates it so it can bind the seeds.
-
Add 1-2 packets of gelatin (about 1 tablespoon) to 1/2 cup cold water. Let sit for 5 minutes. The gelatin will absorb the water and become saturated.
-
Next, heat the gelatin water over low heat, stirring frequently, until the gelatin has fully dissolved.
-
Remove from heat and allow to cool and thicken slightly, about 5-10 minutes.
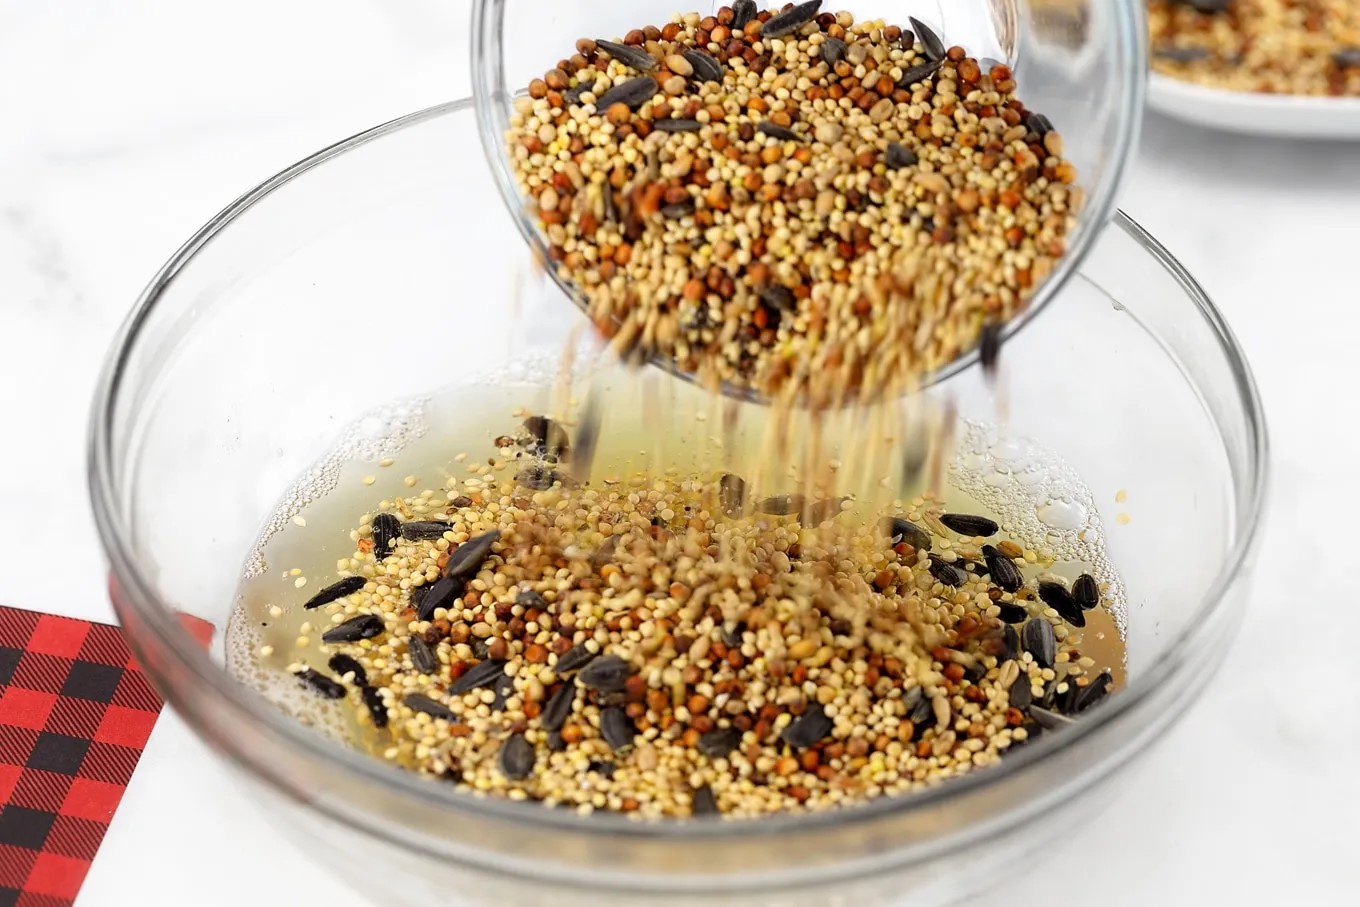
Step 2 – Mix in the Bird Seed
Now add your dry ingredients to create a seedy mixture:
-
Pour 3-4 cups of bird seed into a large bowl. Any combination of seeds will work – mix and match favorites!
-
Optional: Add any dry add-ins like crushed nuts, dried fruit, oats, etc. Get creative!
-
Pour the cooled gelatin liquid over the dry ingredients. Mix thoroughly until all seeds are evenly coated.
Step 3 – Pack into Molds
Time to shape your seed blocks:
-
Lightly coat molds with cooking spray for easy removal. Any containers will work.
-
Pack the coated seed mixture tightly into the molds, pressing down firmly.
-
Leave a little room at the top for expansion as the blocks set up.
-
Allow blocks to set in the refrigerator for 2-3 hours minimum.
-
Once hardened, gently remove blocks from molds. Place in feeders and enjoy!
And that’s all it takes to create nutritious homemade bird blocks your feathered pals will adore. Let’s take a look at some tips for maximizing success.
Tips for Making Fantastic Homemade Bird Seed Blocks
Follow these handy tips and tweaks to craft picture-perfect seed blocks every time.
Choose the Right Seeds
Cater to the birds in your yard by picking their favorite foods. Black oil sunflower seeds, nyger seeds, cracked corn, millet, and oats are excellent choices. Mix and match a variety to create a balanced, nutritious block.
Gelatin Helps Hold It Together
Unflavored gelatin is the key ingredient that allows the blocks to set up firmly and hold their shape. Use about 1-2 packets per 3-4 cups of seeds.
Natural Add-Ins Provide Variety
Adding treats like dried fruit, crushed nuts, cheese, peanut butter, or suet gives important fat and protein. This helps birds get the energy they need, especially in winter.
Pack Tightly for Sturdiness
Press the seed mixture very firmly into molds so blocks hold together. But leave a bit of room at the top for expansion as they set up.
Give Time to Set Properly
Chilling blocks in the refrigerator for at least 2-3 hours allows the gelatin to fully solidify. This prevents crumbling when you go to remove them.
Store Leftovers in the Fridge
Any unused seed mixture can be stored in an airtight container in the fridge for up to 1 week. Rewarm slightly to reuse.
Creative Ways to Use Your Homemade Bird Seed Blocks
Once your seed blocks have set up properly, get creative with how you serve them up! Here are some fun ideas:
-
Use a covered platform feeder. This protects blocks from rain so they don’t get mushy as the gelatin absorbs moisture.
-
Skewer onto tree branches or hang with string. Simple but very effective!
-
Craft wreaths by shaping seed mixture into rings around bird-safe vine wreaths. Hang outdoors and watch birds nibble away.
-
Embed into pinecones by pressing pinecone halves into the seed mixture before chilling. A natural looking feeder.
-
Freeze blocks in summer to create cool, nutritious bird popsicles.
-
Make mini-muffins by dividing mixture between lined muffin tins. Pop out button-sized cakes.
-
Shape into logs, hearts, or balls – anything goes! Get the whole family crafting.
The ideas are endless when you make your own bird blocks. Get creative with shapes, molds, and add-ins to make each batch unique.
Frequently Asked Questions About Homemade Bird Seed Blocks
If you’re new to crafting your own bird blocks, chances are you have a few questions. Here are answers to some of the most common FAQs.
Is the gelatin safe for birds to eat?
Yes! Unflavored gelatin is made from collagen and is completely edible and safe for birds. It acts as the binder but also provides some protein.
How long do homemade blocks last?
Properly stored in a cool, dry place, blocks can last for several months. Seeds may eventually become stale but the block will remain intact.
What if my blocks get soggy in rain?
Excessive moisture can dissolve the gelatin, causing blocks to fall apart. Use a covered feeder or make a new drier batch.
Should blocks be refrigerated?
Refrigeration is not required after the initial setting period, but it will prolong freshness in hot weather.
Can I adjust the amounts of ingredients?
Absolutely! There’s plenty of room for tweaking amounts to suit your preference. Just maintain the same gelatin to seed ratio.
What types of molds can I use?
Anything goes! Metal tins, silicone molds, yoghurt pots, ice cube trays, muffin tins…get creative with shapes and sizes.
Crafting your own bird seed blocks at home is simple, affordable, and endlessly customizable. Whip up a batch using your favorite ingredients and get ready to enjoy the sight of happy birds flocking to your feeders! With a bit of practice, you’ll be able to create nutritious bird blocks perfectly tailored to the feathered species in your own backyard.
DIY Make Your Own Homemade Birdseed Blocks or Cylinders Featured
Ok. I admit it. I am a cheapskate. Not one of those cheapskate people who go dumpster diving behind the store to get free old food (eww!) I just hate paying premium prices for things that are poorly made, or just overpriced. Sometimes I think I can just make it myself. It doesn’t always work out that way, but it did for this project! We moved to a great new house this summer—well, new to us—but it was built in 1962! It’s in a golf course neighborhood, and our backyard has big, old citrus trees and a great view of the first hole’s green and the golf course’s fairway pond. One bonus we didn’t expect was the wildlife in our backyard, right outside our porch. The golf course and pond is home to a huge flock of Canadian Geese (even in the summer!). The famous peach-faced lovebirds are our favorite. They are little green, blue, and peach parrots. We also have white cranes, a few kinds of ducks, pigeons, doves, quail, cardinals, wood peckers, hummingbirds, all kinds of finches, wrens, and a few other birds. We have as many as 20 at a time in our backyard. Its great! So, now we have decided to put up some bird feeders! Yay. I went to a store in the area called “Wild Bird” and bought a big round birdseed cylinder and feeder. I then hung it from the big grapefruit tree so that we can watch the birds frolic from the porch in the evening while we enjoy the sunset. But then. those pesky bastards ate all that stuff up lickety split and it was time to get a refill. I found out that those silly blocks are only available in this feeder and can’t be bought at Walmart or Home Depot. They cost $17 to $18 each, depending on the flavor. It is the birdseed version of the old HP Printer Marketing plan. Sell the hardware cheap and make tons of money selling ink refills. I hate that. So. I set out to the inter-webs to see if I can make my own. There are many recipes for suet cake, as well as a few one-time “experiments” made by people who are desperate for attention on Pinterest. No real instructions. No real recipes and nothing the size of my block. We love the feeder, but hate paying $20 a crack for a couple pounds of birdseed.
I learned a little from a lot of different sources while surfing Google, and then I changed what I learned to fit what we are making. You should be able to do this pretty easily too. Here are some specs.
This is my feeder: http://shop.wbu.com/p/wbu-large-cylinder-feeder?pp=12 This is the seed block: http://shop.wbu.com/p/large-supreme-seed-cylinder/specialty-bird-feeders
The block is a 6″ diameter x 7-3/4″ tall cylinder with a 1″ hole in the middle. probably so you can place it on a feeder with a dowel.
I learned some about how other people have tried to make bird seed blocks at home by reading a few blog posts: A Birdseed Wreath: http://www. todayshomeowner. com/how-to-make-a-bird-seed-wreath/ Another wreath: http://www. thegardenroofcoop. com/2012/12/birdseed-wreaths. html.
Some small blocks: http://www.themakeyourownzone.com/2013/11/recipes-diy-birdseed-cakes.html
Nothing about making BIG BLOCKS like I need.
To make any of these recipes, you only need gelatin, a mold, and a bunch of seeds. Its not really rocket science. But. what can I use for a mold to make a 6″ x 8″ round cylinder. BOOM. then I saw it at Home Depot when I was working on some plumbing problems. A 6″ x 24″ PVC Pipe!! http://www. homedepot. com/p/VPC-6-in-x-2-ft-PVC-SDR-35-Riser-Pipe-6006-2/202564459.
I bought it, and then chopped it into three 8″ long pieces. That took about 5 minutes on my table saw. It too longer to cleanup all the little white chips from the saw blade that got everywhere! UGH. I cut the handle off of an old, rusty rake I got for free at a yard sale to make the middle hole while I had the saw out.
So here is the recipe to make a WBU-Style Birdseed Cylinder:
14 cups of birdseed. (my blend weighed about 4-1/2lbs) 3 cups water 8 1/4oz packets unflavored gelatin (2oz total).
1. Combine the water & gelatin in a pan. Heat to about 160°F to dissolve and active the gelatin. 2. Meanwhile put your seeds in a giant bowl and mix together as you wish. 3. The gelatin should be warm before adding it to the seeds in the bowl. Stir the seeds around to cover all of them with the liquid gelatin. 4. Spray some PAM spray cooking oil inside your PVC cylinder to make it easier for the block to come out after it’s set. 5. I used a cookie sheet the size of a toaster oven so it would fit in the fridge and put a cylinder on it. Fill the bottom of the cylinder with about 3 to 4 inches of seed. Tamp it down to pack tightly and jam the dowel in the middle. Re-tamp so the seeds will hold it up. Then fill cylinder with the rest of the seed-gelatin mixture. Tamp down every 2-3″ so it will all fit. Place in the fridge for a day or two to set the gelatin. 6. You can take it out of the fridge after a day or two and unmold the seeds from the cylinder. I made my dowel 12″ long so it could function as a handle to assist in the un-molding. 7. Now you need to air-dry the block to remove the moisture and harden the gelatin. How long this takes depends on your environmental conditions. I live in Arizona. so I just set it in the garage and pointed a fan at it. Tips: You want the thing to dry out as quickly as possible to prevent mold growth. A nice warm dry place with alot of moving air is great. It’s fine to keep it somewhere cool and dry, but use a fan and turn it every day or two. The dowel hole helps air get to the insides too. Dont use your oven to dry the block. The heat will just melt the gelatin and you will have a loose pile of crumbly seeds. Maybe a giant fruit dehydrator would work. My garage is a giant fruit dehydrator in the AZ Summers. Your mileage may vary. You can make these ANY size you want, and use ANY kind of mold. think Tupperware or Bundt Pan. If you follow the recipe I gave you, the seed-gelatin mix should be nicely coated without being drenched in too much liquid. Use about 1/3 cup of water for each 1/4 oz gelatin packet for every 1-3/4 cup of seeds. Fill your favorite mold with loose seeds. Measure how many seeds that took and then calculate how much water & gelatin you need.
Doesnt matter what kind you use. You can blend different ones together. The birds will eat whatever you put out there. I am providing a recipe chart so you can scale your batch to fit your mold volume. Dont get scared. its 5th grade math. You can do it, or go ask your kid.

How to make backyard bird “Seed Logs” Backyard Birds Len Quelland
- How to Grow Gorgeous Climbing Roses on a Wooden Fence - March 24, 2026
- Avoid These Plants When Companion Planting with Oregano - March 24, 2026
- 15 Great Trees to Plant Near Your House - March 24, 2026