Finding a splash of color in the winter landscape can make the dull, gray days look beautiful right away.
When most plants have gone to sleep for the winter, camellias are a good choice for adding color and important food for pollinators.
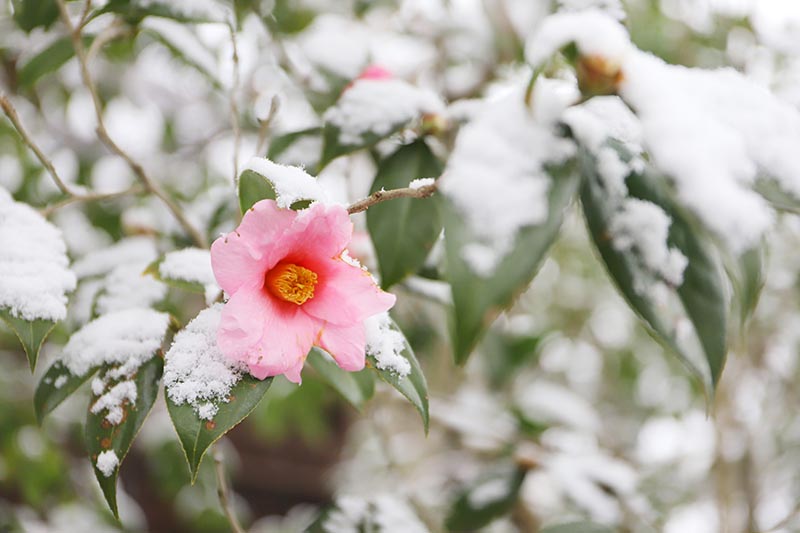
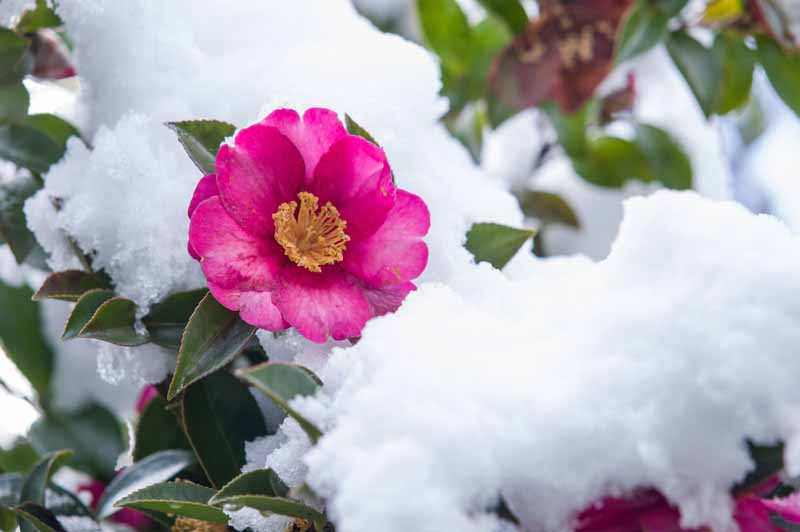
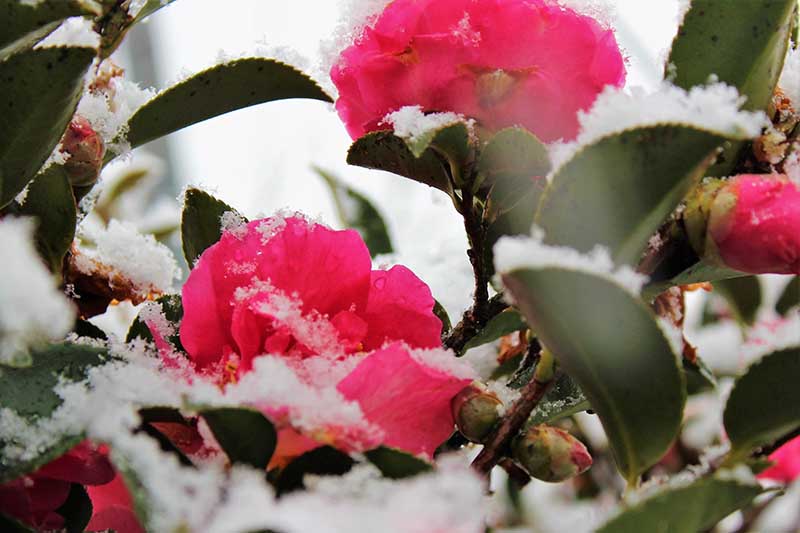
But most types can handle some cold, and some can even bloom through light frost or a dusting of snow. They still need some protection from hard freezes and strong winds, though.
We link to vendors to help you find relevant products. If you buy from one of our links, we may earn a commission.
We’ll talk about how to protect and grow your camellia through the cold winter months in this guide.
Camellias are beautiful shrubs that produce gorgeous blooms in late winter and early spring. However, in colder climates, camellias need some extra protection during the winter months to ensure they survive the cold and bloom abundantly in spring. Properly wrapping camellias for winter is crucial to their health and future flowering. In this comprehensive guide, we will walk through the steps on how to properly wrap camellias to protect them through the winter.
Why Wrap Camellias for Winter?
Camellias are native to parts of Asia with mild winters When camellias are grown in zones with cold winters, they need some protection to avoid damage Freezing temperatures can damage buds, leaves, and branches. Wrapping camellias protects tender new growth and flower buds from being damaged by frost and freeze. It also shields from drying winter winds which can desiccate leaves. Wrapping creates an insulating layer that regulates temperature fluctuations that can stress the plant. Proper winter protection results in abundant, lush blooms come springtime.
When to Wrap Camellias
Timing is important when it comes to winter protection. Camellias should be wrapped in late fall after they have gone dormant. This is usually after the first hard frost when the plants have hardened off for winter. If wrapped too early, new growth may continue and be damaged when cold temps arrive. Ideally, camellias should be wrapped by early to mid November before temperatures reach freezing. They should remain wrapped until the threat of freezing weather has passed in late winter or early spring.
What You Need to Wrap Camellias
- Burlap fabric
- Horticultural fleece
- Twine or string
- Scissors
- Thin stakes or bamboo canes
Burlap and horticultural fleece are most commonly used. Avoid plastic wraps like bubble wrap that can cause moisture buildup. Natural breathable fabrics work best.
How to Wrap a Potted Camellia
For potted camellias
-
Place the potted camellia near a protected wall or structure out of harsh winds.
-
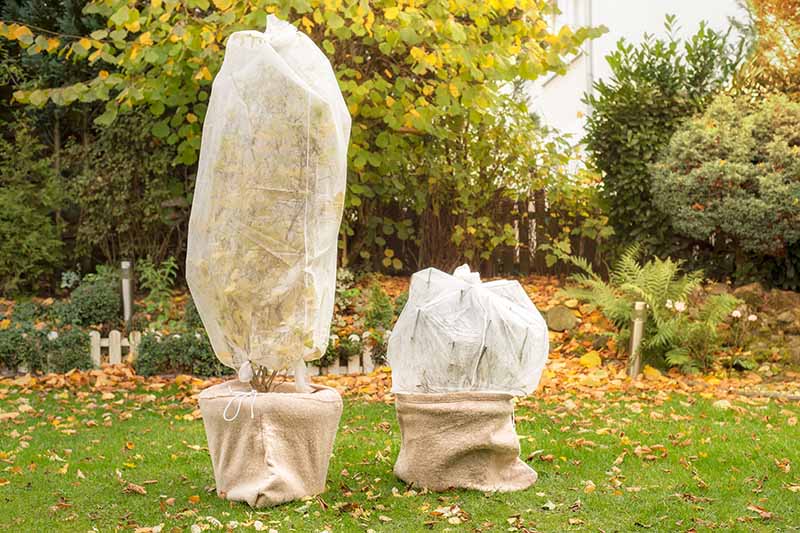
Wrap the entire pot with burlap or fleece, securing the bottom edge with twine. Leave an air pocket between the plant and wrap.
-
Use stakes around the outside to keep the wrap upright and from touching the leaves.
-
Make sure the soil does not completely dry out over winter. Water occasionally if needed.
-
Check for pests like rodents or insects over winter.
-
Remove the wrap in early spring once freezing temperatures have passed.
Potted plants are more vulnerable since their roots are more exposed to cold. Keeping them against a protected structure and insulating the entire pot prevents root damage.
How to Wrap Camellias in the Ground
For in ground camellias:
-
Clear away debris and weeds from the base of the plant. Apply a layer of mulch around the base to insulate roots.
-
Wrap the main stems and branches with burlap or fleecesecured with twine or stretchable plant tape. Wrap loosely enough to allow air circulation.
-
Use bamboo stakes every 1-2 feet around the outside to hold up the wrap.
-
Cover the top to protect the crown and buds from frost.
-
Check for pests over winter.
-
Unwrap the camellia in early spring after the risk of frost has passed.
Focus protection on the main branches, crown, and buds but avoid tightly wrapping the leaves themselves. Make sure the entire shrub is covered top to bottom. Staking the fabric prevents it from sagging or blowing away.
Alternative Wrapping Methods
-
Place a wire cage around the shrub and stuff leaves or straw inside for insulation.
-
Erect a temporary wooden frame around the camellia and cover with burlap.
-
For small plants, invert a bucket or wire basket over the top.
-
Surround with bags of leaves, straw, or pine branches.
-
Weigh down loose covers with bricks or rocks if needed.
These alternative methods also protect the crown and branches from exposure. Get creative with materials on hand!
Other Winter Protection Tips
-
Wait to fertilize until spring to prevent tender new growth.
-
Avoid excessive pruning in fall.
-
Water deeply before ground freezes.
-
Mulch around the base with 2-4 inches of bark, leaves, or pine straw.
-
Wrap early before cold temps arrive.
-
Check for rodent or insect damage while wrapped.
-
Unwrap gradually in spring.
-
Remove dead leaves and branches after unwrapping.
-
Resume fertilizing once new growth emerges.
Following proper winterizing practices ensures camellias survive and enter spring healthy and vigorous. A little seasonal protection goes a long way!
Signs of Damage After Unwrapping
Check for signs of winter injury after unwrapping in spring:
-
Discolored, browned leaves
-
Brittle, dried out buds
-
Dead branches
-
Slow growth
-
Lack of new sprouts and leaves
While some dieback is normal, extensive damage means your winter protection needs improvement next year. Adjust when and how you wrap to better shield your camellias through harsh winter conditions.
Wrapping Camellias Allows Them to Thrive
If you live in an area with frigid winters, taking the time to properly wrap and protect camellias is crucial to their health. A few simple steps done each fall allows these flowering shrubs to survive cold snaps and thrive season after season. Follow this guide on when to wrap, materials to use, and techniques to protect new growth and flower buds through the winter. With proper care, your camellias will reward you with an abundance of breathtaking blooms when spring finally arrives!
Tips for Outdoor Winterizing
First, pick a type that does well in your area if you plan to leave it outside all winter. Then, make sure to put it somewhere that will be as protected from cold winds as possible.
It’s also important to shelter the roots, but avoid smothering them, as they are highly sensitive.
Be sure to avoid fertilizing late in the summer or in the fall. Garden plants can grow new shoots when they are fertilized, but if you fertilize them right before winter, the new shoots will probably die.
Allow your plants to begin to fall into dormancy as the weather chills. Plants that are dormant are better able to handle winter weather and can be better protected for the rest of the season.
As temperatures fall, water deeply, as moist soil can help to insulate roots. Also, you should give the plant water ahead of time because it won’t be able to get it from the frozen ground.
Put down a thick layer of two to four inches of mulch around the base of each plant and spread it out to the width of the canopy, or the outside edge of the shrub, to protect the roots that are close to the ground.
Camellias are usually planted shallowly because their roots need to be able to get enough air. The roots can often be placed close to the ground.
Shred or chipped wood mulch or straw works best because it lets air flow without getting tangled up, which is good for the roots. Be sure to apply mulch prior to hard freezes, especially if extreme cold is predicted.
Leaf mulch shouldn’t be used because it can get tangled when it gets wet, suffocating the roots. Leaves can be used if they’re well shredded to prevent matting from becoming an issue.
Since they are woodland plants, it’s best to replace the mulch every year. Mulch can keep the plants in an environment similar to the forest floor all year.
You can also leave mulch on top to help plants keep their water and keep the roots cooler in the summer.
In areas where temperatures can dip well below freezing, you should wrap your shrubs for additional protection. Plants can be wrapped in layered horticultural fleece, burlap, or bubble wrap.
If it’s going to be very cold, materials can be doubled or tripled up as long as light can still get through.
If you’d prefer a canopy-style barrier, you can find these at Home Depot. Just be sure to fasten it securely in place to prevent it from becoming a kite!
Wrap plants loosely to allow for air circulation and transpiration.
But make sure it’s well secured so you don’t have to chase loose wrapping paper through the yard on a windy day.
To keep things in place, you can tie the wrapping paper to bamboo canes or metal stakes with twist ties or twine.
If the plant can’t handle the weight of snow or strong winds, don’t tie things directly to the branches. This could hurt the plant.
After the threat of frost has passed, the wrapping can be removed. But if your plant usually blooms before the last chance of frost, you can take off the wrapping early and put it back on when frost is really likely to happen.
Even when precautions are taken, you may notice some discoloration of the foliage. Camellia leaves don’t fall off in the fall because they are evergreen. However, winter burn or frost can hurt them.
Most of the time, the yellowing will go away on its own in the spring, but in the spring, you should cut off any dead leaves or branches.
If there is a lot of discoloration, you might want to add more wrapping, but don’t make it so thick that light can’t get to the plant.
You will probably need to grow your shrub in a pot if you choose a type that can’t handle the cold winters where you live. This way, you can move the shrub to a safe spot.
So, what’s the plan for moving the potted plant? Let’s explore some options.
Why Do Camellias Need Winter Protection?
All varieties of camellia originated in various parts of Asia, thousands of years ago. Their beauty, charm, and usefulness established them as a coveted addition to the garden.
People in China and Japan have loved these shrubs for a long time, and they have been an important part of religious ceremonies and imperial ceremonies.
Some of the camellias that you see today in many palace gardens in the area were planted more than 500 years ago.
Read more about the long history of camellias and how to grow them in our guide.
Even though many types can handle or are hardy in cold temperatures, they can still be hurt in the winter by very cold temperatures or strong, cold winds.
For the winter, camellias in pots can be moved to a greenhouse, garage, or a more protected spot outside.
But beware of dry conditions inside temperature-controlled areas in winter. Camellias don’t do well in these conditions, and moving your plants to a warm, dry place for the winter could kill them.
Preventative measures and a little forethought are necessary to get your camellia through the winter months safely. Let’s discuss the best methods for protecting your plants.
Pros and Cons of Growing Camellias in Containers // Winter Protection for Camellias
FAQ
How do you winterize camellias?
Will camellias survive a freeze?
When should I prune my camellia for winter?
Do camellias stay green all winter?
Should you wrap a camellia in winter?
Patricia Short, UK-representative of the International Camellia Society, recommends wrapping some bubble wrap or other form of protection around camellia shrubs during extremely cold winters.
How do I protect my camellia plants from cold weather?
You may also group containers together for protection, or wrap pots with insulating materials (as Lorraine suggests above) to stave off the cold. Camellia do need to be placed in a sheltered spot, especially through the winter months.
Are camellias cold tolerant?
While many varieties are cold hardy or cold tolerant, even these can suffer winter damage in extremely low temperatures or from exposure to harsh, cold winds. Potted camellias can be moved into a greenhouse or garage, or a more sheltered area outdoors, for winter protection.
Can camellias grow in a greenhouse?
Potted camellias can be moved into a greenhouse or garage, or a more sheltered area outdoors, for winter protection. But beware of dry conditions inside temperature-controlled areas in winter. Camellias are not best suited for these, and rehoming your plants in a warm and dry location for the winter may lead to death.
How do you overwinter a camellia plant?
Plant your camellia in a spot protected from the wind, such as a house wall, fence or hedge. To overwinter camellias in the garden, the choice of location must be optimal [Photo: shark girl/ Shutterstock.com] Winter protection for camellias: Cover the root zone with a breathable garden fleece, a coconut mat or a thick layer of mulch.
Should I wrap my camellias with burlap or horticulture Fleece?
Loosely wrap your camellias with burlap or horticulture fleece during particularly cold times. Especially when temps are predicted to drop well below freezing. Double up if need be, but always make sure light can shine through. Remove once the temps warm up, but have everything on the ready for that late spring frost!
- The Ultimate Guide to Growing Strawberries in Raised Beds - August 8, 2025
- No-Dig Garden Beds: The Easiest Way to Grow a Beautiful Garden - August 6, 2025
- How to Protect and Preserve Wood for Raised Garden Beds - August 6, 2025

