Orchid potting mixes are a popular choice for many houseplant owners thanks to their excellent drainage properties. But can you use an orchid soil mix for your beloved monstera plant? Let’s explore the pros and cons of using orchid potting mixes for monsteras, and tips for amending it to create the ideal growing medium.
What is Orchid Potting Mix?
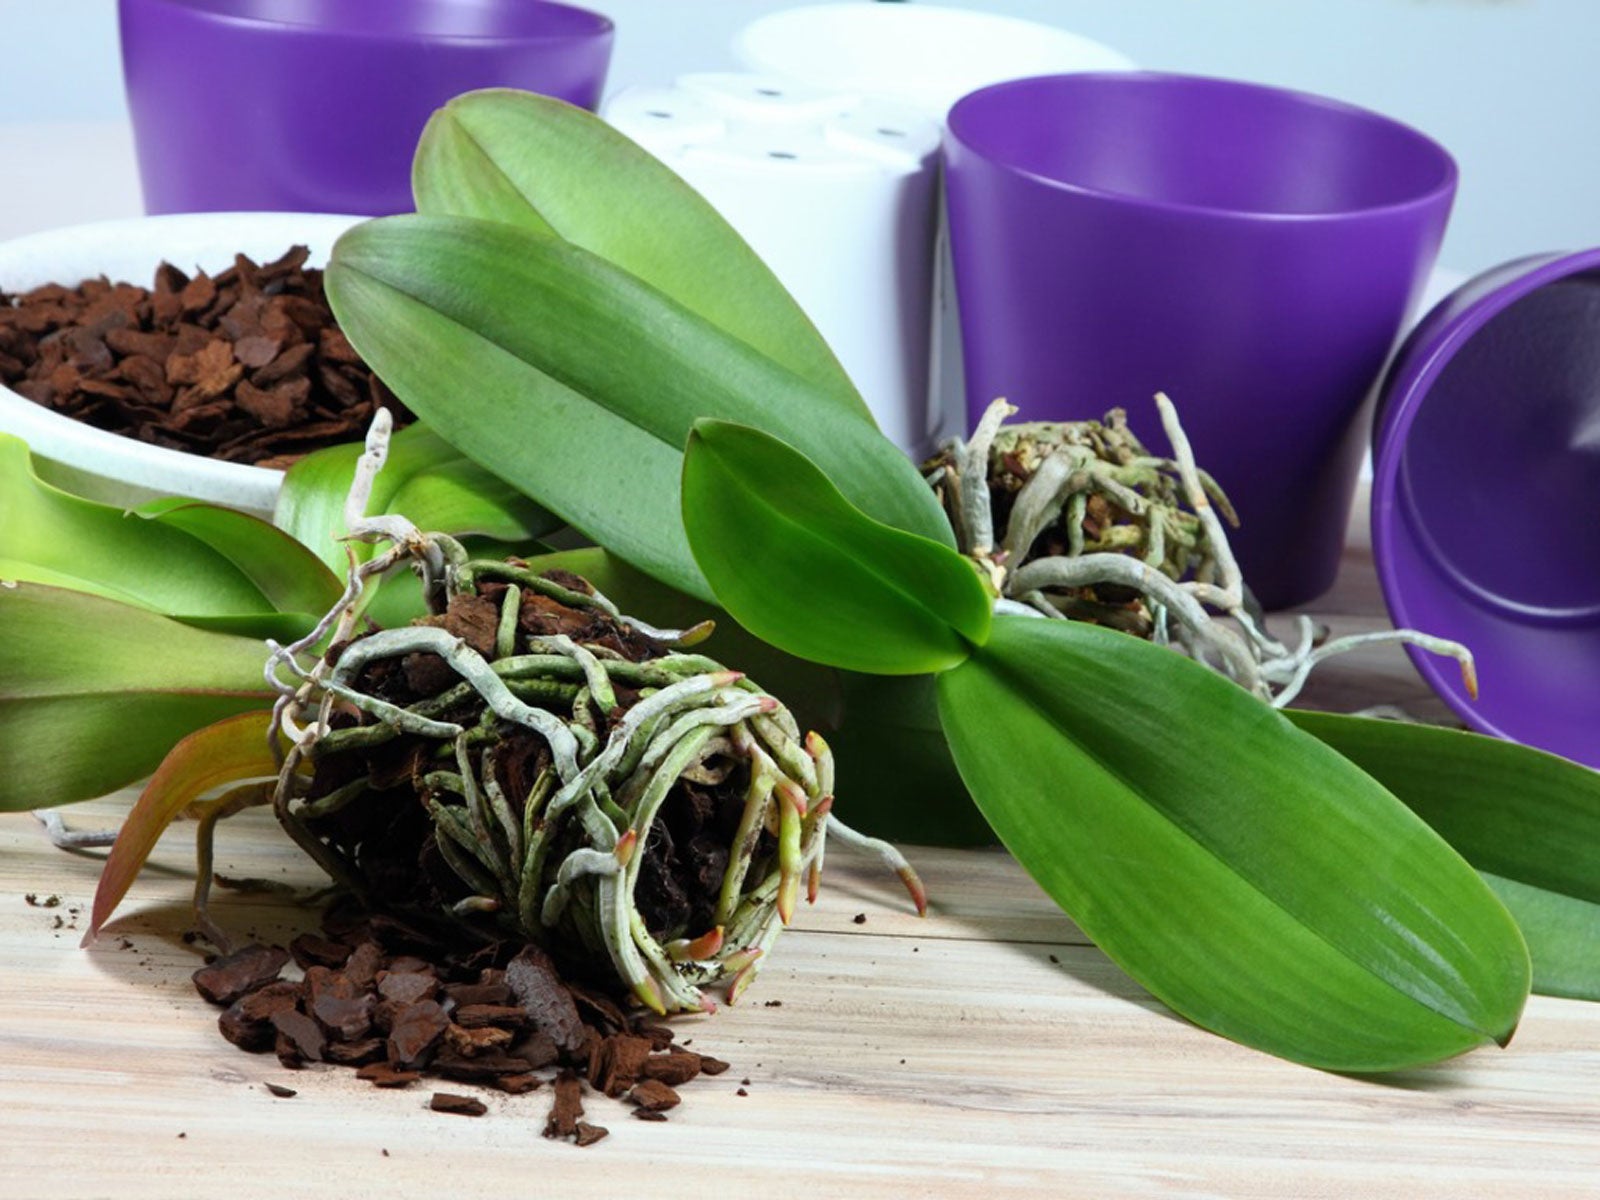
Orchid potting mixes are specially formulated to provide the excellent drainage and air flow orchid roots need to thrive The main ingredients are
-
Medium to large fir bark chunks – Creates air pockets for drainage. Composts slowly over time.
-
Perlite – Lightweight and porous to improve drainage and aeration
-
Charcoal – Helps absorb excess moisture and prevent root rot.
-
Sphagnum moss – Adds moisture retention. Some mixes omit this.
The large pieces of bark and perlite allow quick drainage while still providing some water retention. A purely bark-based mix is common, but many blends also contain coconut coir, tree fern fiber, peat moss, or compost.
The result is a lightweight, fast draining soil mix ideal for epiphytic orchids. But how does it work for thirstier monsters like monstera plants?
Using Orchid Mix for Monsteras – Pros
There are a few advantages to using an orchid potting mix as the base for monstera plants:
-
Excellent drainage – Prevents overwatering issues and root rot.
-
Air flow for roots – Monstera have aerial roots that need oxygen.
-
Lightweight – Easy to move large monstera plants.
-
Slow release of nutrients – As the bark and moss break down.
-
Readily available – Sold at most garden centers.
With proper watering habits, the quick drainage of orchid mix can be beneficial for monsteras by preventing soggy soil. The air pockets also allow oxygen to reach the roots. It’s a lightweight and accessible option.
Using Orchid Mix for Monsteras – Cons
However, straight orchid potting mix also poses a few drawbacks for monstera plants:
-
Dries out quickly – Needs very frequent watering to stay moist.
-
Difficult to rewet – Repels water once totally dry.
-
Minimal nutrients – Lacks the organic nutrition monsteras need.
-
Too chunky – Can’t retain any moisture long term.
-
High perlite ratio – Can hold too much water if perlite breaks down.
While monsteras don’t like wet feet, they do require consistently moist soil. Pure orchid mixes drain too quickly and then repel water, making it hard to keep monsteras sufficiently hydrated. They also lack the organic matter monsteras need for healthy growth.
Best Practice: Amend Orchid Mix for Monsteras
The best approach is to use orchid potting mix as a base, and amend it with ingredients to create the ideal monstera soil blend.
Here is an amended orchid potting mix recipe for monsteras:
- 1 part orchid bark
- 1 part perlite or pumice
- 1 part peat moss or coco coir
- 1 part compost, worm castings, or leaf mold
- Optional: slow release fertilizer granules
The orchid bark provides drainage and aeration. Perlite or pumice further improve drainage and create air pockets.
Peat or coco coir help retain moisture so the soil stays evenly moist. Compost, worm castings, and leaf mold add organic nutrients to feed the monstera.
A balanced slow release fertilizer can provide continuous nutrients. Always follow dosage recommendations.
This amended mix combines the aeration of orchid soil with the moisture retention and nutrition monsteras need to thrive. The ratio can be adjusted based on your climate and watering habits.
How to Repot a Monstera in Orchid Mix
Follow these steps to repot your monstera in an amended orchid potting mix:
-
Choose a pot 1-2 inches wider than the current container to allow room for growth. Add drainage holes if needed.
-
Combine the orchid bark, perlite/pumice, peat/coco and compost in the amended ratios above. Mix well.
-
Fill the new pot about 1/3 full with the mixed soil. Firm it down gently.
-
Remove the monstera from its old pot. Loosen any circled roots.
-
Place the monstera in the new pot. Fill in around the roots with more soil mix.
-
Water thoroughly until it drains from the bottom. Allow excess to drain fully.
-
Top off with remaining mix if needed after watering causes settling.
-
Fertilize 2-4 weeks later to encourage new growth.
Be sure to provide the right care after reporting to your amended orchid soil mix.
Caring for Monsteras in Orchid Mixes
To grow monsteras successfully in an amended orchid potting mix, remember:
-
Water more frequently to offset the quick drainage. Check soil daily and water when top inch is dry.
-
Monitor moisture levels. Soil should not stay soggy or powder dry.
-
Add organic slow release fertilizer every 2-4 weeks during growing season.
-
Mist leaves occasionally to increase humidity around the plant.
-
Repot annually into fresh amended mix as the bark decomposes.
-
Take care not to overpot monstera or leave it potbound. Find the right balance.
With a well-amended orchid based soil and proper care, your monstera will stay healthy and thrive indoors!
Ideal Potting Mixes for Monsteras
Beyond orchid mixes, here are some other excellent potting mix options for monstera plants:
Peat Moss & Perlite
A simple blend of peat moss, perlite or vermiculite, and compost makes a naturally moisture-retentive mix. The perlite improves drainage so the peat doesn’t get waterlogged.
Coco Coir & Compost
Coco coir has become a popular peat moss alternative. Combine with compost and perlite or bark for an eco-friendly monstera potting mix.
Potting Soil & Bark
A store-bought indoor potting soil amended with orchid bark and coco coir or peat creates a versatile, easy option for monstera owners.
Custom Blends
Some monstera owners create customized mixes based on their plant’s needs. Play with different ratios of bark, cocopeat, vermiculite, perlite, peat and compost to find your perfect balance of moisture retention and aeration.
Providing the Best Soil Environment
Moisture management is crucial for monstera health. Orchid potting mixes can work well when amended properly to provide the right balance of drainage, moisture retention, and nutrition that monsteras need to thrive in our homes.
Pay close attention to your plant’s needs, adjust soil mixes accordingly, and adopt proper watering habits. With a little effort, you can create the ideal soil environment for your monstera to flourish.
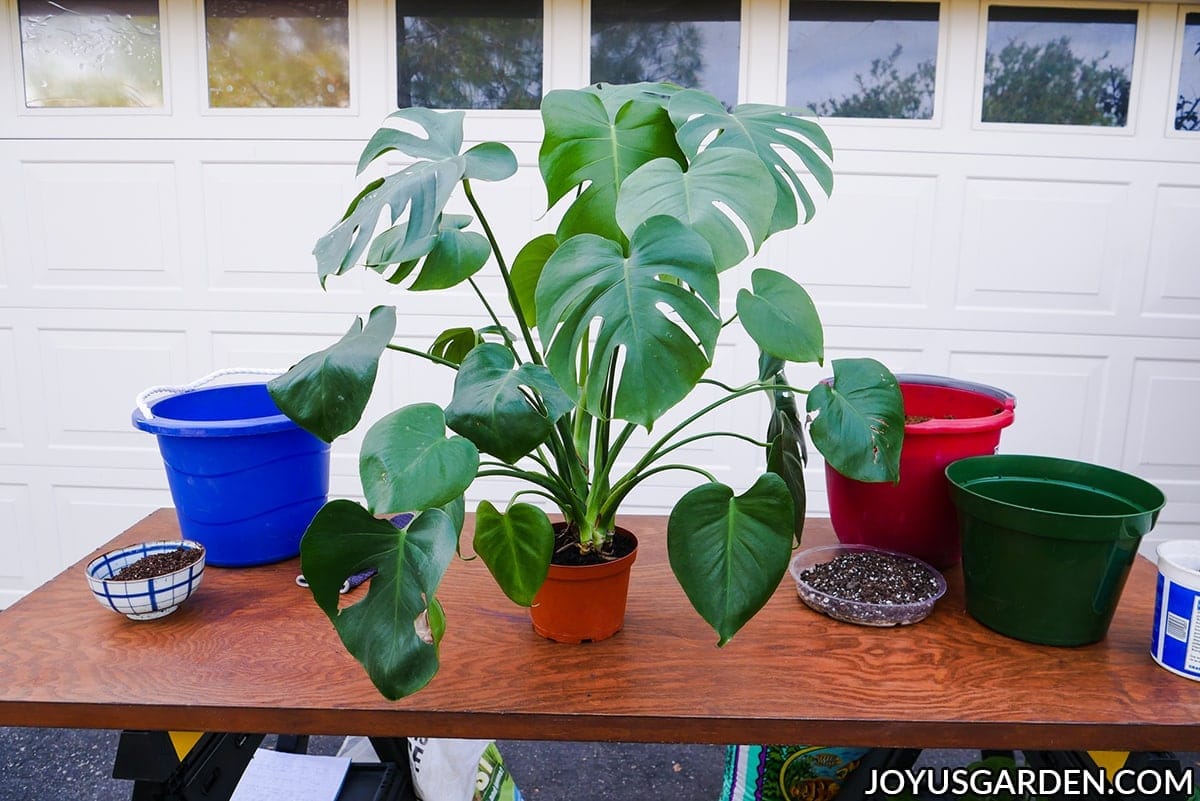
Repotting Monstera: A Swiss Cheese Plant Repotting Guide This is the Monstera you see in the lead photo & most of the photos below about four years later. It’s grown quite a bit! As I update this post, it needs an even bigger pot (14″) & support to climb up.
Regarding the time of the year, early spring through early fall is the best. Spring and summer are best if you live in a climate where winter comes early. Here in Tucson, fall is mild – I repot until the end of October.
It’s best to avoid repotting in winter if possible because it’s not the active growing season for plants. By the way, I repotted this one in mid-April.

All plants appreciate fresh potting mix at some point. Monsteras like a mix that drains well and is high in peat (I use coco coir instead of peat moss because it’s similar but lasts longer) and organic matter.
They live at the base of a tropical rainforest. This mix looks like the plant matter that falls on them from above and gives them the food they need.
Note: This is the optimum mix I use for a Monstera deliciosa plant. I have many plants (indoors and outdoors) and do a lot of repotting. The third bay of my garage is dedicated to storing all my plant materials and tools. If you have limited space, I give you three alternative mixes using fewer materials below.
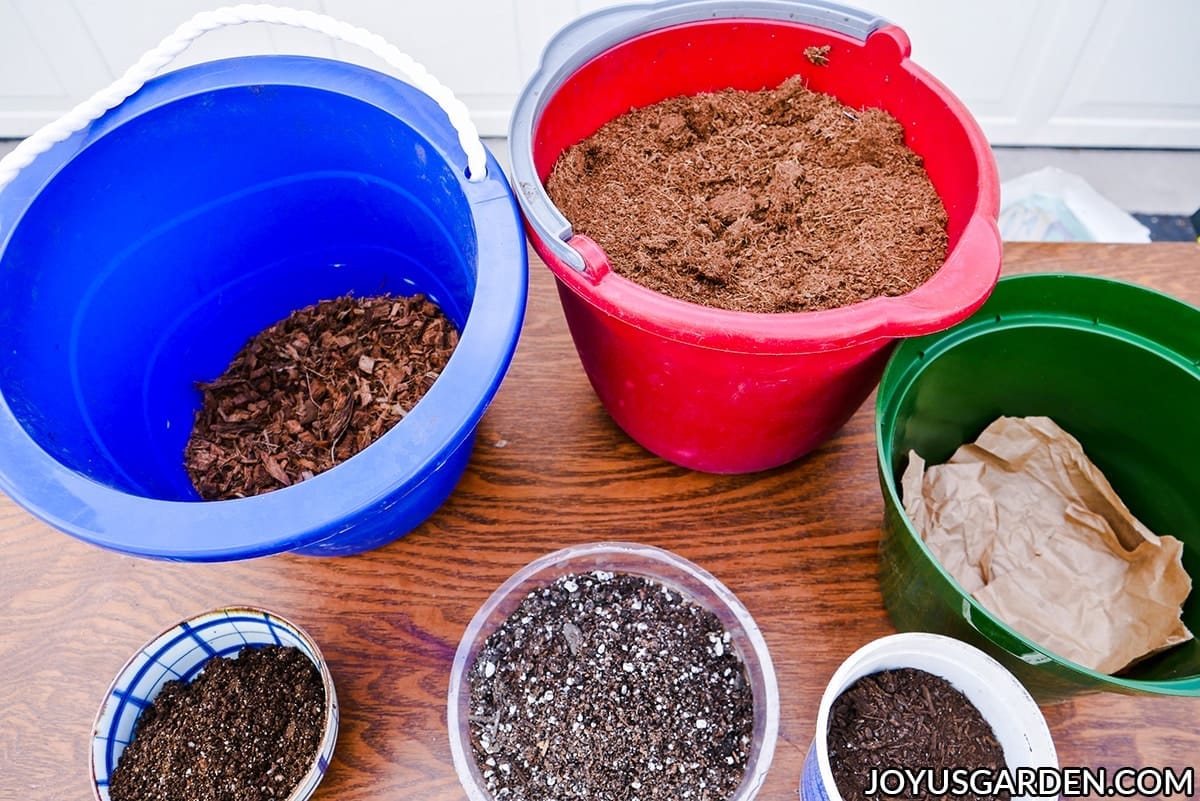
This is the mix I use is rich and yields good drainage to prevent root rot. Here are the approximate measurements:
- 1/2 potting soil. I switch between Ocean Forest and These soilless potting mixes are made with good materials and drain well.
- 1/2 coco coir. This is an alternative to peat moss that is better for the environment and helps the soil hold its shape.
- I added some coco chips and local compost. The coco chips let the soil breathe and help it drain.
- At the end, I add a 1/2-inch layer of worm compost to the top.
Alternatives mixes:
- 1/2 potting soil, 1/2 coco fiber or peat moss
- 1/2 potting soil, 1/2 orchid bark, or coco chips
- 3/4 potting soil, 1/4 pumice or perlite

Monsteras need bigger pots in the long run because they can get too big for their pots.
If the pot you have now is 6 inches to 8 inches, you can go up one size if you want to. That’s fine with a smaller plant.
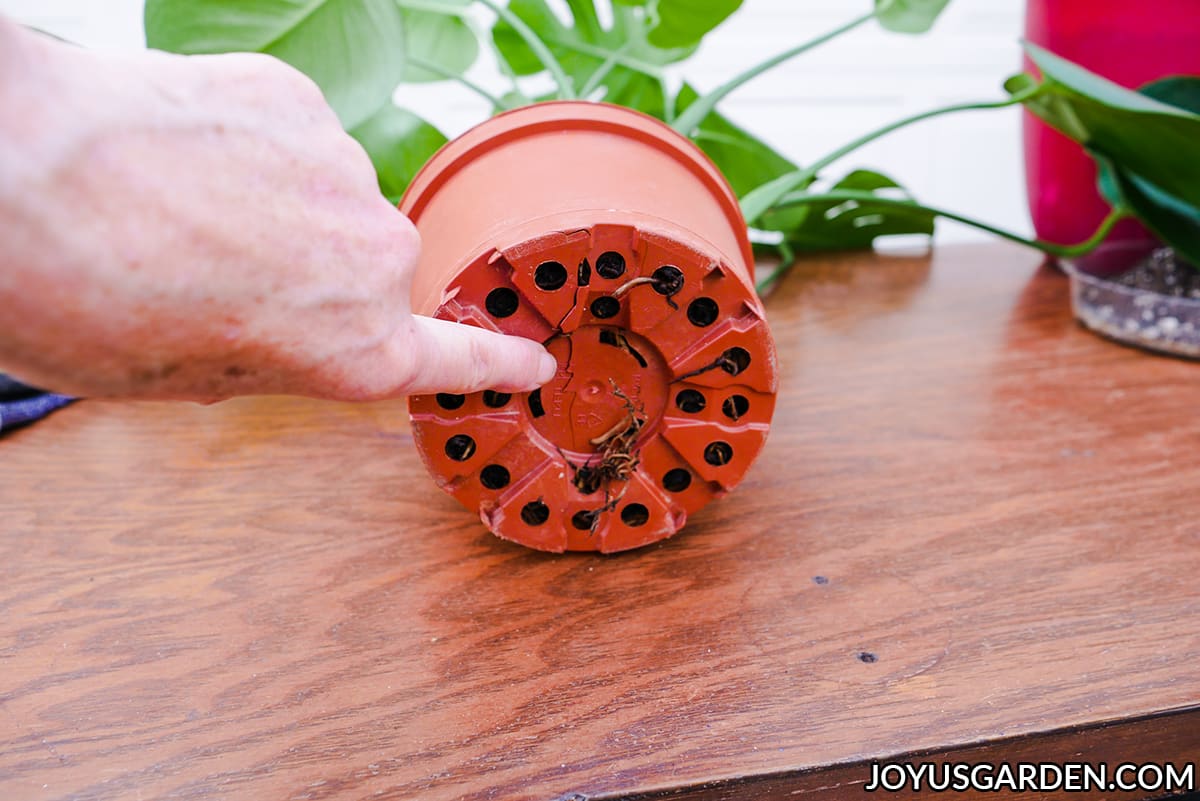
The bottom of the pot was cracked, and mine was growing so quickly (it loves the warm weather here in Tucson). So I gave it a lot of space. Mine went from a 6″ to a 10″ grow pot.
Mature plants will need a bigger pot because they get heavier, wider, and taller as they grow. Almost four years later, mine is ready to go from that 10″ pot into a 14″ pot. Honestly, it’s overdue by about a year!.
Make sure the pot has plenty of drainage holes so the excess water can flow out the bottom. This prevents root rot.

Steps To Repotting A Monstera Deliciosa
Gently massage the Monstera roots to loosen them a bit. The roots will get out of the tangled root ball in the end, which gives them a head start.
Plant the roots so that they are about 1/2 inch below the top of the pot. Fill the pot with enough new potting mix to cover the roots.
Fill around the root ball with the mix, adding a few handfuls of compost. To get the plant to stand up straight, I squished the soil together between the root ball and the pot’s sides.
I topped it all with a 1/2″ layer of compost and worm compost. You can see how tight the root ball was. After I massaged the root ball – they were ready to take off!.
If you’re a beginning gardener, you’ll want to check our Guide To Repotting Plants for the basics.
3 Simple Soil Mixes to Speed up Root Growth for Monstera and Philodendron
FAQ
What is the best potting soil for monstera plants?
Can you use orchid potting mix with all plants?
Is orchid mix good for pothos?
What flower pots are best for monstera?
- A Complete Guide to Caring for Yuki Cherry Blossom Shrub - January 23, 2025
- Identifying Red Hot Poker Seeds: What to Look For When Harvesting Torch Lily Pods - January 23, 2025
- A Complete Guide to Harvesting Evening Primrose Seeds - January 23, 2025

