The spider plant, which is also called the airplane plant, is one of the easiest houseplants to take care of. Instead of the specific steps needed to grow plants like orchids and fiddle leaf figs, your spider plant can do well in a lot of different situations and even be left alone for a while. Their attractive, tropical green foliage never goes out of style.
Along with its hardiness, the spider plant is also a popular choice for those looking to propagate plants. Small offsets grow readily from the mother plant and trail downward to give this species its classic look. Find out how to make these unique “spiderettes” into new plants and keep your spider plant healthy, full, and lush.
Spider plants, with their graceful green leaves and arching spiderettes, are a popular and easy-to-grow houseplant. However, even these hardy plants need proper care and conditions to really thrive. One key factor is using the right sized pot. Selecting an appropriate pot and potting mix lays the foundation for your spider plant’s health and growth.
In this comprehensive guide, we’ll explore how to choose the ideal pot size for a spider plant. We’ll look at critical considerations like drainage, pot materials, soil mixes, and repotting techniques. Follow these tips, and you’ll be well on your way to growing a vigorous, vibrant spider plant.
Understanding Spider Plant Growth
Native to tropical and southern Africa, the spider plant (Chlorophytum comosum) is adapted to warm conditions and well-draining soil. In their native habitat, these plants often grow in rocky crevices where water drains rapidly.
This makes drainage and avoiding standing water critical when growing spider plants as houseplants. Their roots are also sensitive to disturbance, so frequent repotting can stress the plants.
Spider plants grow moderately fast, sending out runner shoots with baby spiderettes. Mature plants can reach over 2 feet in diameter with graceful cascading leaves up to 3 feet long
Key Factors in Choosing a Pot for Spider Plants
Several key factors go into choosing the right pot for a spider plant:
-
Current plant size – Choose a pot about 1/3 larger than the current root ball or plant diameter. This prevents going too big too fast.
-
Plant maturity – Younger plants do fine in small pots, while mature plants need more room for growth.
-
Growth rate – Faster growing varieties may need repotting more often. Monitor growth and repot as needed.
-
Drainage – Critical! The pot must have adequate drainage holes to prevent waterlogging.
-
Pot material – Porous terra cotta or ceramic best mimics native conditions while plastic holds moisture longer.
-
Aesthetic appeal – Pick a pot style and color that complements your décor.
Recommended Pot Sizes by Spider Plant Growth Stage
Here are some general pot size guidelines based on the spider plant’s current size and age:
- Young seedling, 1-2 inch root ball – 3-4 inch pot
- Mature plant, 4-6 inch root ball – 6-8 inch pot
- Large, full plant, 8-10 inch root ball – 10-12 inch pot
As a rule of thumb, choose a pot that’s about 1/3 larger than the current root ball diameter for the healthiest growth. Avoid going more than 2 inches bigger at each repotting.
Comparing Pot Materials for Spider Plants
The pot material you choose can significantly impact your spider plant’s growth. Here are some pros and cons of popular pot materials:
- Plastic – Inexpensive and lightweight but retains moisture. Prone to algae growth.
- Terra cotta – Natural material that “breathes” and evaporates moisture well. However, it dries out rapidly.
- Ceramic – Attractive but heavier. Glazed ceramic doesn’t breathe as well as terra cotta.
- Metal – Adds a modern touch but conducts heat to the roots.
- Fabric – Allows great air circulation but dries out fast.
- Wood – Looks natural but requires waterproofing treatment.
For spider plants, porous terra cotta or an unglazed ceramic pot work best to prevent wet roots. You can always add a drainage tray if the pot dries out too quickly.
Providing Adequate Drainage is Key
Spider plants are very susceptible to root rot if left in wet soil for too long. That’s why proper drainage is essential.
When selecting a pot, be sure it has several drainage holes at the bottom and in the sides if possible. You can drill extra holes in plastic pots if needed.
Avoid pairing pots with attached saucers or decorative outer pots that keep water from escaping. If you use a saucer, empty it after watering so the pot isn’t sitting in water.
Choosing the Right Potting Mix
A well-draining, lightly moisture-retentive potting mix provides the ideal substrate for spider plants. Look for mixes containing:
- Peat or coconut coir to retain some moisture
- Perlite or vermiculite for drainage
- Compost to supply nutrients
You can create your own blend by mixing equal parts peat moss, perlite, and compost or potting soil. Or use an off-the-shelf cactus/succulent mix for fast drainage.
Repotting Spider Plants
Spider plants generally only need repotting every 2-3 years. More frequent repotting can unduly disturb their roots.
Repot when the roots fill the current pot or you see roots growing out of the drainage holes. Move up just 1 or 2 pot sizes at most to avoid overpotting.
To repot, gently remove the plant and loosen any circled roots. Place into the new pot filled 1/3 with fresh soil mix, adding more mix around the roots. Leave 1-2 inches of space below the rim for watering.
Providing the Best Growing Conditions
In addition to the right pot and soil, spider plants need:
- Bright, indirect light – A north or east-facing window is ideal. Direct sun can scorch leaves.
- Daytime temperatures of 70-90°F – Cooler at night.
- 40-50% humidity – Mist leaves or use a pebble tray to boost humidity.
- Even moisture – Water when the top inch of soil is dry. Avoid wet feet.
Observing Your Spider Plant for Clues
Keep an eye on your spider plant and watch for signs it’s becoming pot bound:
- Slowing top growth
- Lackluster or yellowing lower leaves
- Roots growing out of the drainage holes
- Soil drying out very rapidly
- Nutrient deficiencies
This indicates it’s time to move the plant to a slightly larger pot with fresh soil to support growth.
Allowing Room for Future Growth
When repotting, think about the spider plant’s future expanding root system and foliage. Don’t just size the new pot to the current plant diameter. Allow some extra room for growth over the next couple years before the next repotting.
Picking a Pot Style for Your Decor
While drainage and size are critical, also consider how the pot will look in your home. The colors and style should complement your existing decor.
For example, for a modern loft, choose sleek ceramic or metallic pots. In a cozy cottage, look for rounded terra cotta or woven baskets.
Being Kind to the Environment
When possible, look for sustainable pot options made from eco-friendly materials like renewable bamboo fiber, rice husks, or recycled plastic.
You can also find biodegradable pots made from materials like coconut coir, cow manure, and seaweed. Using these reduces plastic waste and your carbon footprint.
Ensuring a Long, Healthy Life for Your Spider Plant
By choosing the right potting mix, container size, materials, and growing conditions, you set your spider plant up for success.
Avoid common mistakes like:
- Overpotting
- Keeping the soil too wet
- Letting the roots sit in water
- Repotting too frequently
Catch issues early and your spider plant will thrive for many years as an easy-care houseplant!
Conclusion
The key to growing thriving spider plants lies in selecting a properly sized pot with excellent drainage. Consider the plant’s current size, growth rate, and maturity when choosing a pot. Allow room for expansion, use an airy potting mix, and water carefully. With a well-draining pot that provides a snug yet spacious environment, your spider plant will flourish.
How to Get Spider Plants to Bloom
Not all spider plants bloom, but some mature, healthy ones will have tiny white flowers at the end of white stems that arch during the growing season. Too bright or too little light, as well as too much fertilizer, can keep these plants from flowering. A single feeding in the spring with a bloom-specific fertilizer can make blooms more likely.
Keep your spider plant in a spot with bright, indirect light and turn it every so often so that both sides get sun. This will help it flower. Allow it to become slightly rootbound. If you put your plant near a window, it will get natural changes in light from season to season, which will help it flower in the spring or summer.
Best Growing Conditions for Spider Plants
When shopping for a spider plant, choose a bushy, full specimen with vibrant green variegated leaves. Try to avoid specimens with yellow leaves or crispy brown sections. Many local nurseries offer spider plants that are already growing plenty of offsets (commonly called spiderettes). Also, ask your plant-loving friends if they have any rooted offsets that you could adopt. These plants reproduce quickly, and many owners are happy to share.
Spider plants can live in a lot of different conditions, but they do best in temperatures above 50 degrees and light that is moderate to bright. This species can do well almost anywhere, even in a room with only artificial light, so it should be able to handle most rooms in your house. It’s best to turn your spider plant around every so often so that both sides can get light from nearby sources.
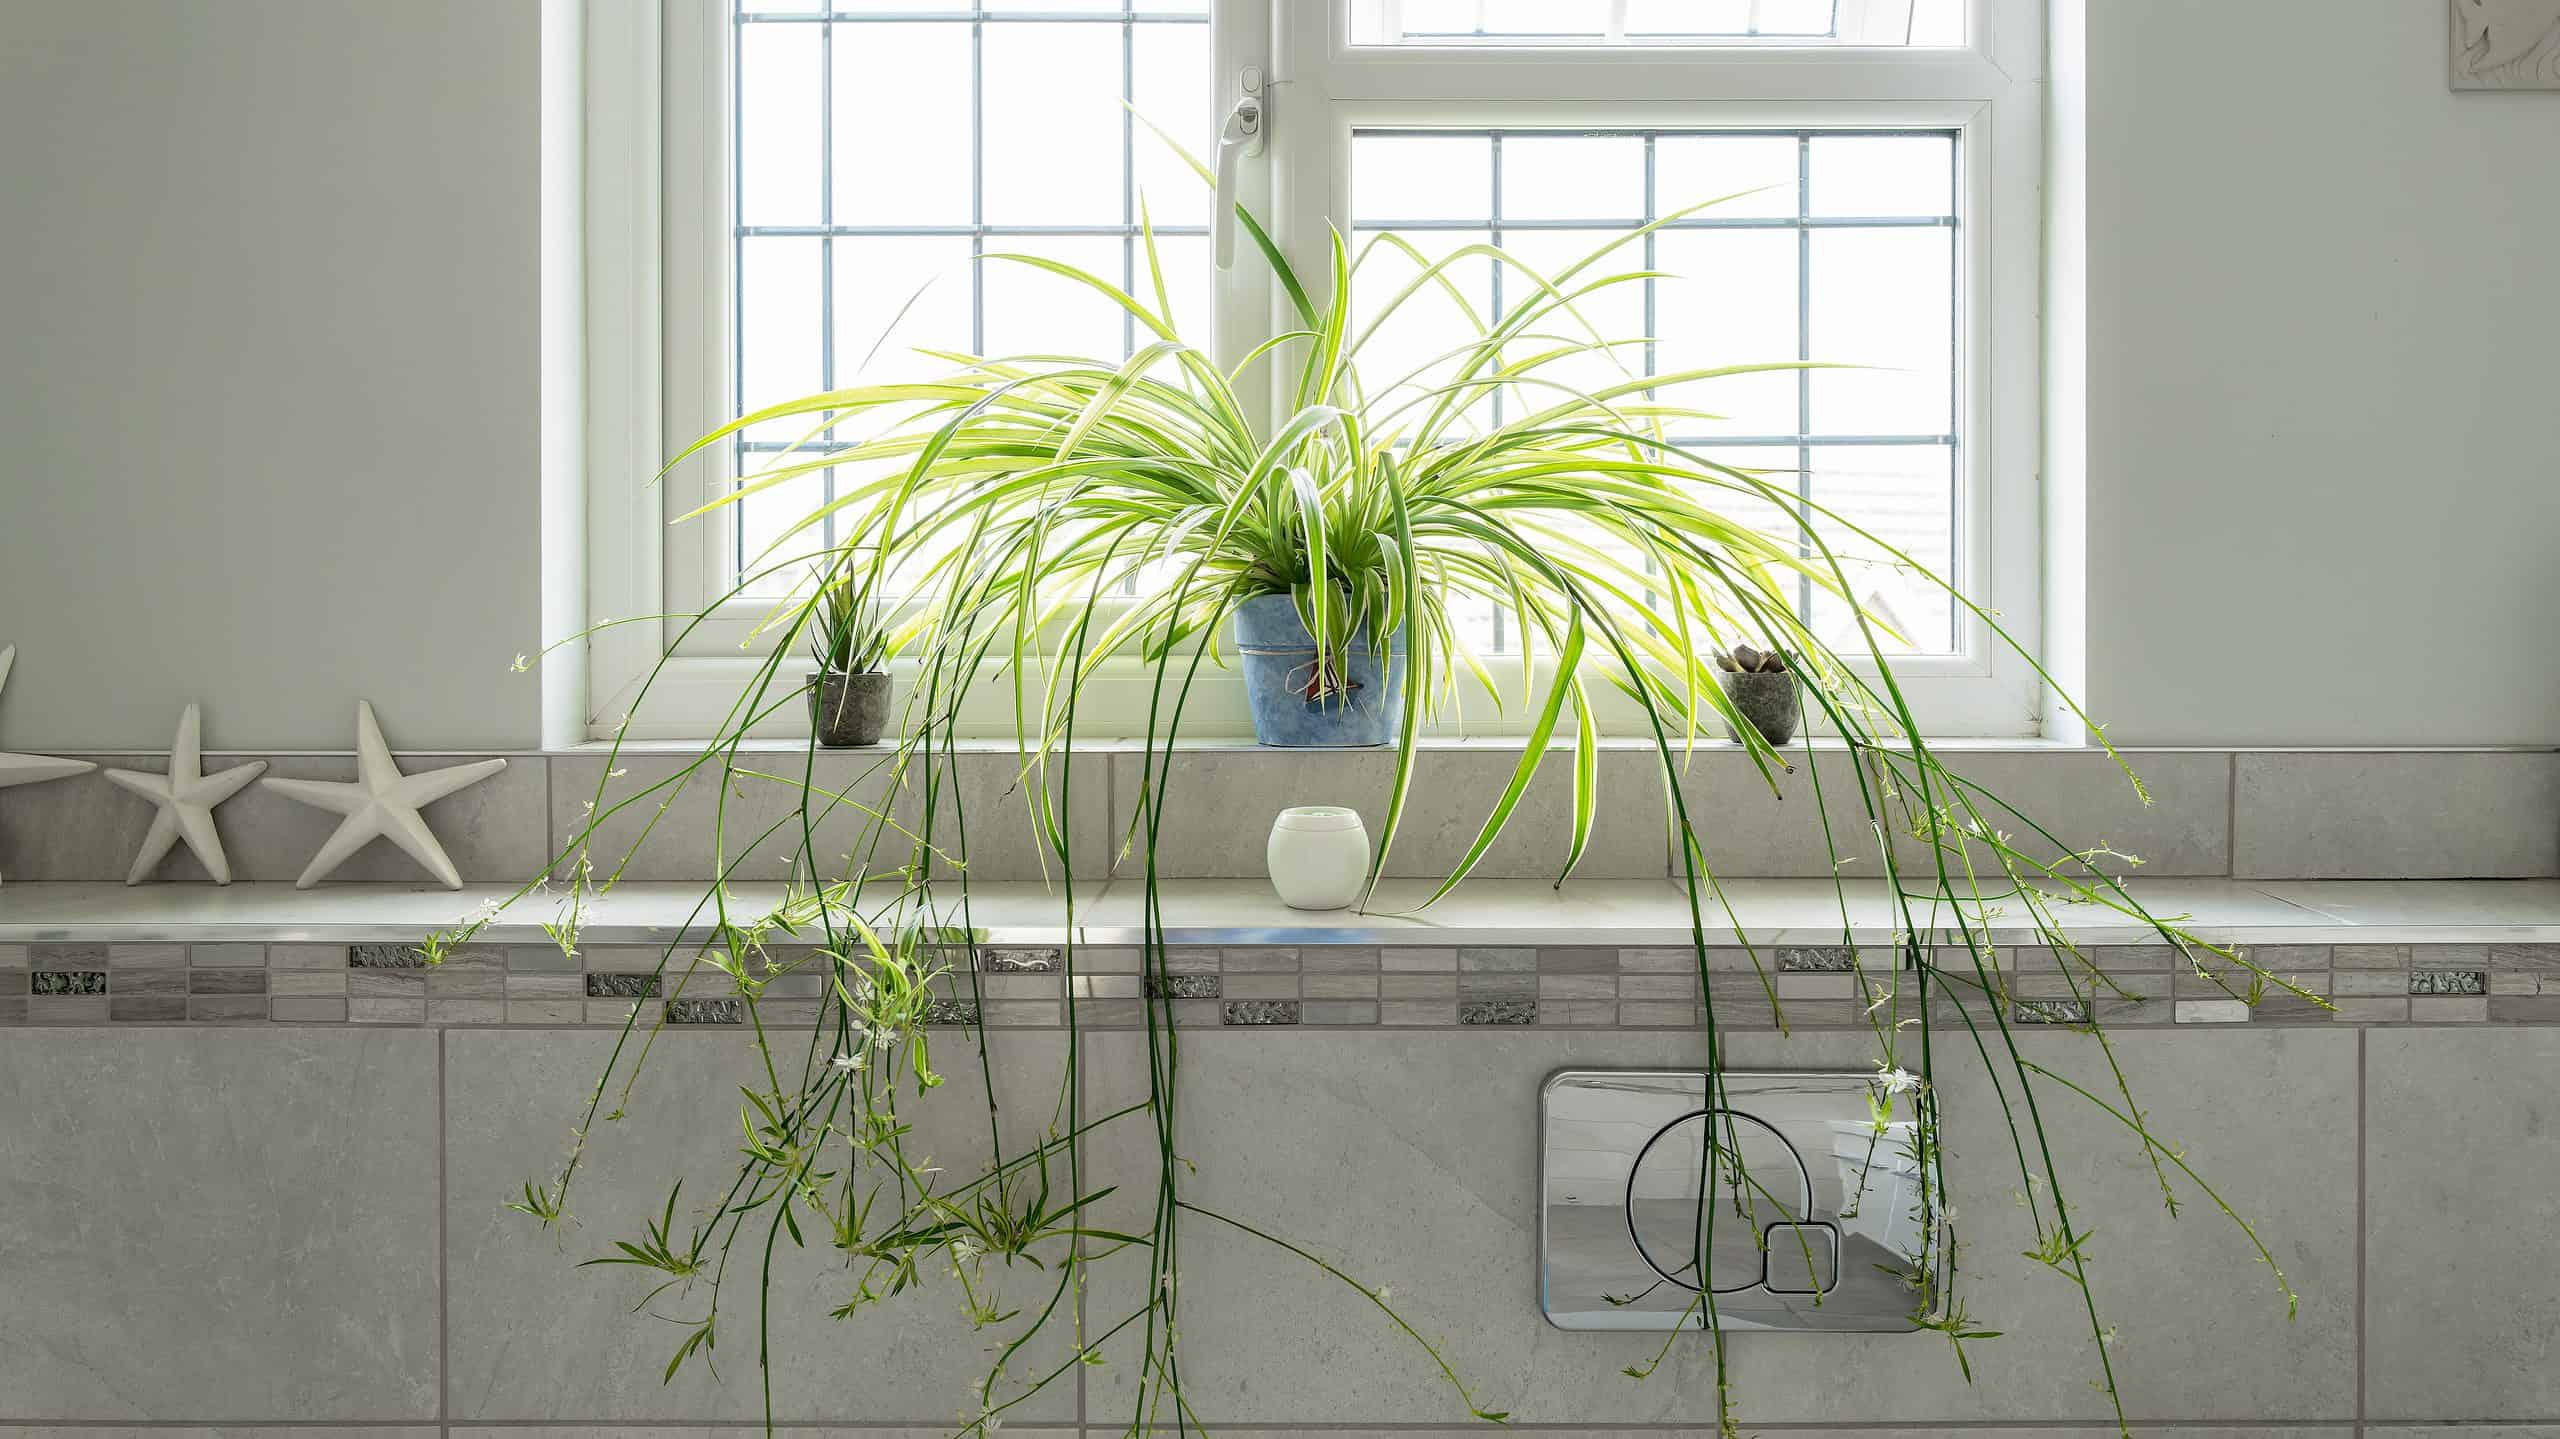
Since they love humidity, consider growing your plant in the bathroom. If you haven’t watered it in a while and the leaves are pale and droopy, give it a good drink. If the soil has been staying moist and the leaves are turning brown or black, the roots may be rotting from too much water.
Putting spider plants in hanging baskets in front of a window is a common way to show off their leaves and flower shoots. They like a window that faces north, east, or west, or one that is about five feet away from a window that faces south and gets direct sunlight.
Choosing The Right Pot For a Spider Plant – Chlorophytum comosum – Houseplant Hacks
FAQ
How big a pot do spider plants need?
What kind of pot is best for spider plants?
Do spider plants like deep or shallow pots?
Do spider plants like to be crowded in a pot?
- How to Grow Gorgeous Climbing Roses on a Wooden Fence - March 24, 2026
- Avoid These Plants When Companion Planting with Oregano - March 24, 2026
- 15 Great Trees to Plant Near Your House - March 24, 2026