Starting seeds outdoors in containers offers many advantages over indoor seed starting The natural sunlight leads to stockier, healthier plants that transition seamlessly outside. With the right techniques, you can get a headstart on the growing season without the hassle of acclimating indoor-grown transplants.
This comprehensive guide covers everything you need to successfully start your vegetable, herb, and flower seeds in containers outdoors.
Benefits of Outdoor Container Seed Starting
Here are some of the main upsides to sowing seeds outside rather than indoors:
-
Utilizes free, unfiltered sunlight leading to sturdy growth.
-
Avoids the leggy, etiolated growth that happens under artificial lights.
-
Seeds germinate better in real weather fluctuations outdoors.
-
Natural air circulation prevents damping off diseases.
-
No hardening off or acclimatization period needed before transplanting.
-
Earlier start to growing season in cool climates.
-
More spacing flexibility when transplanting.
-
Less prone to rotting from excess humidity than indoor starts.
With the right setup and practices, starting seeds in containers outdoors is easy and productive.
Best Candidates for Outdoor Seed Starting
Almost any type of seed can be sown directly into containers outside. Here are some top choices:
-
Cold-tolerant crops like lettuce, peas, spinach, radishes
-
Warm season crops like tomatoes, peppers, squash, melons
-
Quick-growing annuals like zinnias, marigolds, cosmos
-
Herbs like parsley, basil, dill
-
Direct-sow crops like beans, corn, carrots, beets
The key is providing protection and warmth needed for germination until conditions outside become consistently suitable.
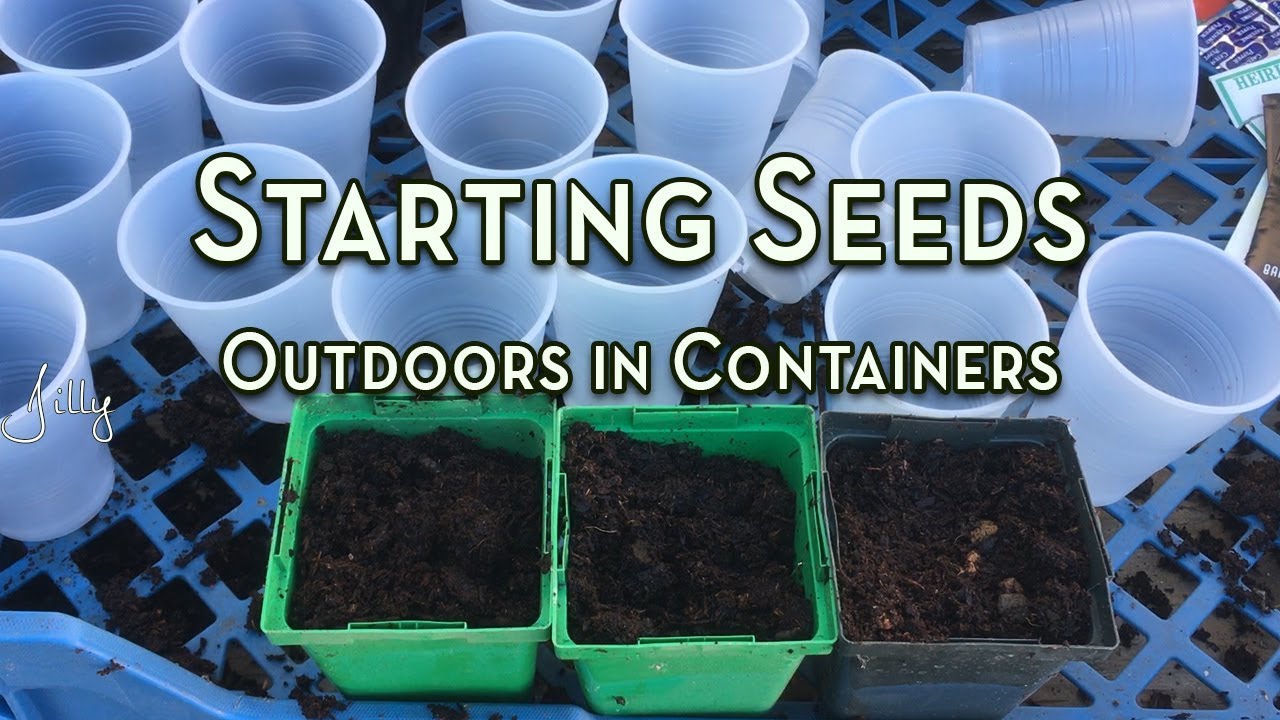
Choosing Containers for Outdoor Seed Starting
You have lots of options when selecting containers. Look for the following features:
-
Drainage holes are essential to prevent overwatering
-
Trays allow efficient planting of many seeds
-
Individual small pots like peat pots give each seedling room to grow
-
Recycled containers like yogurt cups or food tins are very budget friendly
-
Medium like peat or coconut coir provides moisture retention
Match your container style to the number of plants you want to grow.
Providing Warmth and Protection Outdoors
Seeds sown outside need protection and warmth to germinate:
-
Use a greenhouse, hoop house, cold frame or cloche
-
Row cover adds insulation and protects from wind and rain
-
Black or dark containers absorb heat well for warmth-loving crops
-Heat mats or heating cables can provide bottom warmth if needed
- Move containers indoors if overnight temps drop dangerously low
Monitor weather forecasts closely when starting seeds early in cool climates.
6 Steps for Starting Seeds Outdoors in Containers
Follow this process for the best results:
1. Fill Containers with Pre-Moistened Seed Starting Mix
Avoid dense garden soil, use a fluffy, nutrient-rich mix. Moisten before planting.
2. Plant Seeds at the Correct Depth
Check seed packet for guidelines like 1/4 inch or 1/2 inch deep.
3. Label Containers
Identify each variety you plant—small plastic tags or popsicle sticks work well.
4. Provide Consistent Moisture
Seeds need steady moisture to germinate. Water lightly daily.
5. Give Protection and Warmth
Shield containers from harsh sun, wind, and cold until seedlings establish.
6. Harden Off and Transplant Outside
Slowly introduce to direct sun and wind before transplanting into garden.
Follow this straightforward process and you’ll have robust seedlings ready to thrive outdoors.
Timing for Starting Seeds Outside
Knowing optimal time frames makes outdoor seed starting more successful:
-
Cool weather – Start 6-8 weeks before your last spring frost date.
-
Warm weather – Start 2-4 weeks before your last expected frost.
-
Herbs/flowers – Start when daytime temps are consistently above 50°F.
-
Fall crops – Start in mid to late summer for an autumn harvest.
Sticking close to these sowing times prevents failures due to cold weather. Adjust dates as needed for your specific climate.
Outdoor Seed Starting Troubleshooting
Issues sometimes pop up when starting seeds outdoors. Here are solutions to common problems:
-
Seeds not sprouting – Ensure soil stays moist and provide bottom warmth if nights are cold.
-
Leggy seedlings – Plants are stretching for light. Move containers into more sun.
-
Damping off disease – Fungal issue from excess moisture. Allow more airflow around plants.
-
Wilting plants – Check soil moisture and water if needed. Move into shade if overly hot.
-
Pests like slugs or birds – Use floating row covers to create a protective barrier.
With attentive care and protection, you can overcome potential pitfalls.
Hardening Off Outdoor-Started Seedlings
The beauty of outdoor container planting is minimal hardening off needed. But take these steps:
-
Gradually expose to more direct sun over 7-10 days.
-
Let seedlings experience some rainfall or light wind before transplanting.
-
Reduce water slightly during hardening off period.
-
Bring containers indoors or under cover if frost threatened.
The key is a gradual introduction to wind, full sun, and changes in watering.
Transplanting Techniques for Outdoor Starts
Follow these tips when transplanting outdoor-started seedlings:
-
Handle gently when transplanting to avoid damaging roots and stems.
-
Water seedlings well the day prior to minimize transplant shock.
-
Prepare garden bed with compost and nutrients to get off to a strong start.
-
Water transplants immediately after putting in ground and mist daily until established.
-
Plant at same level plants were growing in containers and water soil around stems.
With attentive hardening off and gentle transplanting, your outdoor-grown seedlings will flourish!
Outdoor Seed Starting Tips by Crop
Tailor your practices to the needs of specific crops:
-
Tomatoes – Sow in individual peat pots, buried horizontally when planting.
-
Peppers – Start in trays, provide plenty of warmth for germination.
-
Lettuce/spinach – Can be sown directly into soil, keep moist.
-
Squash – Allow lots of room between seeds to account for rapid growth.
-
Herbs – Start after frost passes as seedlings dislike cold.
Get to know optimal conditions for what you want to grow.
The Benefits of Outdoor Seed Starting
-
Healthier, more robust plants
-
Earlier yields, especially in cool climates
-
No legginess or need to acclimate transplants
-
Harnessing the power of natural sunlight
-
Less risk of fungal diseases than indoor starting
-
Flexible spacing when transplanting
With some simple protective measures, you can gain major advantages by sowing outdoors.
Give container seed starting outdoors a try this year for your healthiest, most productive garden yet!
Spring Fever? Start Seeds Outdoors Early
For most gardeners, there are two main ways to start seeds: either plant them directly in the ground or start them indoors early and move them outside later. Much less familiar is “winter sowing” —starting seeds early outdoors with just enough protection to allow germination.
It doesn’t work for all flowers or vegetables, but winter sowing is easy enough and cheap enough that it’s worth a shot for types that don’t mind being cold. This method gives the season at least a few weeks of a head start without the lights, soil spills, watering problems, and other problems that can come up when starting seeds indoors.
Starting Seeds Outdoors in Containers
- How to Grow Gorgeous Climbing Roses on a Wooden Fence - March 24, 2026
- Avoid These Plants When Companion Planting with Oregano - March 24, 2026
- 15 Great Trees to Plant Near Your House - March 24, 2026