Elderberry shrubs (Sambucus spp.) are prized for their edible berries and medicinal properties. These fast-growing, deciduous shrubs can easily be propagated from cuttings to expand your elderberry patch or share these versatile plants with friends. While many recommend taking cuttings in late winter when plants are dormant it is possible to root elderberry cuttings in summer as well.
Overview of Summer Elderberry Cuttings
Summer offers some key advantages for propagating elderberries
- Abundant tender new growth is available for cuttings.
- Higher temperatures encourage fast root growth.
- Long summer days provide light for photosynthesis.
However, care must be taken to prevent cuttings from drying out in the heat. With the right methods, summer cuttings can root reliably. Here’s what you’ll learn:
- What type of wood to select for cuttings
- How to prepare and plant cuttings
- Caring for cuttings to promote rooting
- Troubleshooting common problems
Follow these tips for the best chance of success rooting elderberry cuttings during summer
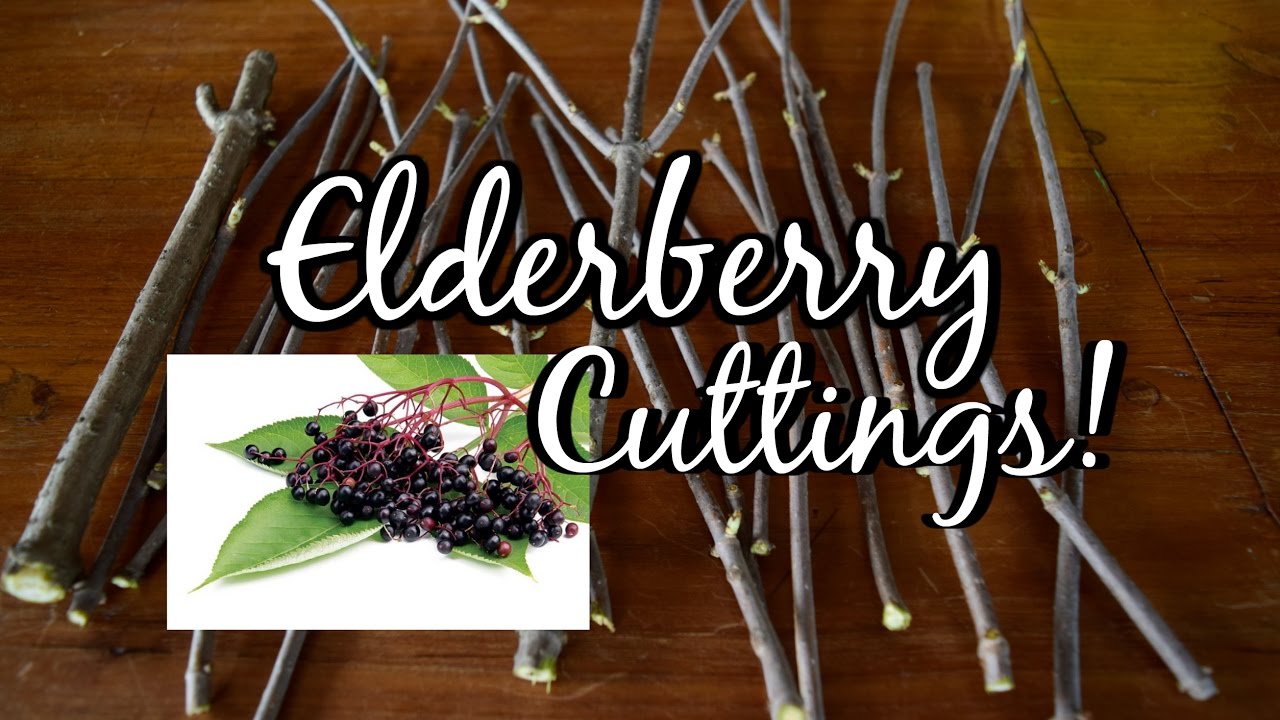
Selecting Cuttings from Elderberry Canes
- Look for new green shoots, not previous year’s wood.
- Cuttings should be 4-6 inches long.
- Take more cuttings than needed to allow for failures.
- Use clean, sharp pruners and cut just below a node.
- Remove flowers and all but the top 2 leaves.
Preparing Cuttings for Rooting
- Recut the base of cutting stems at an angle before planting.
- Dip the angled end in rooting hormone (optional).
- Use a pencil to make planting holes.
- Bury cuttings 2/3 deep in potting mix or soil.
Caring for Elderberry Cuttings
- Water regularly to keep soil consistently moist.
- Mist foliage daily to increase humidity around cuttings.
- Provide bright, indirect light indoors or dappled shade outdoors.
- Watch for new growth as a sign of rooting in 4-8 weeks.
Troubleshooting Issues with Summer Cuttings
-
Rotting stems: Reduce watering frequency and increase light exposure.
-
Leaves dropping: Increase humidity through misting and cloches over cuttings.
-
No roots forming: Take new cuttings and use rooting hormone if not already.
Potting and Growing On Rooted Cuttings
- Transplant into pots once a good root system has formed.
- Gradually introduce to sun over a week when moving outside.
- Water often as young plants have small root systems.
- Pinch back tips to encourage bushy growth.
- Plant in garden in spring once chance of frost has passed.
Step-by-Step Guide to Summer Elderberry Cuttings
Follow these simple steps for propagating elderberry cuttings in summer:
Gather Supplies
- Sharp, clean hand pruners or scissors
- Rooting hormone (optional)
- Clear plastic bags
- Small pots and potting mix
Select Cuttings
- Look for new green shoots about the thickness of a pencil.
- Take 4-6 inch cuttings just below a node.
- Strip off flowers and lowest leaves.
Prepare Cuttings
- Recut the base at an angle and dip in rooting hormone.
- Use a pencil to poke planting holes in mix.
- Insert cuttings 2/3 deep in potting mix.
Care for Cuttings
- Water regularly to keep moist but not saturated.
- Mist leaves daily for humidity.
- Provide bright, indirect light.
Transplant Rooted Cuttings
- Pot up once roots are visible through drainage holes.
- Gradually introduce to sun over a week.
- Plant outdoors the following spring.
Troubleshooting
- Rotate cuttings if just one side is rooting.
- Remove any rotted or shriveled cuttings promptly.
- Take new cuttings if none root after 6-8 weeks.
With proper care, elderberry cuttings root reliably in summer. Just 4-6 weeks later, you can pot up the cuttings and expand your elderberry patch. Follow these simple steps for low-cost elderberry propagation in summer.
Rooting in the Garden
If you want to skip the extra work of transplanting, you can put cuttings directly in the garden.
You may need to store the cuttings until you can plant them because it’s best to take them in the winter or early spring.
If so, hold the branches together with loose plastic wrap and keep them somewhere cool and dark until it’s time to plant. They can be stored this way for up to six months.
Next, wait until the ground is soft and there is no longer any chance of frost in the spring. Soak the cuttings in water for about an hour before planting.
If you live somewhere where the ground can be worked in the winter, you may choose to plant the cuttings right away. This allows Mother Nature to decide when to let the plant break dormancy.
It doesn’t matter when you plant; just dip the cut ends in rooting hormone powder and poke holes in the ground every six feet with a pencil or chopstick.
Insert each cutting into the ground so the bottom node is covered by two inches of soil.
Pack soil tightly around each cutting so it stays upright. Don’t use sticks or anything else for support. Keep the soil moist if the rain doesn’t take care of it for you.
Optionally, use a cloche and/or heap mulch around the stems to help retain soil moisture. A half inch of compost, straw, or dried grass should do the trick.
It is also possible to root your cuttings in water. If this feels more natural to you, go ahead and do it.
The benefit is that you can see the roots growing, so you know if it’s working or not. It’s also easier to tell when the plant is ready to be moved.
It has worked well for me to plant many water-grown starts, so feel free to give it a try and see what works best for you. Photo by Kristine Lofgren.
Take the leaves off of the bottom half of the cuttings so they can grow in water. Make sure to leave at least one set of leaves on top.
Set in a jar of water so the cutting is submerged by about half. Place in an indoor location away from direct sunlight.
Change the water every few days. You should start seeing roots develop after about a month. Before you move the new plants, you should let them grow in water for a few more weeks to make sure the roots are strong.
If you root your plants in soilless potting mix instead of water, more of them should survive.
After you see roots growing and maybe even new growth, you can put your plants in pots with soil.
As mentioned above, you can use separate pots or put several rooted cuttings in one large pot, leaving about four to six inches between each one.
Fill each container with potting soil and make holes that are large enough to accommodate the root system.
Gently lower each cutting into a hole, and bury about a third of the stem. Then, firm soil around each and water the soil so it feels like a well wrung-out sponge.
When it’s time to plant in the garden, harden off the new plants as shown above for rooting in a soilless medium before moving them.
Rooting in Soilless Potting Medium
This method is thought to be the most reliable way to grow healthy transplants out of the three I describe here.
I’ve found cuttings tend to grow more quickly and robustly in a soilless medium, and the experts at the Missouri Botanical Garden agree, claiming plants generally develop a better root system when planted in a soilless medium rather than water.
It’s a little harder for plants to root in soilless potting medium than in water because you can’t see if any roots are forming. You’ll also need to do more research to know when it’s time to move the plants.
There is a ready-made mix you can buy to put your starts in. For example, this one from Mother Earth is 70% coco coir and 30% perlite.
You can find a 50-liter bag of this medium available on Amazon.
You can also make your own mix by combining half sphagnum peat moss and half vermiculite.
Make a new cut at the base of each cutting if it’s been more than a few hours since you took them and dip them in rooting hormone gel or powder. Photo by Kristine Lofgren.
For me, a powder is easiest to work with. Bontone makes a good one that I’ve had a lot of success with.
If you want to try it, you can buy a 1.25-ounce container, which will last you a good long while, at Arbico Organics.
Use a stick or pencil to poke a hole in the medium. This helps make sure that more of the rooting hormone stays on the branch as you put it into the medium.
Place softwood cuttings in the medium so they’re buried by a third. Hardwood should be buried so the lowest node is two inches below the surface of the medium.
Each can be four or six inches in diameter, or you can use one big can and put four to six inches between each one.
CowPotsTM are my favorite because they can be put right in the ground, which is better for the roots.
Water the medium thoroughly so that it feels like a well wrung-out sponge.
Tent some clear plastic over the pot to help retain moisture. Just make sure it isn’t touching the plant at all.
You can also purchase cloches to use as miniature greenhouses. Amazon carries a six-pack of plastic domes that are just the right size.
Every three days, remove the cover and give the plant a misting. Add water to the medium if it starts to dry out. Check to see if it’s still wet.
Place in a cool indoor location out of direct sunlight and keep the medium moist but not wet. It should be about 50°F and get some indirect sunlight, so a spot in the basement near a window might be best. Photo by Kristine Lofgren.
After eight weeks, gently pull on a cutting. It should resist, indicating that it has developed roots. It may also have developed buds or young leaves by this point. If so, there’s no need to tug on it to check!.
Remove about half of the plant’s new growth to tell it to put its energy into growing strong roots.
All that hard work paid off, and now it’s time to put your rooted cuttings in the ground. Be careful, you’re about to enter a dangerous area! This is probably the stage where you will kill your new plant.
That’s because the roots of young plants grown from cuttings are weak. This is another reason to use biodegradable pots to grow your new plants, since they won’t disturb the roots as much.
Once spring rolls around and the danger of frost has passed, harden them off for a few weeks.
To do that, take your plants outside for an hour and put them in a sheltered spot. The next day, put them in the same spot for two hours. Add an hour each day until they can stay outside all day.
When soil temperatures reach 50°F, it’s time to start digging.
Gently remove a cutting from its container, but don’t tap away or remove any excess soil. Try to keep the soil ball as intact as possible.
Dig a hole that is twice the width of the existing root ball. Lower the cutting in place and fill around it with new soil.
Do you have a peat pot or a CowPotTM? Dig a hole twice as wide as the pot and plant it in the ground, pot and all. Fill in around it with soil.
Then, treat it as you would an existing elderberry bush. Not sure how to do that? Our elderberry growing guide has got your back.
Just remember that a young cutting has very few roots, so you need to make sure the soil stays moist.
Elderberry cuttings in July will it work
FAQ
How do you root elderberry cuttings in the summer?
What time of year to take elderberry cuttings?
Can you grow cuttings in summer?
Can I plant elderberry in summer?

Follow me on YouTube
- A Complete Guide to Caring for Yuki Cherry Blossom Shrub - January 23, 2025
- Identifying Red Hot Poker Seeds: What to Look For When Harvesting Torch Lily Pods - January 23, 2025
- A Complete Guide to Harvesting Evening Primrose Seeds - January 23, 2025