Starting plants from seed can be an exciting and rewarding endeavor for gardeners. Nurturing tiny seeds into vigorous seedlings ready for transplanting is part of the joy of gardening Using plastic humidity domes or plastic wrap over seed trays helps create an ideal microclimate for germination. But when is the right time to remove these protective covers? Follow these tips on when and why to take the plastic off your seedlings
The Purpose of Plastic Covers
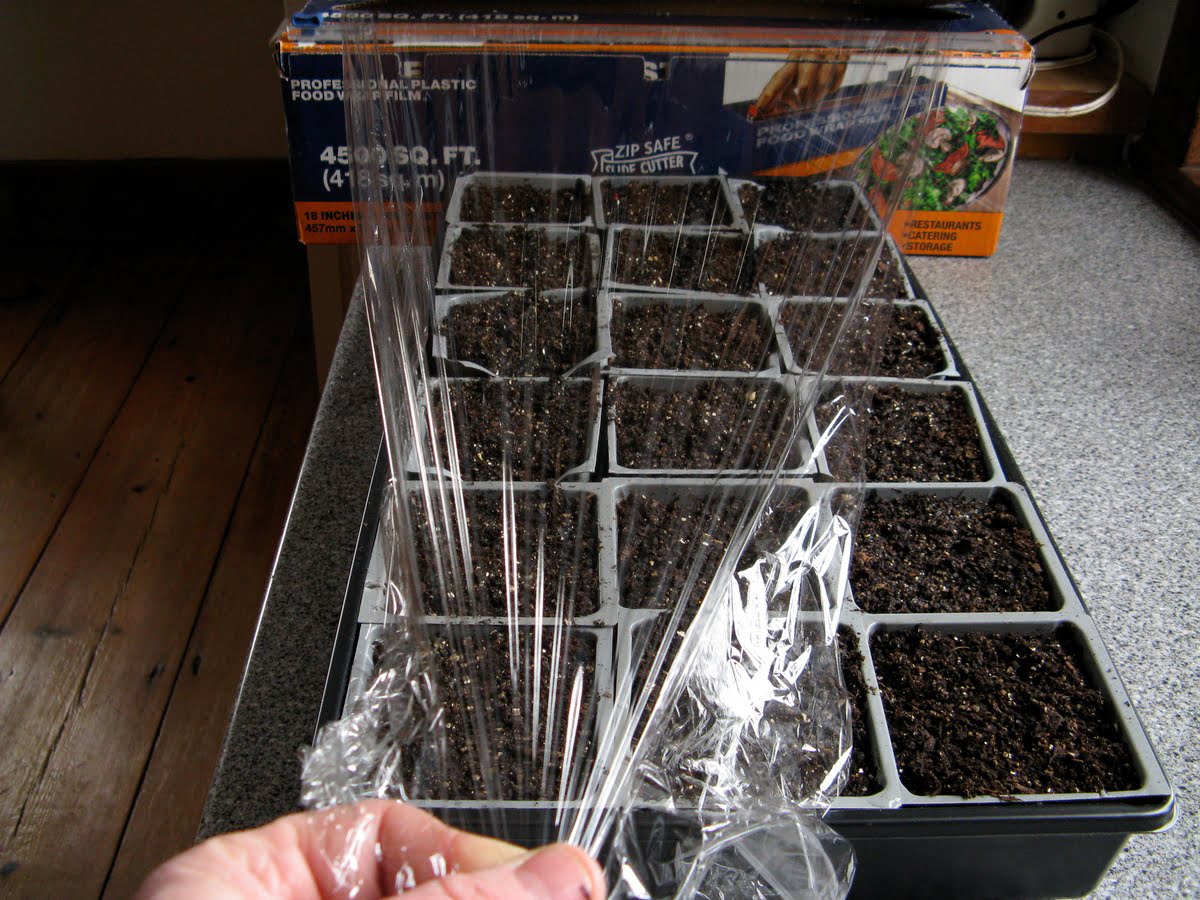
Clear plastic domes or plastic wrap serve two key functions for starting seeds
-
Retain moisture – Covering trays prevents the growing medium from drying out during the critical germination phase. This gives seeds the evenly moist conditions they need to sprout and emerge
-
Increase humidity – Seeds respire as they germinate, releasing moisture into the air. The plastic cover traps this moisture over the seeds, keeping the relative humidity very high.
Both moist soil and high humidity are essential for getting most seeds to germinate. The plastic covering creates a miniature greenhouse environment right in your home or greenhouse.
When Seedlings Start Emerging
As soon as you notice the first seedlings poking up through the soil, it’s time to start the process of removing the plastic cover. Here’s why:
-
Leggy growth – Insufficient light beneath the plastic causes seedlings to elongate and get leggy as they reach for light.
-
Damping off disease – Excess moisture on seedling stems in humid conditions promotes fungal diseases like damping off.
-
Lack of air circulation – Still air beneath the plastic allows mold and fungal spores to thrive. Good airflow checks disease.
Take off the cover gradually over 2-3 days unless growth is extremely leggy or signs of fungus are present. A sudden transition to lower humidity could shock tender young seedlings.
Signs It’s Time to Remove Covers
Watch for these cues that seedlings need more light and air:
-
50-75% of seeds have germinated – Thinning germination over weeks indicates stale or improper storage of seeds.
-
True leaves are emerging – Seed leaves (cotyledons) can handle low light. True leaves need brighter light to develop properly.
-
Leggy growth appears – Seedlings stretch and get spindly when searching for light.
-
Condensation fogs the plastic – Indicates humidity is too high, creating conditions ripe for disease.
-
Green algae or white mold is visible – These growths point to excessive moisture and stagnant humidity.
Taking off the plastic cover at the first sign of seedling emergence prevents stretched, weak growth and diseases.
How to Remove Covers Gradually
There are a couple techniques for slowly acclimating seedlings once the plastic comes off:
-
Prop up one side of the dome or plastic to allow ventilation. After 1-2 days, remove it entirely.
-
Cut back the plastic wrap to expose half the tray. After a day or two, take off the remaining plastic.
-
For individual cells, remove plastic wrap or cut slits in it to create ventilation.
A gradual transition gives seedlings time to adapt to major changes in humidity, temperature extremes, and light levels.
Caring for Seedlings After Removing Covers
Your work isn’t done once the plastic comes off! Seedlings need proper care to grow stocky, healthy, and ready for transplanting.
-
Move grow lights closer to the tops of plants – 1 to 3 inches above is ideal.
-
Water carefully to keep soil moist but not soaked. Allow the surface to dry between waterings.
-
Provide good air circulation with a fan to strengthen stems.
-
Watch for pests like fungus gnats or mites that may attack tender young plants.
-
Begin fertilizing once true leaves form using a diluted liquid fertilizer.
With the plastic cover removed at just the right time, your seedlings will flourish into vigorous young plants ready to thrive when transplanted.
Free shipping on orders over $149 – Enter code DAHLIA24 at checkout
This Free Shipping offer expires 5/31/24 and requires a $149 minimum purchase amount. This offer cannot be applied to previous purchases or combined with any other offer. This deal only works for Economy Shipping within the lower 48 states. It can’t be used for items that require faster shipping, items that cost more to ship, or delivery services from our garden centers.
Find more garden information
How do I know my last frost date in spring?
The easiest way to find out is to ask a neighbor whos an experienced gardener or ask staff at your local garden center. You can also visit The Old Farmers Almanac website or find a Master Gardener program (part of your states Cooperative Extension). The date of the actual last spring frost varies from year to year so the “average last spring frost date” is just an approximation, but it gives you a starting point.
Growing on a windowsill, these sad-looking seedlings are reaching for the light.
Tending to Seedlings Indoors: When to Take the Lid Off
FAQ
How long do you leave plastic cover on seedlings?
When should I take the dome off my seedlings?
When should I uncover my seedlings?
- How to Grow Gorgeous Climbing Roses on a Wooden Fence - March 24, 2026
- Avoid These Plants When Companion Planting with Oregano - March 24, 2026
- 15 Great Trees to Plant Near Your House - March 24, 2026