The beautiful peace lily is a popular tropical houseplant that gives off an air of peace and beauty. It has wispy white flowers that grow against bright, shiny green leaves. But sometimes, the leaves can turn yellow or brown, or they may also start to curl or droop. These peace lily leaf issues can occur for many reasons, including water-related mistakes, incorrect light exposure, and more. So, it’s important to know what your plant wants and how to take care of it so it grows well and looks good.
You’ll learn how to spot common peace lily problems, figure out what causes them, and fix them with this complete guide. We’ll also give you some expert preventative tips that will help you change the way you care for your peace lily so that it grows stronger and more colorful.
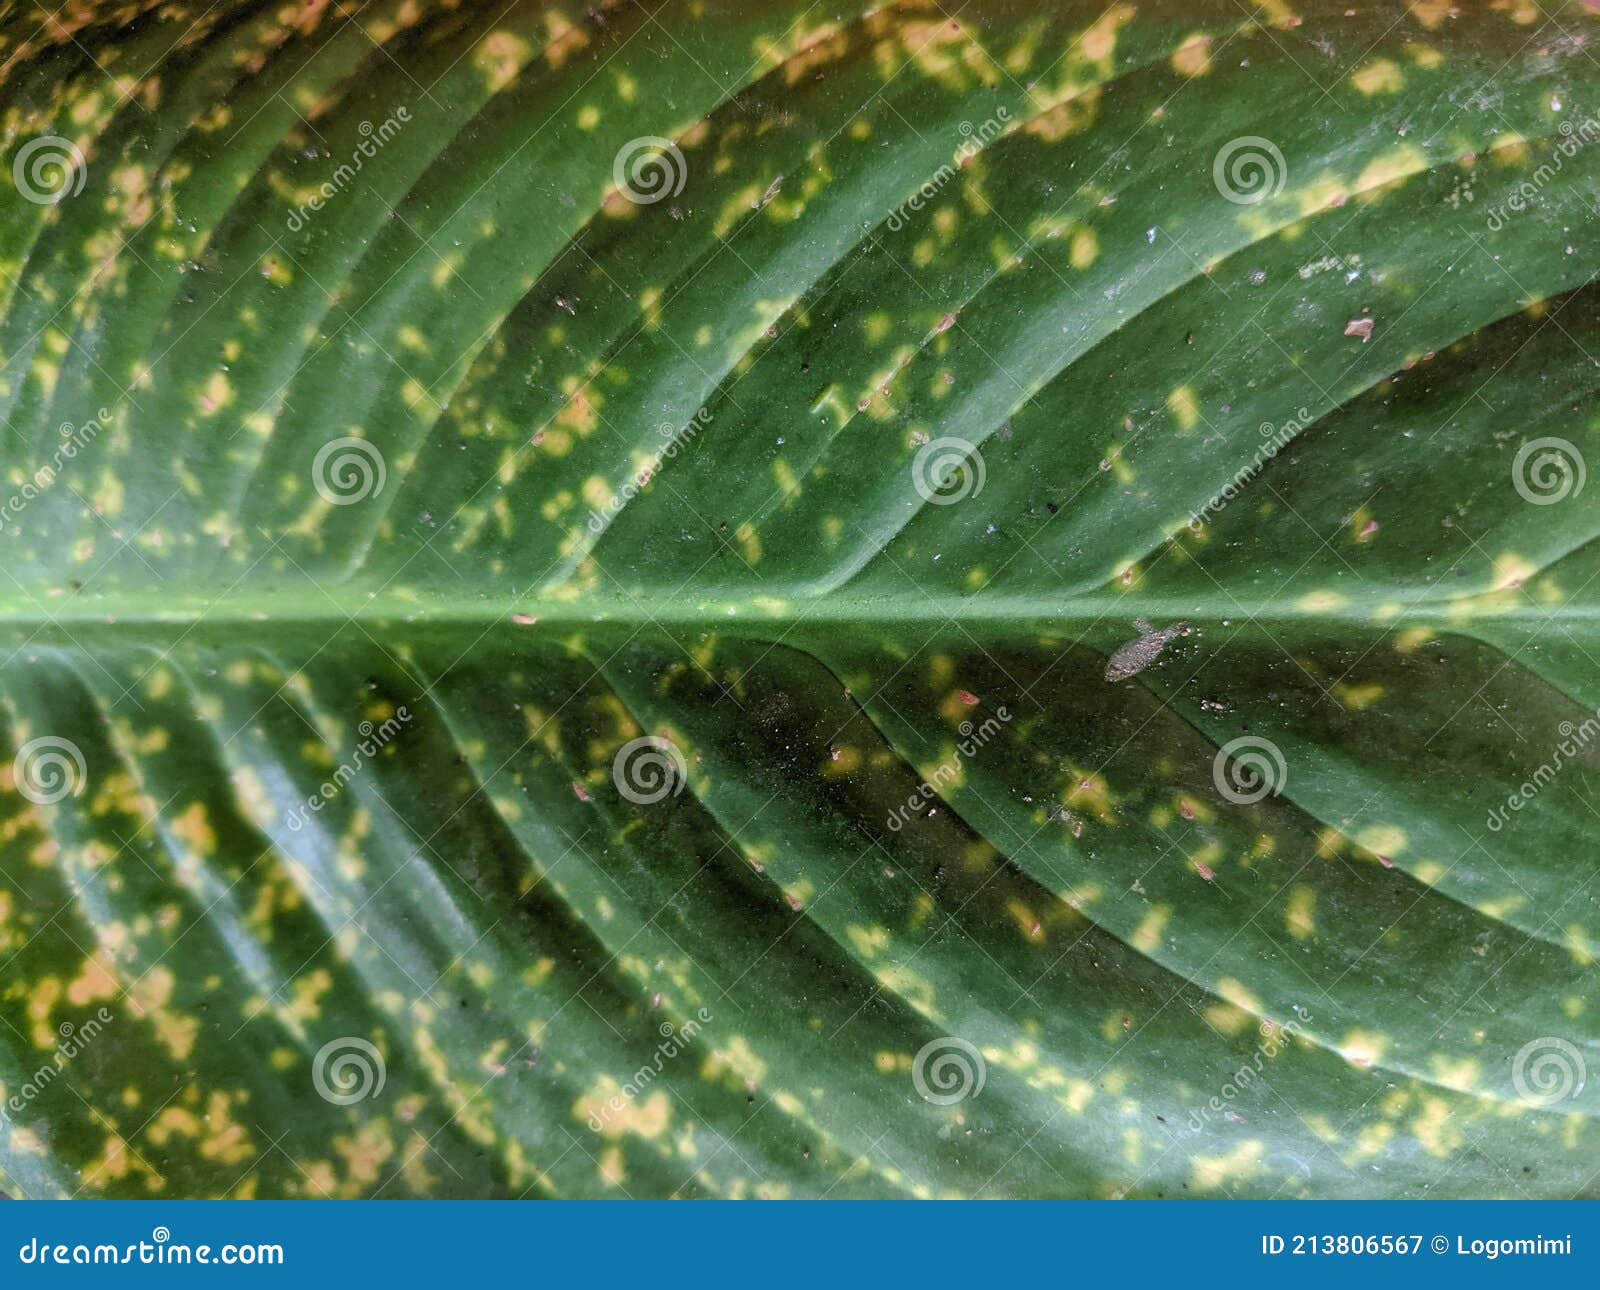
If you’ve noticed yellow spots marring the gorgeous glossy leaves of your peace lily, don’t panic. While discolored foliage is never a welcome sight, yellow spots are common on peace lilies and rarely indicate a serious problem
In most cases, a few adjustments to your care regimen along with targeted treatment will have your plant looking lush and healthy again in no time Here’s a deep dive into why peace lilies get yellow spots and what you can do about it
Common Causes of Yellow Spots
Yellowing on just a few leaves or in small spots usually indicates:
-
Watering issues – Irregular watering leads to stress. Allowing the soil to completely dry out and then overwatering can cause yellow blotches.
-
Pests – Insects like spider mites, mealybugs, and thrips suck sap and leave behind yellow stipples. Check the undersides of leaves.
-
Leaf scorch – Hot, dry air from heaters or fans directly on the leaves causes brown-yellow edges.
-
Poor drainage – Excess moisture in the soil leads to root rot and yellow, translucent spots on leaves.
-
Age – Older leaves naturally yellow and drop off as the plant puts energy into new growth.
-
Nutrient deficiency – Lack of nutrients like nitrogen results in overall yellowing starting with lower leaves.
Quick Fixes for a Few Yellow Spots
If you only notice yellow spots on a couple of leaves, try these simple solutions:
-
Wipe leaves with a damp cloth to remove dust buildup.
-
Mist leaves daily to increase humidity around the plant.
-
Move away from heat and A/C vents and out of direct sunlight.
-
Check for pests on the undersides of leaves and apply neem oil if found.
-
Apply a balanced liquid fertilizer at half strength every 2-3 weeks.
-
Remove aging yellow leaves so the plant can focus energy on new growth.
Troubleshooting Extensive Yellowing
If many leaves are heavily speckled yellow or you see yellowing spreading through the plant, further investigation is needed:
-
Feel soil before watering and only water when the top inch is dry.
-
Ensure the pot has drainage holes and empty saucer after watering.
-
Repot in fresh potting mix if drainage is poor or roots are crowded.
-
Inspect all leaf surfaces for signs of pests. Use insecticidal soap weekly.
-
Add a pebble tray or humidifier to boost humidity levels above 50%.
-
Move plant away from drafty areas, heaters, and air vents.
-
Apply a nitrogen-rich fertilizer and reduce frequency to avoid burn.
-
Remove severely damaged yellow leaves so the plant can rejuvenate with new growth.
When to Worry About Yellow Leaves
While the occasional yellow spot isn’t concerning, take note if you see:
-
New leaves emerging yellow rather than bright green.
-
Yellowing spreading rapidly from leaf edges inward.
-
Mushy, translucent yellow leaves with rotten spots.
-
Yellow leaves dropping quickly from the entire plant.
-
Yellowing accompanied by wilting, drooping, or leaf drop.
These are signs of serious root rot and require urgent action. Prune all rotten roots, disinfect the pot, and repot in fresh soil and a clean container. Discard any mushy yellow leaves and keep the soil slightly dry while it recovers. Seek immediate help from a plant expert if it doesn’t improve within 2 weeks.
Preventing Future Yellow Spots
By tweaking your care routine, you can avoid many common causes of yellow leaf spots:
-
Allow the top inch of soil to dry between waterings.
-
Water with room temperature filtered or distilled water.
-
Maintain indoor temperatures between 65-80°F year-round.
-
Mist often or use a pebble tray to provide 40-60% humidity.
-
Keep in medium to bright indirect light, away from direct sun.
-
Repot when roots fill the container or every 2-3 years in fresh potting mix.
-
Fertilize monthly in the growing season with a balanced houseplant formula.
-
Prune old leaves and stems at the base to encourage new growth.
-
Inspect frequently for pests and treat with insecticidal soap as needed.
With proper care, your peace lily will reward you with many years of beautiful, spot-free leaves. But if yellow spots do pop up, don’t panic – just implement the appropriate fixes and your plant will be back to its unblemished self in no time. Consistent care is key to preventing most discoloration issues on peace lilies.
Peace Lily Yellow Leaves: Causes & Solutions

Peace lilies are generally pretty easy-to-care-for plants. But why are the leaves getting lighter? These are the most common reasons why peace lily leaves turn yellow:
- Not giving peace lilies enough or too little water—either way, the leaves will turn yellow. Too much water can cause root rot, and too little water can kill the plant.
- Bad water quality—Tap water has chemicals in it, like fluoride and chlorine, that can change the pH levels of the soil and make leaves turn yellow.
- Mineral deficiency: If the minerals in the soil aren’t enough, your peace lily may have leaves that turn a different color.
- Problems with temperature and humidity: Peace lilies do best in temperatures between 65F and 85F and humidity levels between 60% and 60%. In the wrong conditions, the plant can exhibit yellowing leaves.
- Problems with sunlight—Too much sun can burn the leaves of your peace lily.
- Root-bound plant: If the peace lily gets root-bound, it won’t be able to get enough water and nutrients from the soil, which will make the leaves turn yellow.
- Transplant shock: Your peace lily needs time to get used to its new pot after you move it. Transplant shock can result in wilting, yellow leaves.
- Age: Lower, older leaves turn yellow on their own before falling off.
Peace Lily Drooping Leaves: The Most Common Causes

Peace lily leaves that droop could be caused by a number of things, such as too much direct sunlight, too much or too little water (which can cause root rot), transplant shock or roots that are stuck in the pot, cold weather, and more.
Again, it’s not hard to fix the problem and revive your beautiful peace lily.
5 Reasons your peace lily leaves turning yellow
FAQ
Why does my peace lily have spots on the leaves?
What does an overwatered peace lily look like?
Should I cut the yellow leaves off my peace lily?
What does a diseased peace lily look like?
- How to Dig a Garden Bed: A Step-by-Step Guide for Beginners - April 14, 2026
- The Moderate Growth Rate of the Stunning Edith Bogue Magnolia - April 10, 2026
- Cultivating Vibrant Dahlias in Garden Beds – A Complete Growing Guide - April 10, 2026