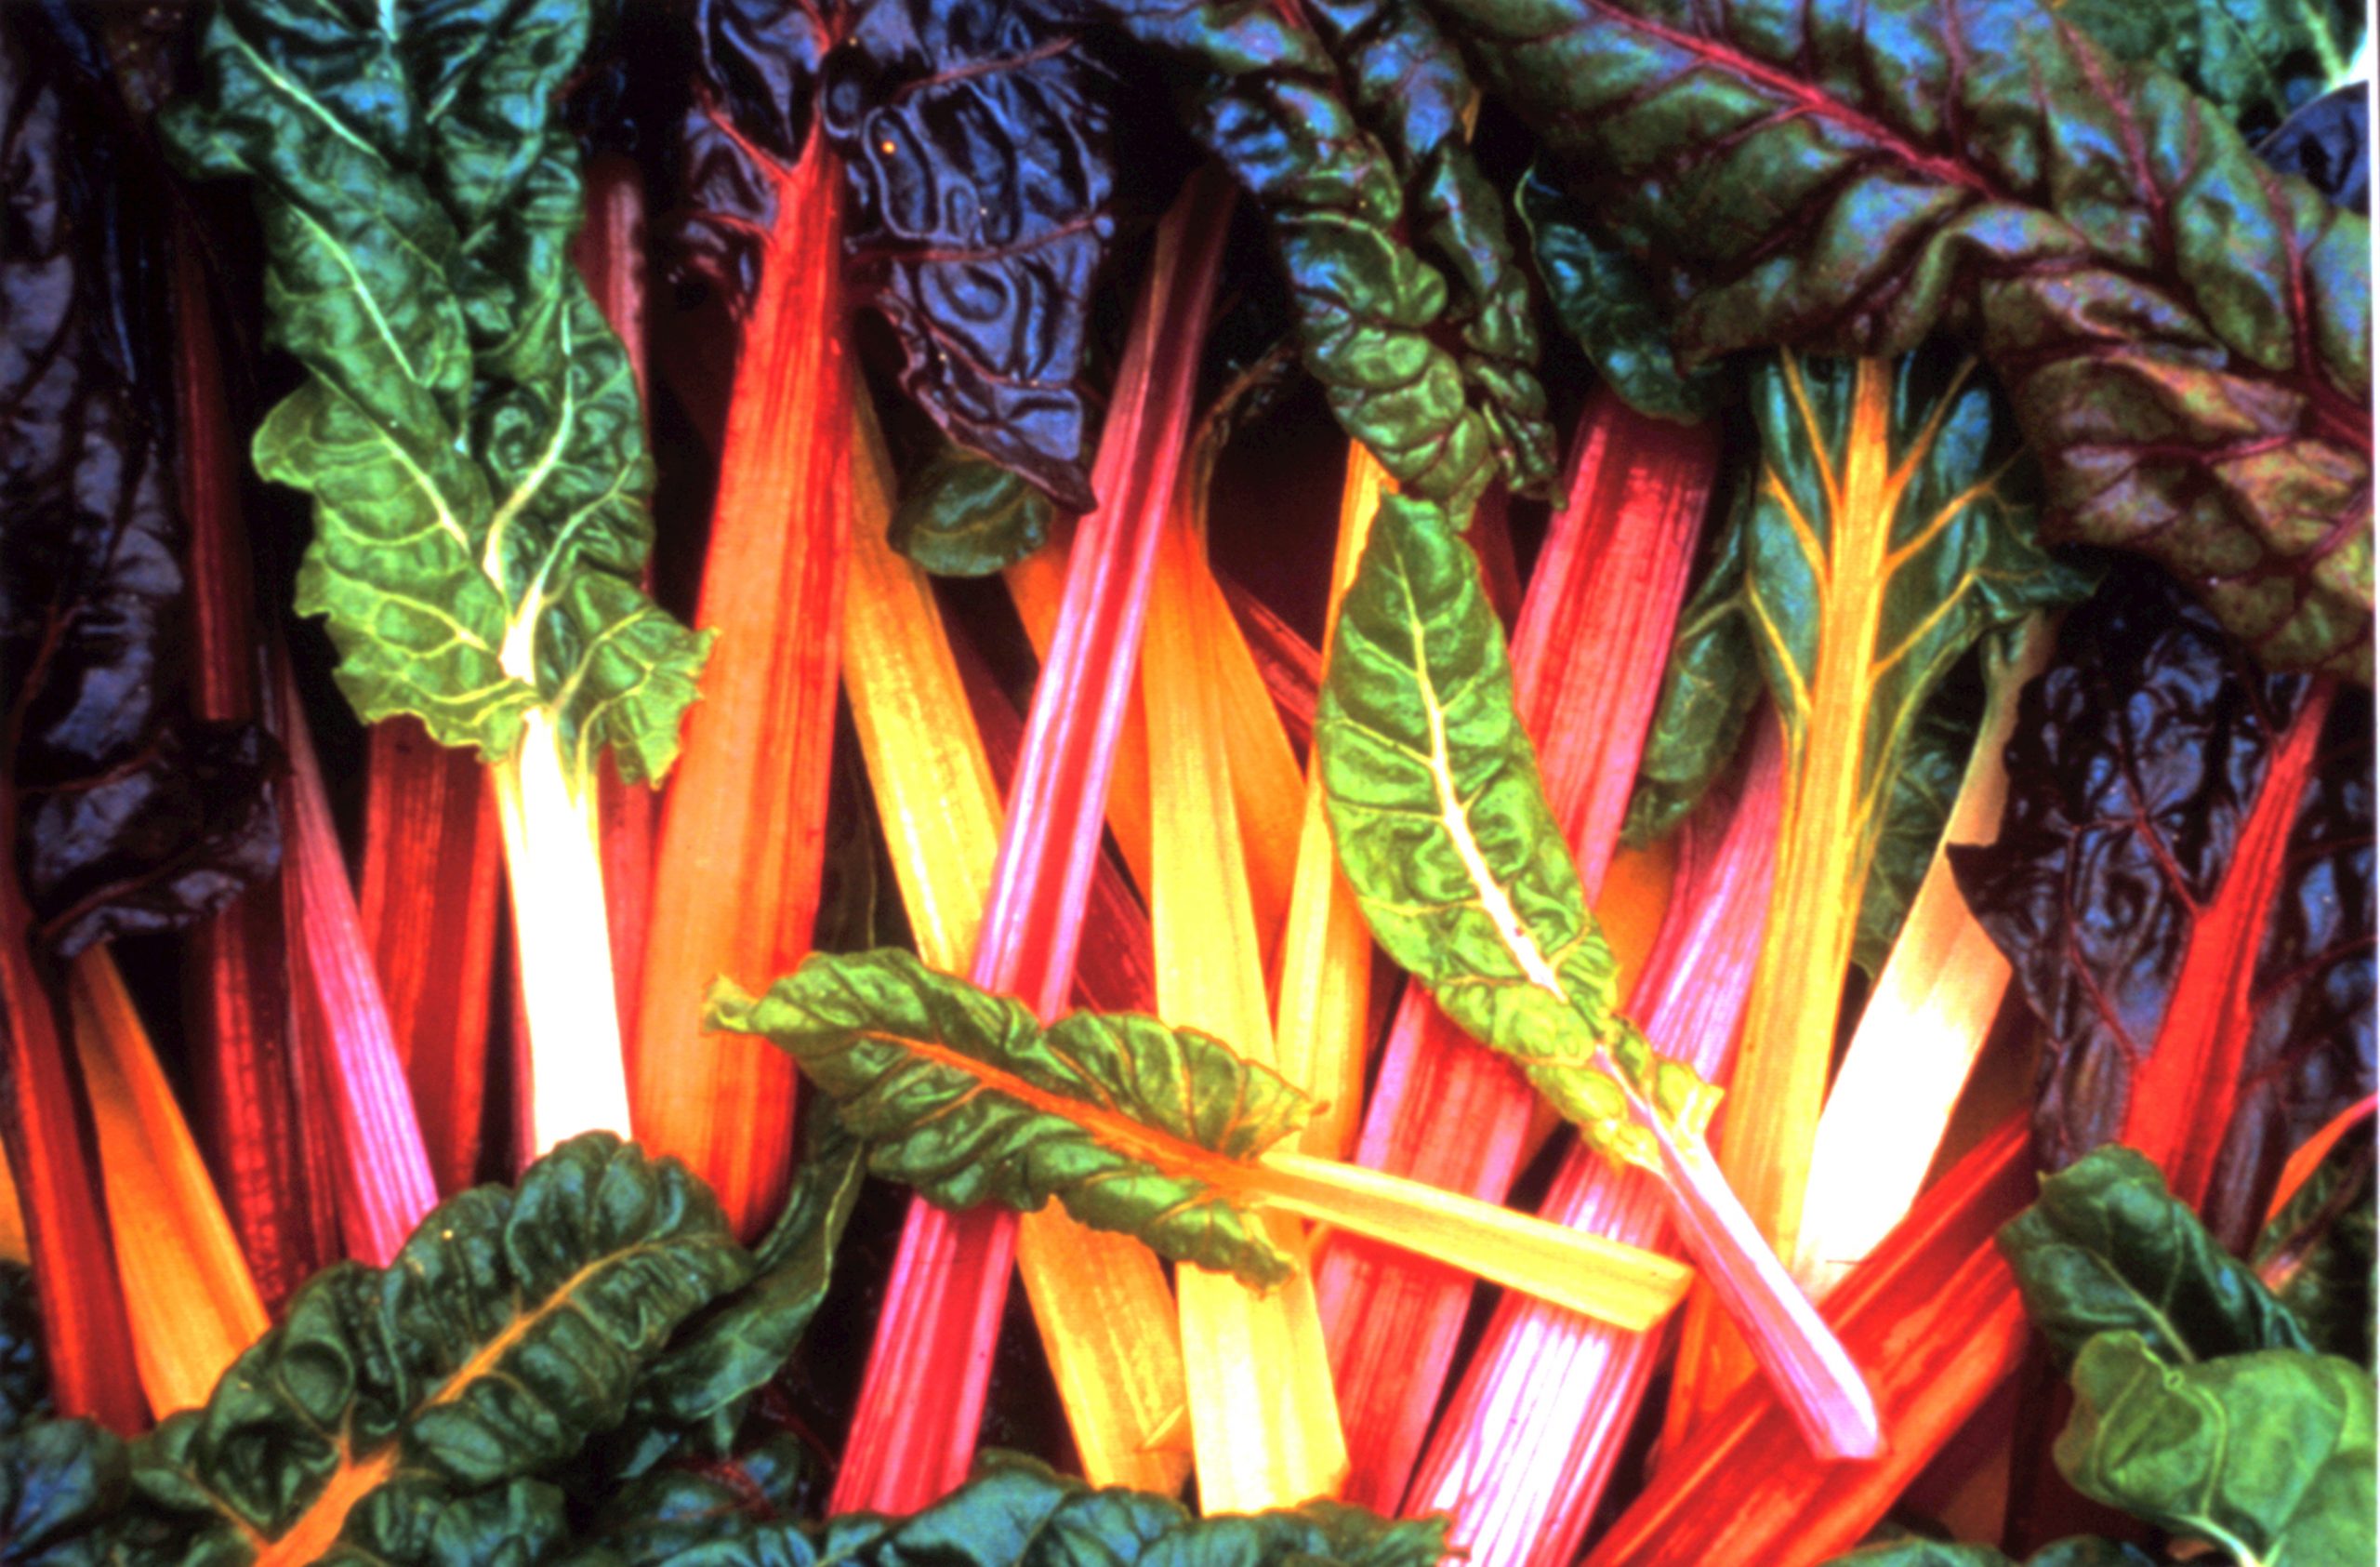
If you’re looking to add a burst of color to your vegetable garden, Bright Lights swiss chard is a great option. This eye-catching variety produces vibrant red, pink, orange, yellow, and white stems with glossy green leaves. In this article, I’ll share some key details on growing these colorful chard plants successfully.
An Overview of Bright Lights Swiss Chard
Bright Lights swiss chard is an open-pollinated heirloom variety that was bred by John Eaton in New Zealand in the 1990s. It was introduced to American gardeners in 1998 by Johnny’s Selected Seeds after winning an All-America Selections award
This chard variety is known for its mild, sweet flavor and its rainbow of stem colors that add a decorative element to the garden. The mature plant size reaches about 18-24 inches tall and 12-15 inches wide.
Bright Lights performs well when direct sown or transplanted. It can be grown for both baby leaf and mature bunching harvests. With proper care, you can achieve multiple harvests throughout the growing season.
When and How to Plant
Bright Lights swiss chard can be seeded directly in the garden or started indoors and transplanted. Here are some tips for both methods:
- Direct sowing: Plant seeds 1/2 inch deep in prepared soil after the last spring frost date. Space rows 12-18 inches apart. Thin seedlings to 4-6 inches apart.
- Transplanting: Start seeds indoors 4-6 weeks before your last spring frost. Transplant seedlings outdoors when soil is warm, spacing 4-6 inches apart in rows 12-18 inches apart.
- Ideal soil: Well-drained, nutrient-rich soil with a pH between 6.0-7.0
- Sun requirements: Full sun to partial shade
- Planting times: Early spring through mid-summer. Fall in mild winter areas.
Caring for Bright Lights Plants
To keep your Bright Lights chard healthy and productive, be sure to provide:
- Consistent watering: 1-2 inches per week. Avoid wetting foliage.
- Fertilizer: Apply balanced organic fertilizer at planting and midseason.
- Weed control: Mulch around plants and hand pull weeds.
- Insect monitoring: Watch for aphids and slugs. Remove by hand or use organic sprays.
- Season extension: Use row covers in early spring and late fall to extend harvests.
How to Harvest Bright Lights Chard
- For baby greens, start cutting leaves when they reach 3-6 inches, cutting just above soil line.
- For full size bunching, cut outer leaves off the stems when they are 8-12 inches tall, leaving interior leaves to continue growing.
- Use a sharp knife or scissors for clean cuts.
- Harvest in morning when leaves are most crisp.
- Pick leaves promptly before they start to wilt.
- Harvest regularly to encourage steady production.
Tips for Managing Growth
- Bright Lights chard grows rapidly. Provide sufficient spacing for plants to reach full size.
- Pinch off any blooms that form to prolong leaf production.
- Trim back any overgrown leaves and stems to stimulate new growth.
- Control self-sown seedlings that pop up by pulling or hoeing around plants.
- Renew plants by cutting back old growth if leaves become small late in season.
- Mulch plants in fall for winter protection in cold areas.
How to Use Bright Lights Swiss Chard
This colorful chard variety can be used in any recipe calling for swiss chard greens. The red and yellow stems add brightness when sautéed or added to soups and stews. Try these tasty ideas:
- Sauté stems and greens in olive oil with garlic and lemon.
- Add raw young leaves to salads for color and crunch.
- Layer stems and leaves into lasagnas and casseroles.
- Use stems as a unique cocktail garnish.
- Blanch leaves briefly then freeze for later use.
With its vivid colors and versatility, Bright Lights swiss chard is sure to be an eye-catching addition to your vegetable plot or container garden! Follow these tips for success from seed to harvest.
Bright Lights Swiss Chard (AAS Winner): A Stunning 3 Season Leafy Crop ‘The Proof is in the Plant’
- The Ultimate Guide to Growing Strawberries in Raised Beds - August 8, 2025
- No-Dig Garden Beds: The Easiest Way to Grow a Beautiful Garden - August 6, 2025
- How to Protect and Preserve Wood for Raised Garden Beds - August 6, 2025

