Having a tree in your yard provides wonderful benefits like shade, beauty, and increased property value. But the area around the base of a tree often gets neglected and looks bare. An easy way to make better use of this space is to build a decorative planter box around the tree trunk.
Not only does a planter box around a tree visually enhance the yard it also helps the tree by controlling grass and weeds competing for its nutrients. A planter allows you to add interesting plants, mulch and design details to complement both the tree and your home’s landscape.
With a few simple materials and tools you can create a beautiful DIY planter box for the trees in your yard. Here’s how to do it
Planning Your Tree Planter Box
When deciding how to build your tree planter, consider these factors:
-
Tree trunk size – Measure the trunk diameter to make the planter interior opening large enough. Add 6-12 inches of clearance.
-
Planter box height – Standard height is around 24 inches but adjust based on your needs. Shorter boxes let you see more tree trunk.
-
Shape – Square and rectangular shapes are most common. Round planters also look nice around trees.
-
Materials – Wood, concrete blocks, bricks, and stones all work. Choose what matches your landscape style.
-
Drainage – Ensure the planter has drainage holes to prevent tree root rot. Elevate wood boxes slightly off the ground for airflow.
-
Irrigation – Incorporate drip irrigation or make sure you can water box plants manually.
With measurements and a materials list, you’re ready to start your DIY tree planter project!
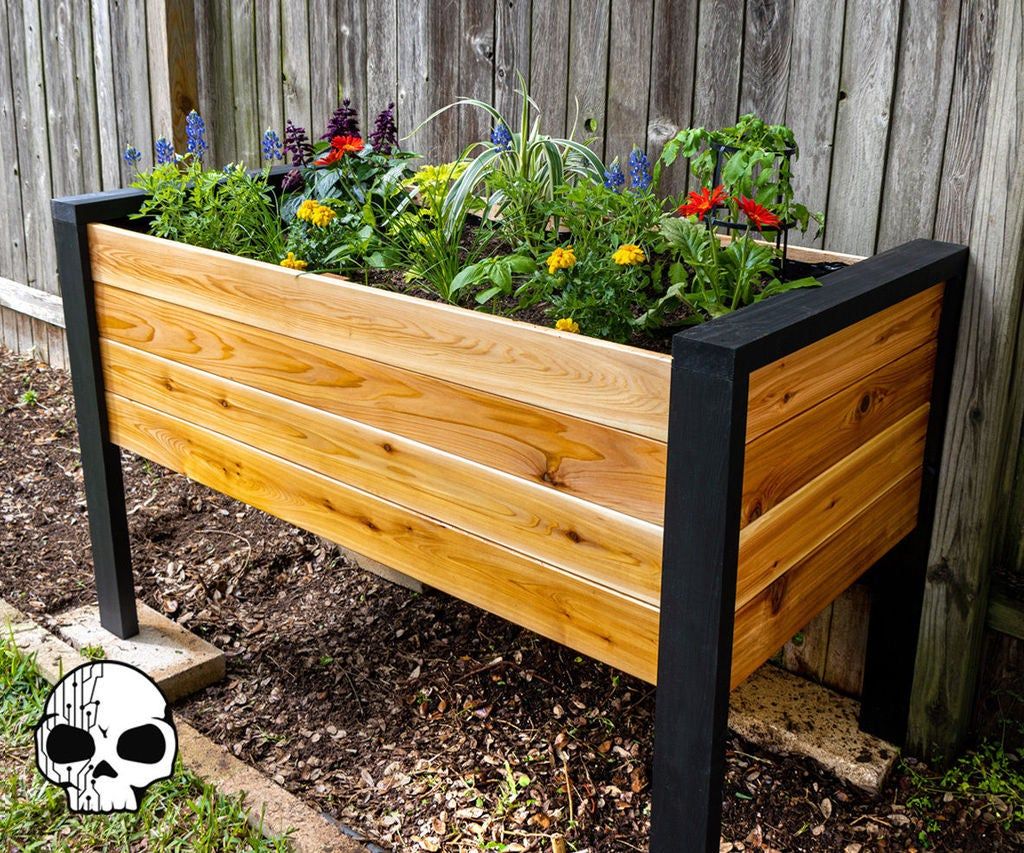
Building a Wood Tree Planter Box
Wood planter boxes provide a classic look suitable for many home styles. Redwood and cedar are naturally rot-resistant outdoor wood choices.
Supplies Needed:
- 1×6, 1×8, or 1×10 boards for the sides (cedar or redwood)
- Landscape timbers or 2x2s for the corners
- Deck screws, 3-4″ long
- Gravel and landscape fabric for drainage
- Exterior wood stain (optional)
Steps:
-
Cut the side boards to the desired length. Mark drainage holes spaced evenly along the bottom edges.
-
Drill through the side board bottom edge to make drainage holes using a 1/4” drill bit.
-
Attach the corner boards to the ends of the side boards using two screws at each joining.
-
Cut a piece of landscape fabric to line the bottom interior. This prevents soil from leaching out drainage holes.
-
Move the planter into position around the tree. Fill the base with gravel for drainage.
-
Cut the landscape fabric to fit over the gravel layer.
-
Fill with planting mix and plants. Use mulch to cover open soil areas.
-
Stain the wood planter with an exterior stain for weather protection if desired.
The finished wood planter will spruce up the area around your tree for years to come!
Making a Concrete Block Tree Planter
For a more contemporary look, stack concrete blocks around the tree trunk to form a bold planter. Square caps finish off the top edges.
Supplies Needed:
- Concrete wall blocks
- Concrete cap blocks for top edge
- Gravel
- Landscape fabric
- Trowel and level
Steps:
-
Layout the first row of blocks in a square or rectangle around the tree trunk, using a level to keep blocks even.
-
Fill inside this base row with gravel, up to 2-3 inches from the top.
-
Cut landscape fabric to size and place over the gravel layer.
-
Stack a second row of blocks on top of the base row to achieve the desired height.
-
Place cap blocks along the top perimeter edge to finish the planter walls.
-
Fill with planting mix and plants. Level and tamp the soil to compact it.
The block planter provides structure and definition around the base of your tree. Add some river rock or pea gravel as mulch to complement the blocks.
Creative Planter Ideas for Trees
Let your imagination run wild when it comes to enclosing and decorating the area around a tree trunk! Here are some more ideas to try:
-
Use irregular flagstones for a freeform, mosaic look.
-
Incorporate edging stones, bricks, or pavers into geometric patterns.
-
Line galvanized metal buckets or stock tanks around the tree to make mini planters.
-
Upcycle wooden pallets or cedar fencing into rustic planter walls.
-
Accent with vertical elements like trellises, decorative chains, ribbons, or solar lighting.
-
Add a bench or chair inside large planter boxes for a shady respite.
Whatever design you dream up, a DIY planter box is sure to give your tree the spotlight it deserves in your yard!
DIY Raised Tree Bed or Planter
FAQ
Can I build a planter around a tree?
Can you build a raised bed around an existing tree?
How big should a tree planter box be?
What is the best planter for a tree?