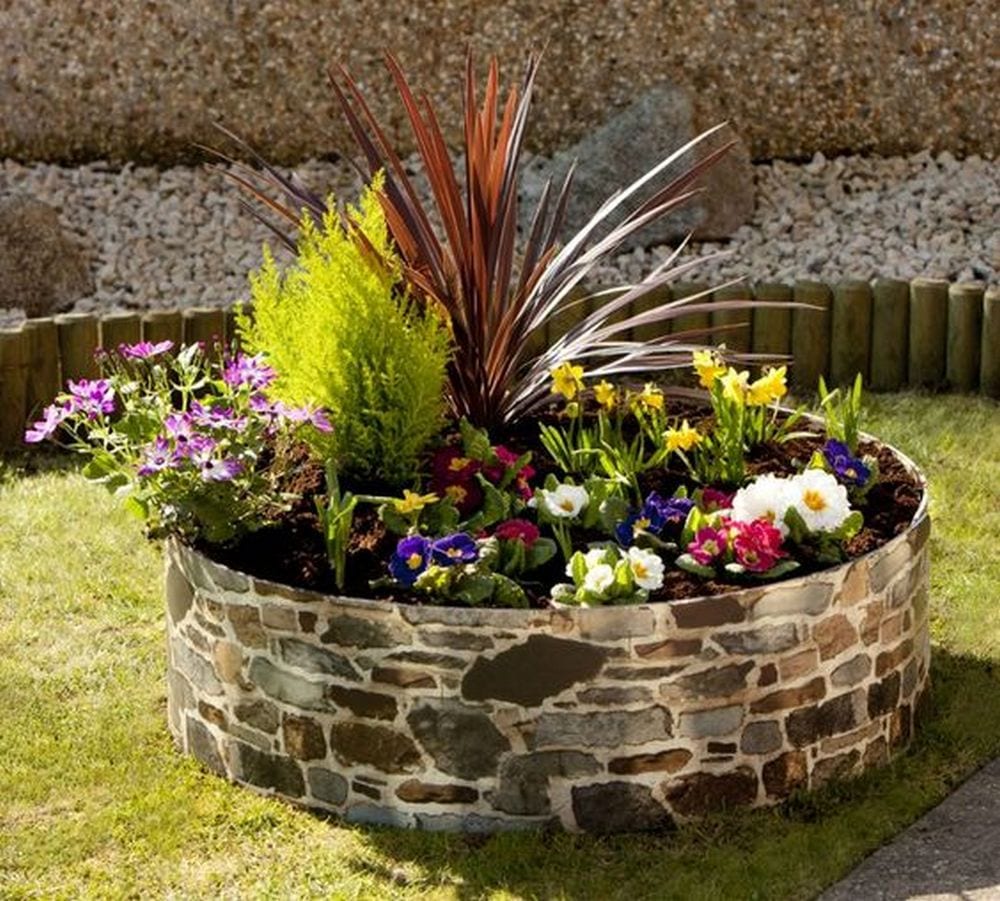
Making this round raised garden bed yourself is simple, cheap, and looks great in any garden.
Square garden beds are all well and good, but sometimes we want something a little more curvaceous!
I think the raised round beds in the middle will hold flowers and maybe some fruits as well. The main rectangular bed will do most of the work when it comes to vegetables.
I thought about building one round bed and putting a table and chairs next to it, but then I thought about how often we’d be sitting outside and decided that more soil would be better.
Now, it’s pretty easy to make a round raised garden bed out of corrugated metal. But it’s not as easy if you want to use treated pine or cedar. You could use the barrel method, give each slat an odd angle on its edge, and then use a cooper’s ring to connect them all. But that’s a huge pain because it requires a lot of math and a blade that tilts on a table saw. Just thinking about all those angles makes my head swim.
Or you could do it my way…the easy way! No angles, no bevels, just boards and a screwdriver.
Raised garden beds are a popular way to grow vegetables, herbs, and flowers. The contained design makes them easy to care for and provides better drainage. While most DIY garden beds have a basic rectangular shape, round raised beds offer a unique look that can add visual interest to your backyard or patio.
In this beginner’s guide, we’ll explore how to make round raised garden beds yourself, from simple construction tips to material ideas. Let’s dive in!
Benefits of Circular Raised Beds
There are several advantages to the round design versus traditional square beds:
-
Aesthetic appeal – Circles and ovals have a more natural, flowing shape that blends into landscape designs The curved edges are visually soothing.
-
Use corners efficiently – The continuous ring design makes good use of awkward corner spaces in a garden layout.
-
Easy access – Beds with a round footprint allow you to reach the entire planting space without stepping inside.
-
Space savings – Fitting multiple beds together, you can maximize planting area while leaving walking room around each.
-
Lower materials cost – Shorter perimeter means you need fewer boards to build the frame.
Planning Your DIY Round Garden Bed
When preparing to build round raised beds, consider the following:
Size – Standard sizes range from 3-6 feet diameter, but you can make them bigger or smaller. Scale it to fit your space and planting needs.
Height – Traditional heights are between 12-18 inches tall. Low beds around knee height minimize bending. Match the height of existing beds.
Material – Most are wood, but you can also use plastic, metal, stone, or concrete. Choose rot-resistant woods like cedar or pine.
Location – Find a level, sunny spot. Check for buried pipes or wires before digging. Avoid planting under trees.
Number of beds – Start with one, but grouping two or more together can look nice. Leave ample walking room between beds.
How to Build a Round Raised Garden Bed
While there are a few techniques for DIY round beds, the basic process is straightforward:
Gather Supplies
You’ll need:
- Boards or planks for the frame (cedar, pine, etc.)
- Landscape edging or builders fabric (to line inside)
- Screws and drill
- Saw (circular, jig, or miter)
- Level
- Mallet or hammer
- Optional: paint, stain, or wood sealer forappearance
Cut the Frame Pieces
Determine the diameter and cut boards to that length. For example, a 4 foot diameter bed needs (4) 1×6 boards cut to 4 feet long.
Having matching lengths makes assembly easier but you can piece together random length scraps if needed.
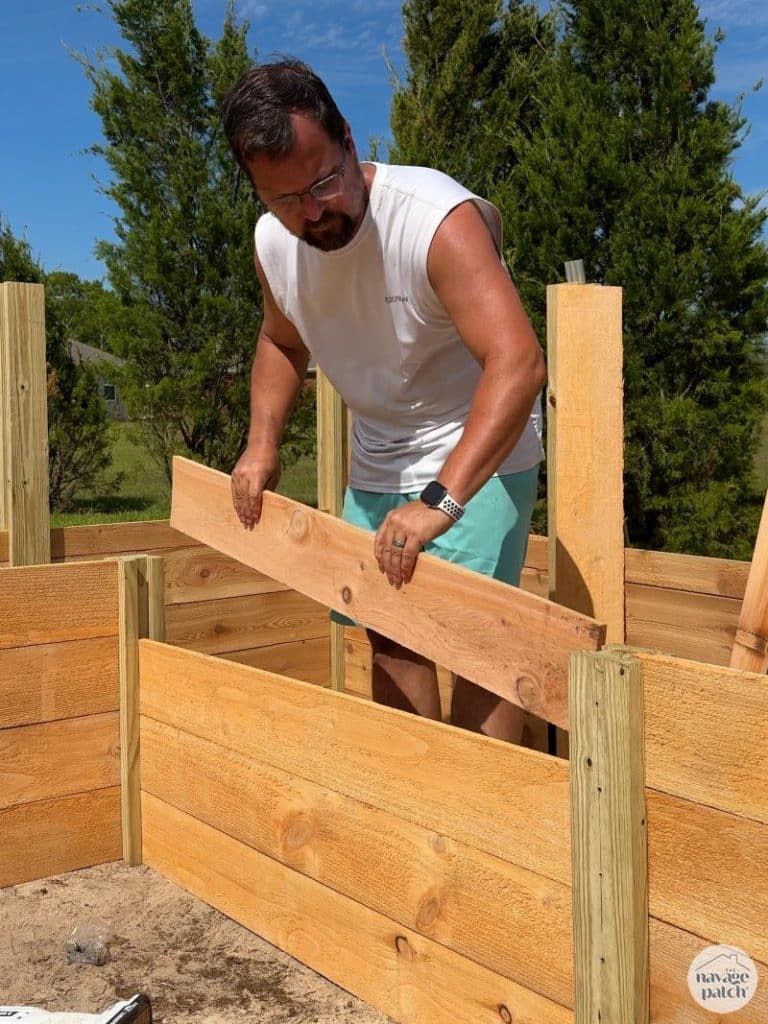
Assemble the Frame
On a flat surface, position boards end-to-end into a ring shape. Drill pilot holes and screw boards together tightly.
Add a second inner ring for more stability if desired.
Secure the Shape
Use galvanized metal strapping, strong rope, or an old bike inner tube around the outside to reinforce the round shape as needed.
Level the Soil
Set the bed in place, level, and lined with landscape fabric. Fill halfway with compost, soil, manure blend. Tap down firmly, then finish filling.
Optional Finishing
Stain, seal or paint the exterior for protection and decorative appeal. Let dry fully before installing.
And that’s the basics for building your own round raised garden bed! Next up, let’s look at some specific design ideas.
Round Raised Bed Design Ideas
From rustic wood to modern metal edging, there are many ways to customize circular raised beds to suit your personal style and garden needs.
Rustic tree rounds – Use cross-section tree slices as short garden bed walls. Add rope or branch rounds to hold in soil.
Wood planks – Simple and classic. Use new or reclaimed lumber, treated or untreated.
Bender board – Flexible plastic edging bent into circles of varying sizes. Fasten ends together.
Wire fencing – Make rings of chicken wire or hardware cloth to contain soil. Use taller mesh for climbing plants.
Livestock panels – Bend sturdy metal cattle panels into oval and round shapes. Anchor into ground.
Metal ring – Make a custom steel ring or use a metal fire pit ring as the garden frame.
Stock tanks – Galvanized steel livestock troughs work well as instant round raised beds.
Cinder blocks – Stack blocks in a ring and fill center with soil. Leave gaps for drainage.
Hay bales – Arranged in a circle, hay makes an easy circular planting bed.
Brick or stone – Use masonry materials like circle kit pavers or field stone to edge round beds.
Concrete – Build permanent raised beds with curved concrete forms or edging stones.
Tips for Planting in Raised Round Beds
Round raised beds offer great planting flexibility. Here are some tips:
-
Fill with nutrient-rich potting mix for best growth. Amend soil with compost annually.
-
Use drip irrigation or soaker hoses to conserve water. Mulch helps retain soil moisture.
-
Rotate crops each season to replenish soils. Plant heavy feeders like tomatoes followed by root crops.
-
Include vertical plants like vining peas, beans, tomatoes, and cucumbers. Install trellises along one side.
-
Place taller plants like sunflowers and corn on outer edges so they don’t shade lower-growing vegetables.
-
For small beds under 4 feet, choose compact and determinate (bush) vegetable varieties that won’t outgrow the space.
-
Include edible flowers and herb plants. Round beds are ideal for planting pizza, salsa, salad, tea, and cocktail gardens!
Maintaining Round Garden Beds
A few simple practices will keep your circular raised beds looking great and producing a bountiful harvest:
-
Remove spent plants promptly and keep beds free of weeds.
-
Check soil moisture regularly and water when dry to 2 inches deep.
-
Replenish compost or manure before each new growing season.
-
Watch for insect pests and diseases. Treat problems early to prevent spreading.
-
Place hardware cloth under the soil to keep out burrowing pests like gophers.
-
Mulch annually with organic materials to improve soil health as it decomposes.
-
In colder climates, protect beds with greenhouse plastic, straw, or fabric covers to extend the growing season.
FAQs About Building Round Raised Beds
New gardeners often have the following questions when making DIY circular planter boxes:
How many boards do I need per foot of diameter?
Estimate 3-4 boards per foot of diameter. For example, an 18-inch bed needs 6 boards cut to 18 inches long. Wider boards require fewer.
Should I make one big bed or several smaller ones?
Consider your space and preferences, but smaller beds are often easier to manage. Optimal size is usually 4×4 feet or 5×5 feet maximum.
What’s the best wood to use?
Cedar and redwood resist decay. Pine is cheaper but requires preservative treatment. Avoid using railway sleepers due to chemical poisoning risks.
How thick should the frame boards be?
One-inch stock is sufficient for shorter beds under 2 feet tall. Use 1×6 or 1×8 boards for larger round planter boxes.
Can I use treated lumber inside if lined with plastic?
Yes, it’s generally safe if the wood doesn’t directly contact edibles. But untreated cedar is better for direct food contact.
Get Creative with DIY Round Raised Beds
Hopefully this gives you lots of inspiration to get started building your own round raised garden beds! They make a fun weekend project and are easier than they look. Don’t be afraid to get creative with the materials and make a design that fits your space.
The circular shape lends itself well to many edible and ornamental planting options. Before long, you’ll have a lush backyard oasis filled with gardens of flowers, herbs, and vegetables all thriving in DIY circular planter boxes.
DIY Round Raised Garden Bed SUPPLIES LIST
Affiliate links are provided below. Full disclosure here.
- 3/4x6x6 treated-pine fence pickets
- 5/8x6x6 cedar fence pickets (optional)
- Circular saw or miter saw
- Table saw
- Galvanized pipe hanger
- 3/4 inch brass screws
- Deck Stain (I used Cabot Heartwood)
Round Raised Garden Bed VIDEO Tutorial
Watch the short, fun video below to get an idea of how our round garden beds work before you read the full, step-by-step guide.
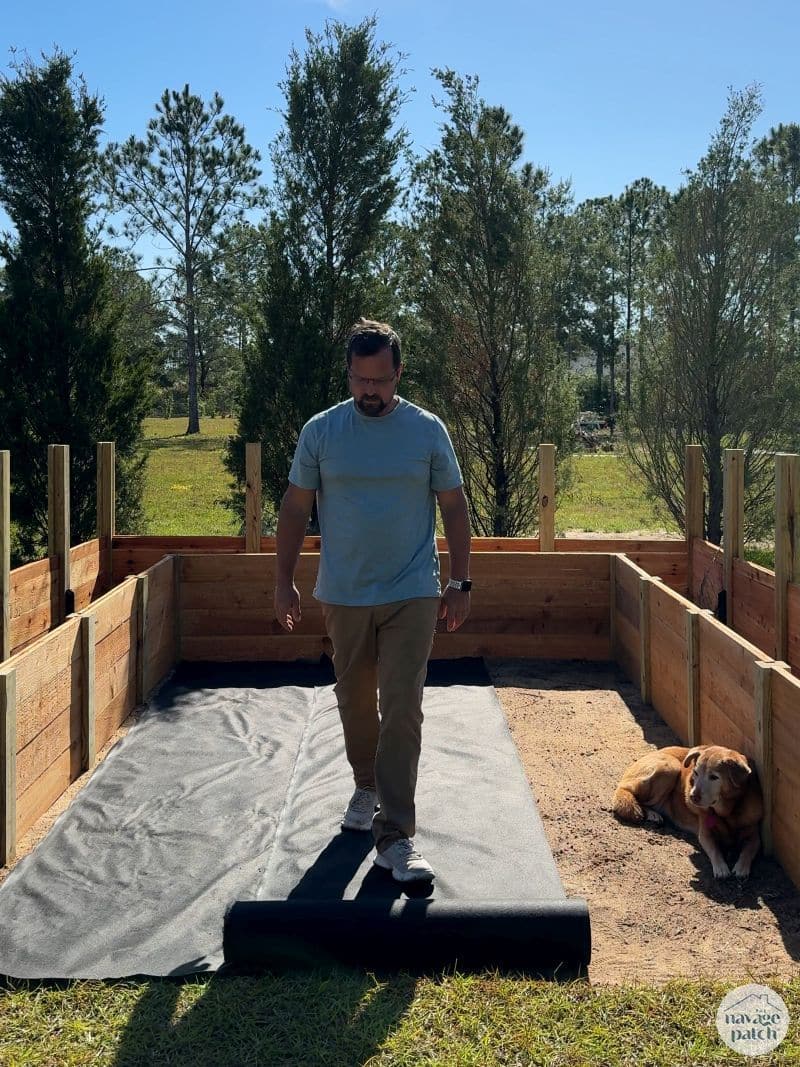
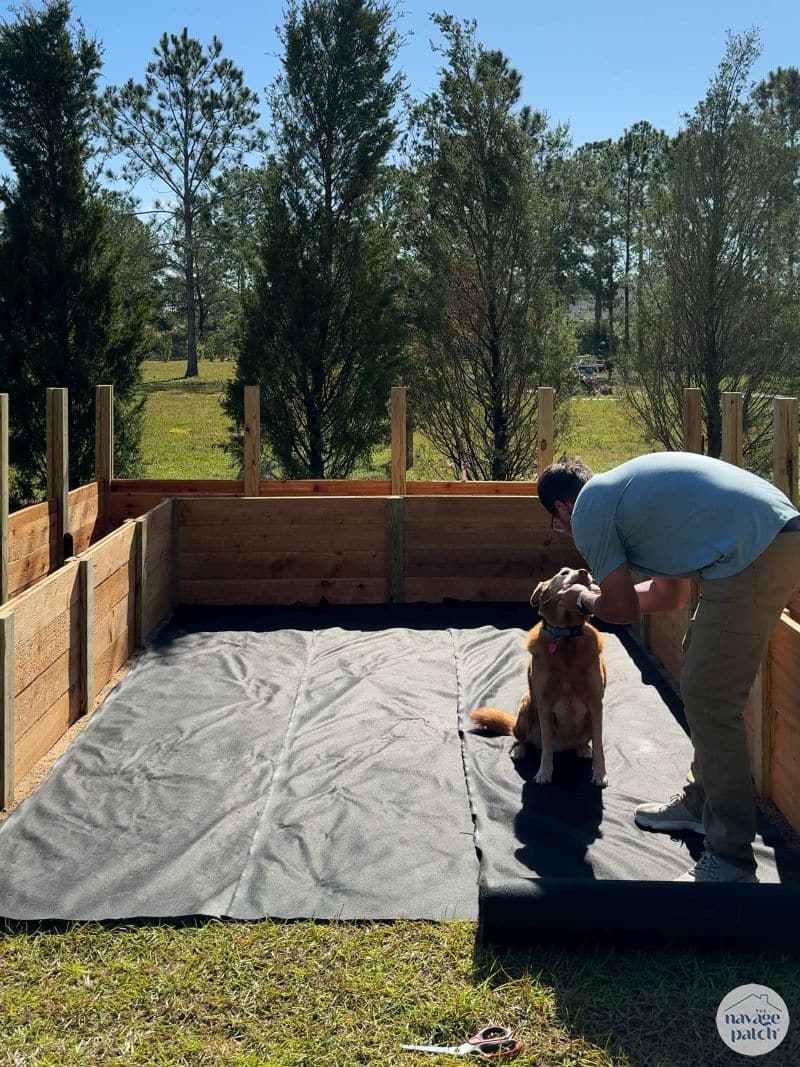
Before I built the round raised beds, I put weed barrier around the inside of my rectangle beds.
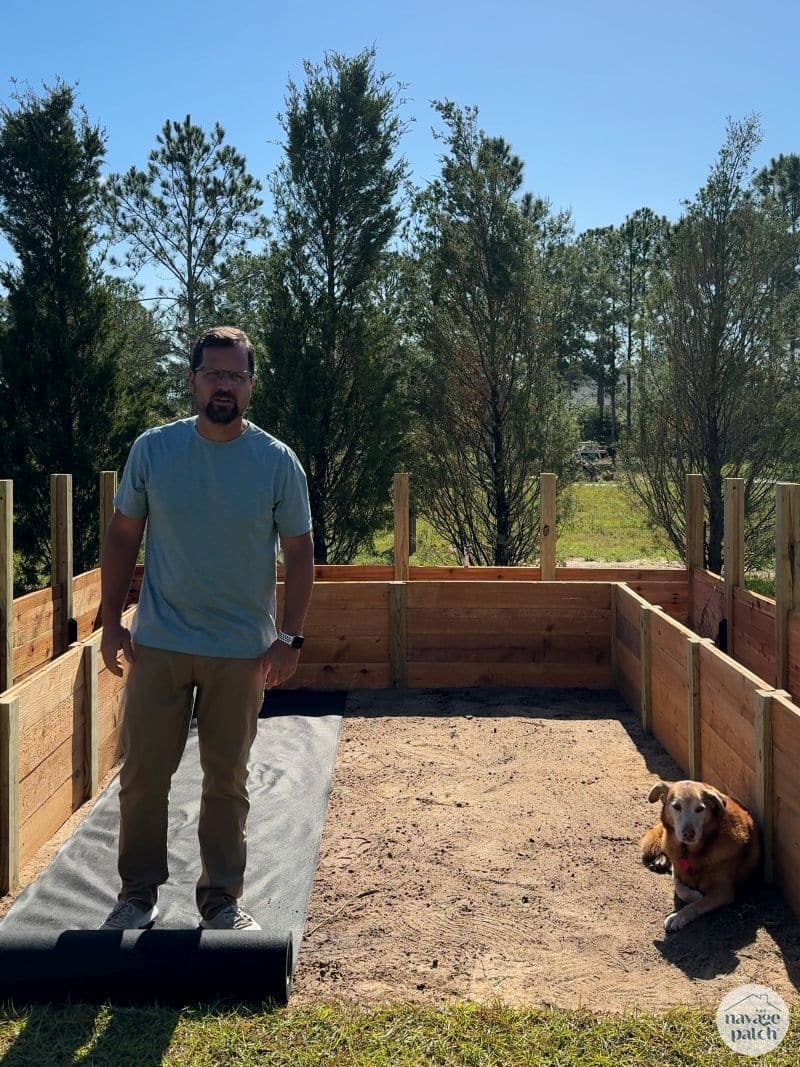
It was a hot and steamy morning. After putting down this weed cloth, I drove Handan to work in Destin so I could go shopping at Home Depot and Lowe’s. Normally I’d be in shorts. Everything is 45 minutes away where we live.
As always, Penny was a tremendous help. She immediately found the hottest spot to warm her old bones.
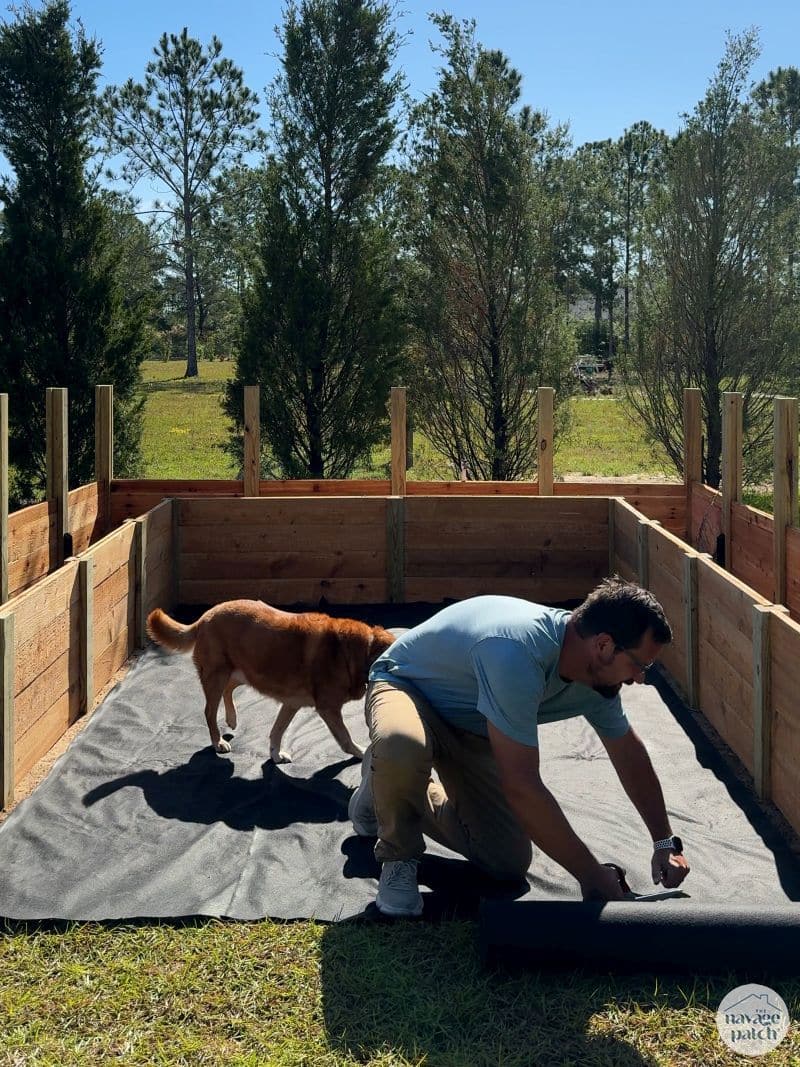
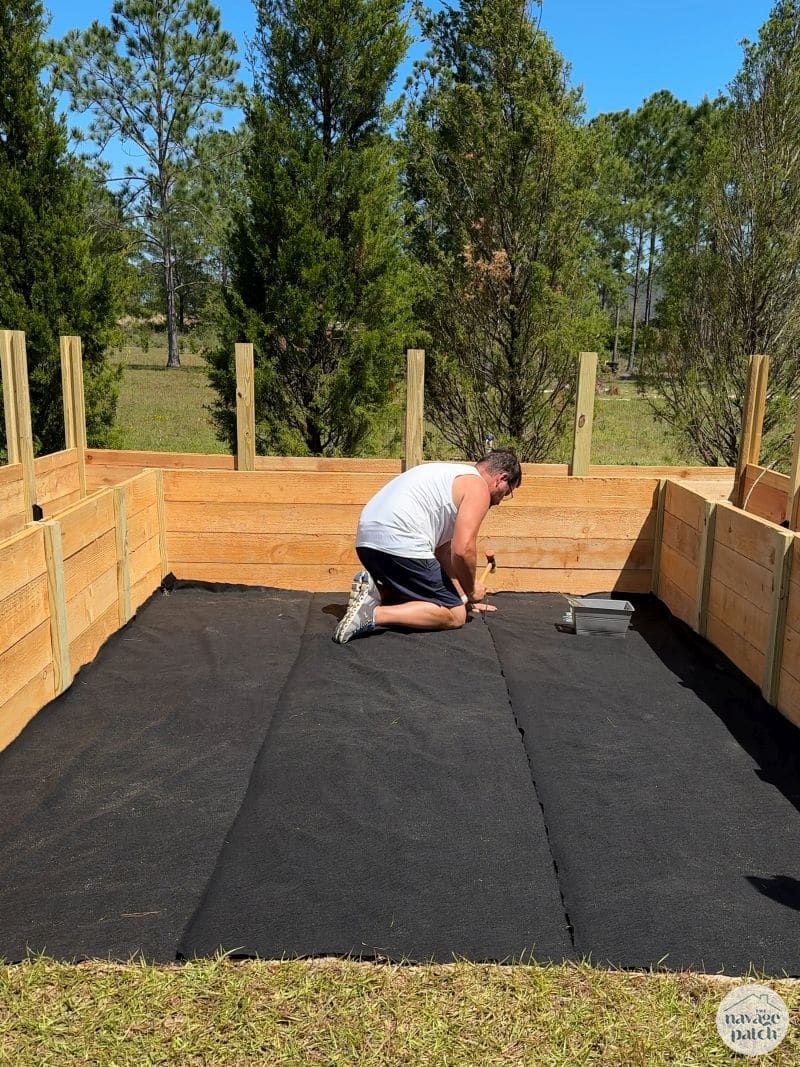
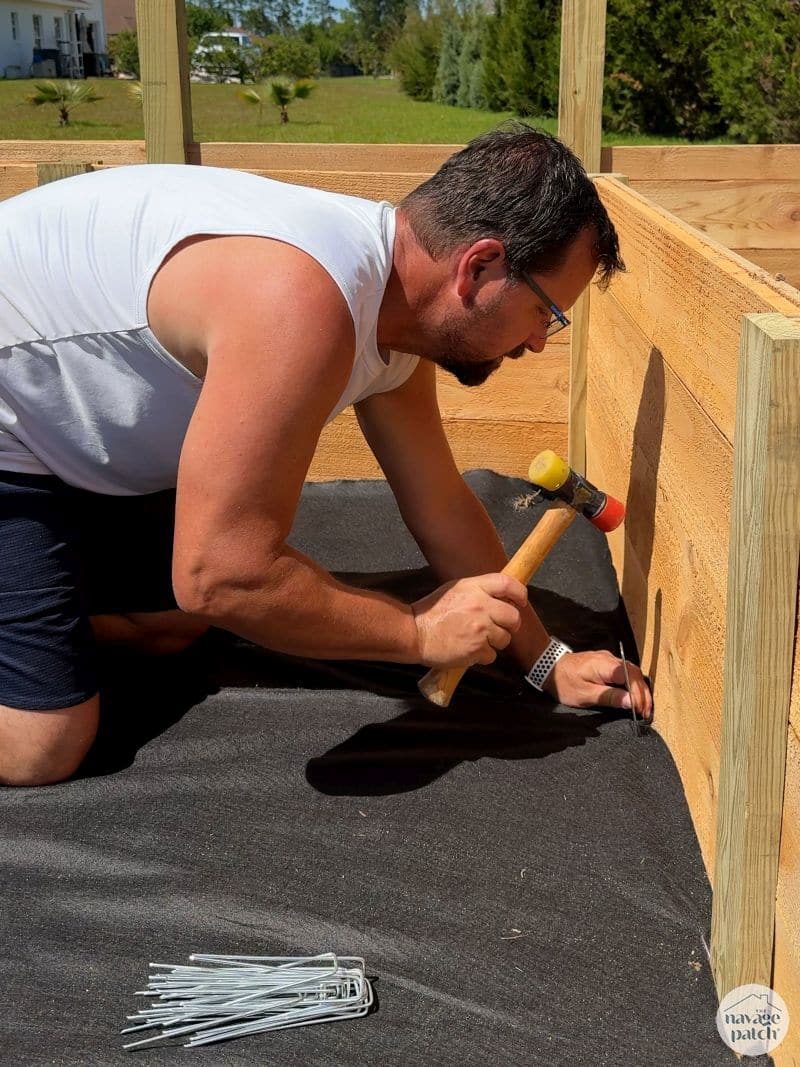
Later that day I hammered in a bunch of landscape staples to keep the barrier in place.
DIY Round Metal Garden Raised Bed Within 20 Minutes
- How to Grow Gorgeous Climbing Roses on a Wooden Fence - March 24, 2026
- Avoid These Plants When Companion Planting with Oregano - March 24, 2026
- 15 Great Trees to Plant Near Your House - March 24, 2026