If you’re looking to add privacy or create distinct garden areas, building a brick wall with pillars is a great solution. It’s also a project that can add value to your home. In this article, we’ll guide you through the process of building a brick wall with pillars, step-by-step.
Plan Your Wall
Before you start building, you need to plan your wall. Consider the following:
- The height, width, and length of the wall. Make sure it’s proportionate to the size of your garden.
- The purpose of the wall. Do you want to create privacy or divide your garden into different areas?
- The materials you’ll use. Bricks, stones, concrete, and wood are all options. Choose a material that fits your budget and the climate in your area.

Choose Your Materials
Once you’ve planned your wall, it’s time to choose your materials. Bricks and stones are the most common choices for building a brick wall with pillars. Concrete blocks are also an option, but they’re better suited for larger projects.
Consider the following when choosing your materials:
- The climate in your area. Choose materials that can withstand the local weather conditions.
- Your budget. Bricks and stones vary in price, so choose a material that fits your budget.
- The overall look you want to achieve. Different materials will give your wall a different appearance.
Prepare theSite
Before you start laying your bricks, you need to prepare the site. Follow these steps:
- Clear the area where you’ll be building the wall. Remove any vegetation, rocks, or debris.
- Dig a trench that’s 12 inches deep and 6 inches wider than the wall. This will give you enough space to lay the foundation.
- Level the bottom of the trench and make sure it’s even.
- Place a layer of gravel or sand in the trench and tamp it down. This will provide a stable base for your wall.
- Pour a concrete footing that’s 4 inches thick and 6 inches wider than the wall. This will provide additional stability and prevent the wall from shifting.
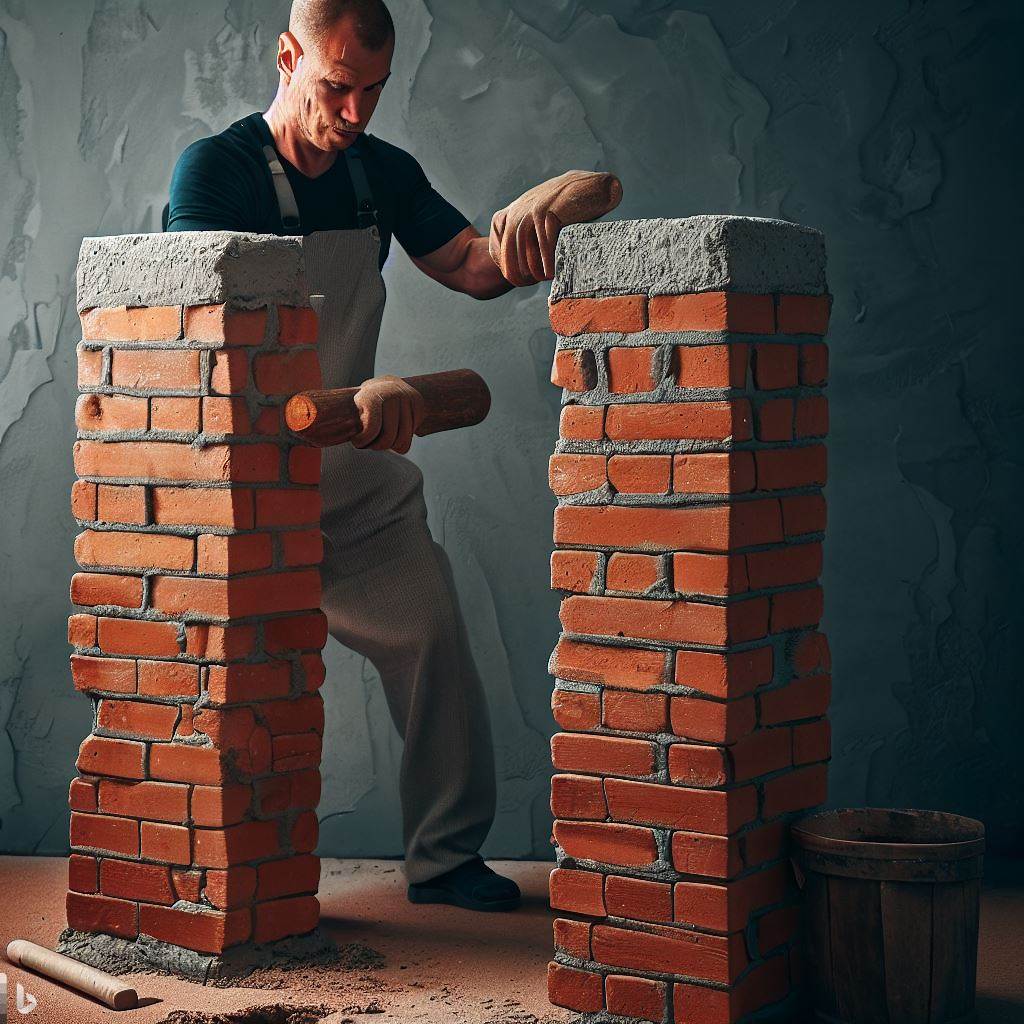
Build the Pillars
The pillars are the vertical supports that will hold up your wall. Here’s how to build them:
- Start by building the first pillar. It should be the same height as the wall and spaced evenly along the wall.
- Lay the bricks or stones for the pillar, making sure they’re level and plumb. Use a level to check for accuracy.
- Continue building the pillar until it’s the desired height.
- Repeat these steps for the remaining pillars.
Build the Wall
Once the pillars are built, it’s time to start building the wall. Here’s how:
- Lay the first course of bricks or stones on the footing. Make sure they’re level and plumb.
- Usemortar to secure the first course in place. Apply the mortar evenly to the bottom of each brick or stone before placing it on the footing.
- Continue building the wall, one course at a time. Make sure each course is level and plumb before moving on to the next one.
- Fill any gaps between the bricks or stones with mortar as you go.
- Continue building the wall until it reaches the desired height.
Point the Wall
Once the wall is built, you’ll need to point it. Pointing is the process of filling the gaps between the bricks or stones with mortar. Here’s how:
- Mix the mortar according to the manufacturer’s instructions.
- Use a trowel to apply the mortar to the gaps between the bricks or stones.
- Use a pointing tool or a finger to smooth the mortar and remove any excess.
- Continue pointing the wall until all the gaps are filled.
Backfill the Trench
With the wall and pillars in place, it’s time to backfill the trench. Here’s how:
- Use the soil that you removed from the trench to backfill it. This will help prevent erosion.
- Tamp down the soil to make sure it’s even and level.
Water the Wall
Watering the wall is an important step in the building process. It helps the mortar set and prevents cracking. Here’s how:
- Wait 24 hours after pointing the wall before watering it.
- Use a garden hose to thoroughly water the wall.
- Water the wall regularly, especially during the first few weeks after it’s built.
Additional Tips
Here are some additional tips to keep in mind when building a brick wall with pillars:
- Use a level to make sure the wall is level.
- Use a plumb line to make sure the wall is plumb.
- Use mortar that’s the right consistency. If the mortar is too dry, it will be difficult to work with. If it’s too wet, it won’t set properly.
- Backfill the trench with soil that’s the same type as the soil in the rest of your garden. This will help prevent erosion.
- Use a sturdy ladder to reach the top of the wall.
- Wear safety glasses and gloves to protect yourself from injury.
- Take breaks often to avoid fatigue.
- Be patient and take your time. Building a brick wall with pillars takes time and effort, but it’s a rewarding project.
Is it hard to build a brick wall?
Yes, building a brick wall can be difficult for several reasons:
- The materials are heavy. Bricks and mortar are dense and heavy, requiring physical strength and endurance to lift and carry them. This makes the process labor intensive.
- Precision is required. The bricks must be laid in perfectly straight and level courses to create a stable wall. This requires careful measurement, leveling, and use of tools like speed poles.
- Cuts and special features require skill. Cutting bricks to fit around openings like doors and windows, as well as adding features like soldiers, rowlocks, and copings takes practice and experience.
- Joint finishing takes time and expertise. Striking and tooling the joints at the right time and with the right technique is important for aesthetic and durability, but can be tricky to master.
- Foundations and framing preparations are involved. Brick walls typically require concrete foundations, embedding in mortar, and framing for things like veneer walls, which add complexity.
- Equipment and access can be challenging. Scaffolds, mortar boards, lifts, levels, etc. are often needed, especially for higher walls. Access and logistics take planning.
- Knowledge is required. There are many things that can go wrong building a brick wall, from structural issues to aesthetic concerns. Experience helps avoid common pitfalls.
How high can you build a single brick wall with pillars?
There are a few factors that determine how high you can build a single brick wall with pillars:
- Brick strength – Standard clay bricks can typically support a wall around 3 to 4 feet high before needing reinforcement. This is due to the limited compressive strength of individual bricks.
- Mortar strength – The mortar bond between bricks is also key to the overall wall strength. Proper mortar mix and application are needed to support height.
- Foundation – A strong, stable foundation is required to support the weight of the wall as it gets taller. Without adequate footing, the wall can shift or collapse.
- Pillars – Using pillars at regular intervals can provide structural support and allow a single brick wall to go higher, perhaps up to 8-10 feet. The pillars need to be embedded into the wall.
- Bracing – For taller single brick walls, diagonal bracing can provide additional lateral stability to resist wind and seismic loads.
- Capping – Using a reinforced concrete or mortar cap at the top of the wall anchors it and distributes weight more evenly.
- Wall thickness – The thicker the wall, the taller it can typically go before needing reinforcement. Most single brick walls are 4-8 inches thick.
Bricklaying How to build a brick pillar
In conclusion, building a brick wall with pillars is a great way to add privacy and create distinct garden areas. By following these steps and tips, you can build a beautiful and functional brick wall that will add value to your home. Remember to plan your wall, choose your materials carefully, prepare the site, build the pillars and wall, point the wall, backfill the trench, and water the wall regularly. With a little patience and effort, you can tackle this project and enjoy the resultsfor years to come.
- How Fast Does Boston Ivy Grow? A Complete Growth Guide - June 9, 2026
- Gravel for Garden Beds: A Functional and Beautiful Option - June 9, 2026
- The Best Mulch for Raised Garden Beds – Pros, Cons, and Tips - June 9, 2026