Decorating cards, invitations, scrapbooks or other paper crafts with a pretty floral border is an easy way to add artistic flair. Flower borders immediately create a feminine, springtime feel with their graceful blooms and winding vines. Whether you’re a beginner or experienced artist, learning how to draw flower borders is a fun and rewarding skill. With some simple techniques and a bit of practice, you can create stunning floral borders to enhance your paper projects.
Getting Started with Supplies
To begin drawing flower borders, you’ll first need to gather a few basic supplies:
-
Paper – Heavier paper or cardstock works better than thin paper for durability. Strathmore Bristol paper is a great choice.
-
Drawing pencils – Use an HB or No 2 pencil for sketching outlines lightly Also have 2B, 4B or 6B pencils for shading.
-
Eraser – Both a soft kneaded eraser and plastic eraser are useful for fixing mistakes
-
Ruler or straightedge – Helpful for drawing straight border lines if desired.
-
Pens – Fineliners or felt tip pens to outline and add details after shading with pencil.
-
Coloring supplies – Colored pencils, markers, paints or pastels to add color after complete (optional).
Choosing a Flower Theme
While you can draw any flowers you like in borders, picking a cohesive theme creates a more polished look. Springtime flowers like tulips, daffodils, hyacinths or cherry blossoms group nicely together. Roses, peonies and magnolias make classic flower border motifs. Or try daisies, sunflowers, poppies and wildflowers for a summery border. Combine 2-3 complementary flower types that integrate well to establish your theme.
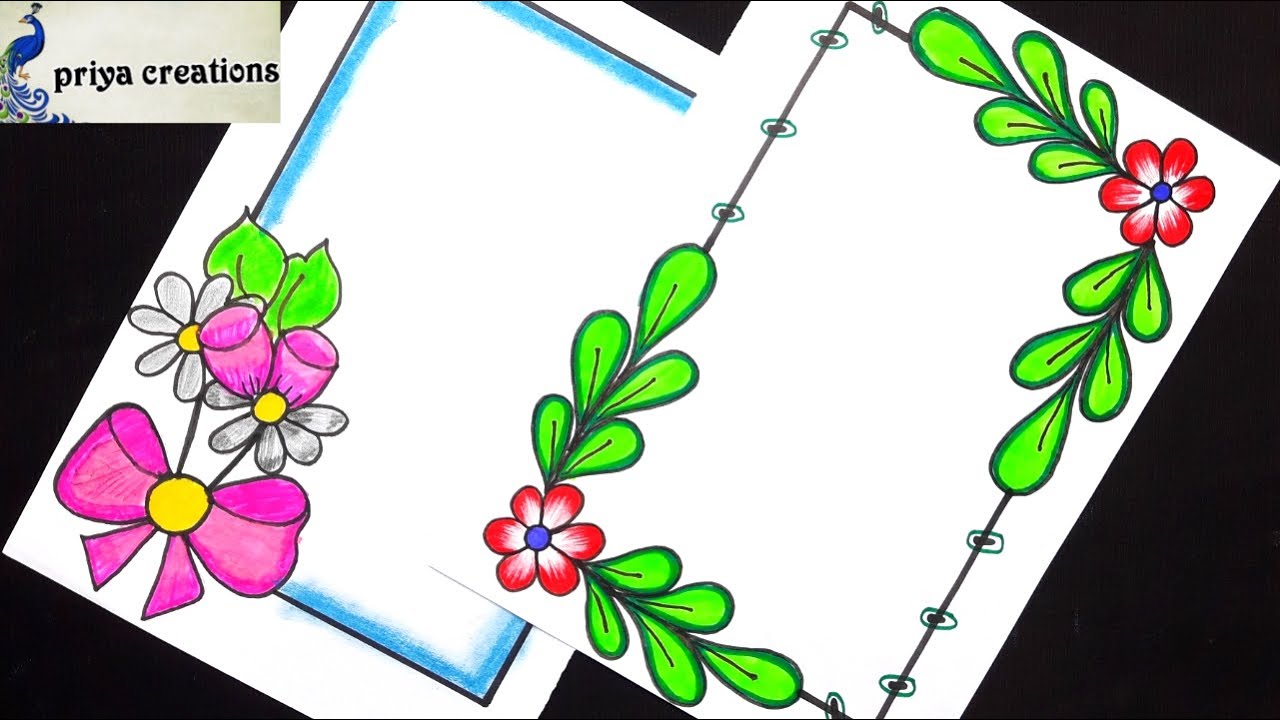
Basic Flower Border Shapes
Floral borders can follow many line shapes. Here are some of the most common and easy border layouts to draw:
-
Rectangular – A straight horizontal line defines the bottom with flowers across the top.
-
Ribbon – Similar to rectangular but with undulating lines on both top and bottom.
-
Oval – Flowers ring the top of an oval or egg shape. The bottom is left open.
-
Circle – Flowers fully encircle the top of a round shape.
Start with a simple layout as you learn. Pencil in the border shape lightly before drawing flowers so you can erase and modify it if needed.
Sketching the Flower Outlines
Once you’ve decided on a layout, begin sketching the flower outlines lightly with pencil along the border. Draw stems and leaves connecting the flowers as you go.
If drawing a ribbon or rectangular border, alternate large and small flowers across the length. For oval or circular borders, space flowers evenly but not rigidly. Let some stems bend into graceful curves.
Vary the angle and direction of each flower and leaf. Face some downward, others out or up. Avoid repeating identical elements for a more organic look.
Adding Flower Details
Refine each flower after you have the main outlines sketched. Add details like petal shapes, stamen and sepals in the center.
Consider the stage of bloom – tight buds opening up to fully open flowers adds variety. Sketch veins on leaves and any desired details on stems.
Visual references are extremely helpful when learning to draw specific flowers realistically. Use photos of your chosen flowers as a guide.
Shading the Flowers and Leaves
Once satisfied with the pencil outlines, begin shading. Use a 4B or 6B pencil and light, smooth strokes following the form. Deepen the shading gradually, underscoring the leaves and flower petal contours.
Shade the back of petals darker than the front to create form. Add contrast by leaving areas of highlights along edges. Crosshatch or blend for dark, saturated shading in the centers or on stems.
Vary pressure as you shade for depth. Soften edges with a blending stump or tissue for smoothness. Keep shading to enhance form, not cover up the outlines.
Finishing Touches
Finish up your floral border with refinement and color:
-
Outline in pen – Go over the main lines with fineliner or felt tip pens. This makes the drawing pop and covers up any sketchiness.
-
Erase guidelines – Erase any remaining sketch marks or graphite dust.
-
Add color – Use colored pencils, markers or paint to color your design. Capture the bright, vivid hues of the flowers and foliage.
-
White highlights – Add sparkle and life with white gel pens, acrylic or gouache highlights.
-
Border edges – Erase the ends of stems at the edge for a clean look.
Simple Flower Border Walkthrough
Follow along with this step-by-step tutorial to draw a basic rectangular floral border:
-
Lightly draw a horizontal line near the top of your paper with a ruler. Sketch undulating lines above and below for the border outline.
-
Start on the left and loosely sketch flower and leaf outlines across the top line. Stagger sizes and vary spacing.
-
Draw in stems connecting each flower, letting them curve gracefully. Extend some stems and leaves over the bottom line.
-
Refine the main flower outlines, drawing petal shapes and interior details.
-
Soften shading on petals and leave highlights. Deepen shadows behind flowers and on stems.
-
Erase guidelines and go over main lines with pen. Use colored pencils to lightly color in your design.
More Floral Border Inspiration
Once you’ve mastered the basics, continue practicing drawing flower borders in different shapes and styles. Browse floral art books, nature photos or gardening magazines for fresh ideas. Experiment with new flowers, color palettes and layouts to expand your skills. Use borders to liven up handmade cards, framed artwork, journals, scrapbooks and more.
Drawing flower borders is an enjoyable way to create beautiful artworks to adorn your papercraft creations or artwork. Follow the simple process of sketching flower outlines, shading and adding color. With a bit of guidance and regular practice, you can soon master how to draw stunning floral borders.
Frequently Asked Questions
What kinds of flowers work well in borders?
Spring flowers like tulips, daffodils, iris, lilies, roses, cherry blossoms, etc. Group 2-3 compatible flower types together in your border.
What if I’m not good at drawing realistic flowers?
Even simple, abstracted flower shapes with no details can make pretty borders. Focus on graceful lines and variation rather than realism.
How do I get clean lines when coloring?
Lightly color inside the lines with colored pencils. Outline any messy edges again with fineliner pens after coloring.
Should I draw light or dark first when shading?
Build up light to dark, adding layers of shading. Don’t start with your darkest darks. Slowly deepen tones for depth.
How do I draw flowers at an angle or from the side?
Use perspective – make flowers higher up smaller. Angle and shorten outer petals as they recede from view.
How to Layout and Design Floral Illustrations | Drawing Flowers
- How to Grow Gorgeous Climbing Roses on a Wooden Fence - March 24, 2026
- Avoid These Plants When Companion Planting with Oregano - March 24, 2026
- 15 Great Trees to Plant Near Your House - March 24, 2026