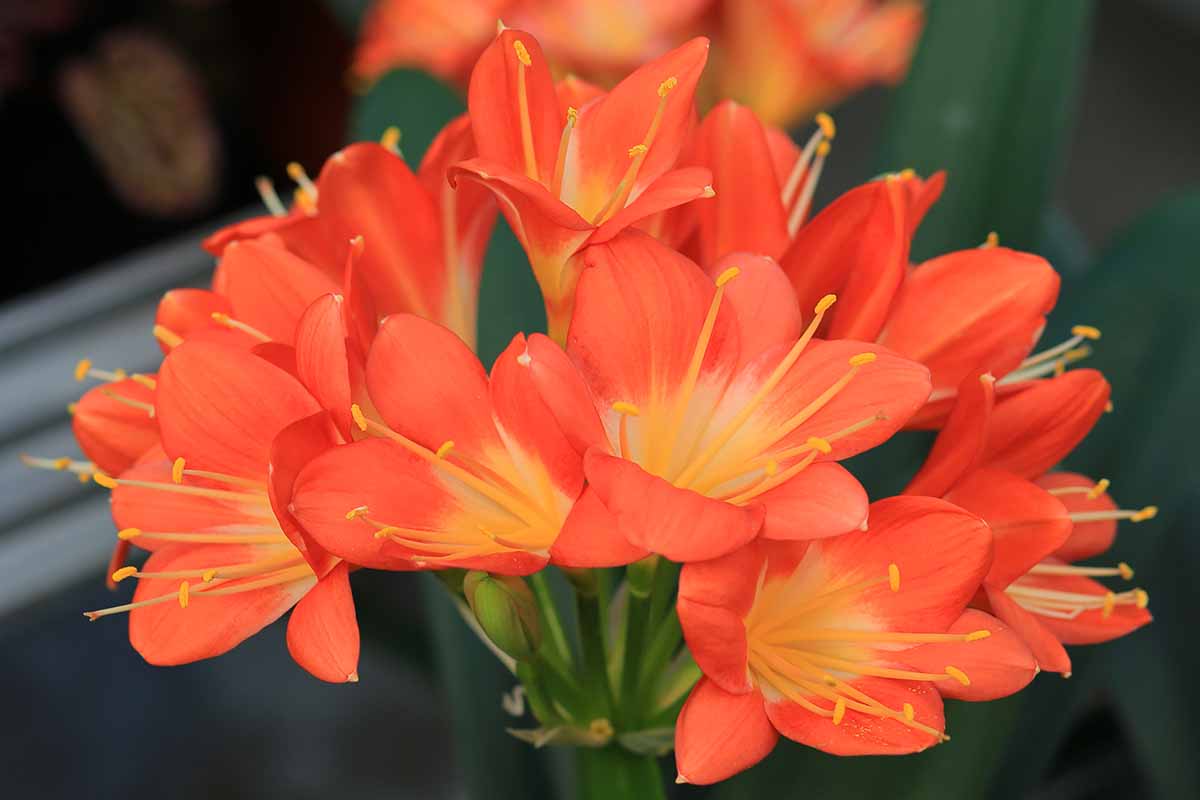
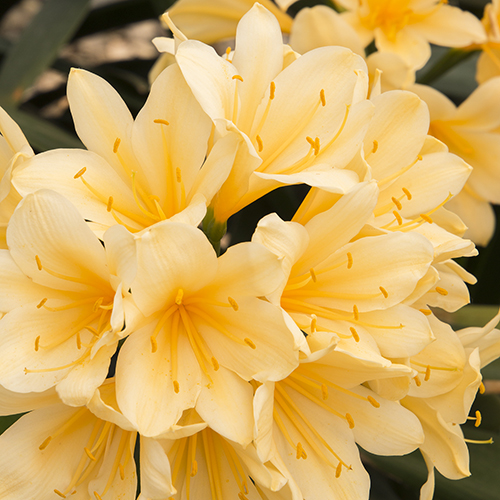
With their vibrant, trumpet-shaped blooms in shades of orange, yellow, and red, clivias make excellent houseplants. Native to South Africa, these exotic beauties can transform your indoor space into a lush tropical oasis when grown in pots.
In this comprehensive guide I’ll share tips to help you succeed in growing clivias as container plants, from choosing the right potting mix to proper watering light levels, and overwintering care.
Potting Mix for Clivias
A well-draining, loam-based potting mix is ideal for clivias. I recommend using a good quality peat-free multipurpose compost amended with:
-
30% loam or loam-based compost to provide weight and improve drainage
-
20% horticultural grit to enhance aeration
You can make your own mix by combining equal parts peat-free compost, loam, and grit. Or simply add some grit to a peat-free multipurpose or John Innes No. 2 compost. Good drainage is key to prevent soggy soil.
Choosing the Right Pot
Clivias thrive in pots at least 20cm (8 inches) wide. Choosing too small a container can restrict growth and flowering. I recommend terracotta or unglazed terracotta pots, as these ‘breathe’, allowing moisture to evaporate from the sides and preventing waterlogging.
Plastic and glazed ceramic pots also work well, provided they have drainage holes. Avoid overpotting, as this can delay blooming. Only repot when roots fill the container. Slide the plant out, tease a few roots loose, and move it into a pot just one size larger.
Planting Clivias in Pots
When potting clivias, position the top of the bulb-like rhizome just above the soil surface. Burying it too deeply may cause rot. The point where the leaves emerge, known as the neck, should be just visible.
Fill the pot about halfway with soil mix, set the rhizome on top at the right depth, then backfill soil around the roots. Press gently to remove air pockets. Water well after planting and let excess drain fully from the pot’s base before returning the plant to its spot.
Watering Needs
From spring through fall while actively growing, clivias need regular watering to keep their soil evenly moist but not saturated. Water thoroughly whenever the top inch of soil becomes dry. Take care not to overwater, as this can lead to root rot.
In winter, reduce watering frequency and allow soil to dry out partially between waterings. The cooler, drier rest period encourages prolific flowering next season.
Reduce watering frequency over winter to promote abundant spring blooms.
Light Requirements
Clivias thrive in bright, filtered light indoors near an east or west window. Some morning or late afternoon sun is beneficial but avoid prolonged direct sunlight, which can scorch the foliage.
A sheer curtain can help soften intense afternoon sun from a south-facing window. Artificial lighting can supplement shorter winter daylight hours. Rotate plants periodically for even growth.
Feeding Clivias
Fertilize clivias lightly to support growth and flowering. Apply a balanced liquid houseplant fertilizer diluted to half strength every 2-3 weeks from spring through summer. Top dress annually in early spring by sprinkling fresh potting mix over the soil to refresh nutrients.
Humidity and Air Circulation
Clivias appreciate moderate humidity around 40-50%. Set pots on pebble trays, group plants together, or use a humidifier to boost moisture levels around your plants. Avoid misting clivia’s foliage, as wet leaves encourage fungal diseases.
Ensure good air movement with a fan to prevent problems. Rotate plants occasionally for balanced growth.
Caring for Clivias in Winter
Clivias require a cool winter rest period with reduced watering to initiate abundant spring blooms. In fall, move plants to a spot with temperatures around 50-60°F, such as an enclosed porch or unheated greenhouse if available.
Water sparingly, just enough to keep soil barely moist. Stop fertilizing. Around March, as days lengthen, return clivias to a warmer, bright location and gradually increase watering. Resume fertilizing to nourish the emerging flower buds.
Propagating Clivias
Established clivia plants will naturally produce offsets around the base, which can be divided off and potted up to yield new plants identical to the parent. Detach the offsets in early spring and pot into a peat-free mix. Keep warm and moist until rooted.
Alternatively, pollinate the exotic pendulous flowers to produce red berry-like fruits containing seeds. Sow fresh seeds in pots of seed starting mix, keep warm and moist, and transplant seedlings once established. Bloom time from seeds is about 3-4 years.
Common Problems With Clivias
When correctly sited and cared for, clivias are generally robust. However, they may encounter a few problems:
-
Flowers fail to form due to insufficient winter cooling or water stress.
-
Yellowing leaves can indicate overwatering or lack of nutrients – adjust care.
-
Wilting and leaf spotting may signal root rot from too much moisture.
-
Mealybugs cause white wax deposits on leaves – isolate and treat with insecticidal soap.
With the right care, clivias will reward you with their stunning blooms year after year. Their showy flower heads and strap-like leaves lend a tropical vibe. Try combining different clivia varieties in your collection for a range of flower colors. Let these South African natives bring warmth and charm to your indoor garden.
Tips for Growing Clivias in Pots
-
Use a peat-free, loam-based potting mix for optimal drainage
-
Plant rhizomes at soil level; don’t bury too deeply
-
Grow in pots at least 20cm (8 inches) wide
-
Water regularly in spring through fall; reduce in winter
-
Provide bright, indirect or filtered sunlight
-
Top dress annually and fertilize lightly from spring to summer
-
Mist leaves occasionally to boost humidity
-
Give clivias a cool and dry rest period in winter
-
Divide offsets or sow seeds to propagate new plants
-
Watch for mealybugs, yellowing leaves, and other common issues
With the right care, clivias will thrive and flower abundantly in pots, lending gorgeous color and tropical flair to your indoor garden! Follow these tips for successfully growing these South African beauties as container plants.
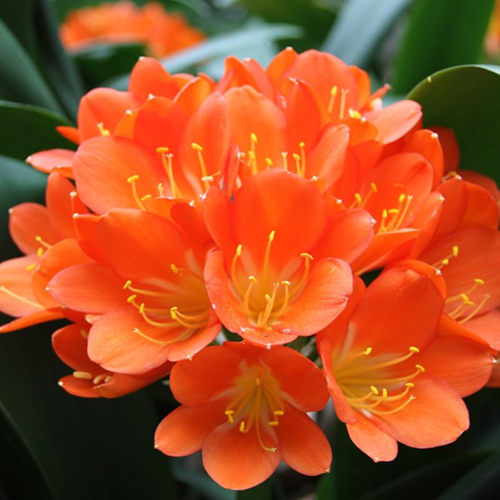
Belgian Hybrid Orange Bush Lily(Clivia miniata ‘Belgian Hybrid Orange’)
Rounded clusters of up to 60 vivid orange flowers on tall stems. This is an absolutely gorgeous accent, border plant or container specimen. Great plant for dry shade settings. Evergreen. Up to 30″ tall and wide. Zone: 9 – 11.
How to Grow Clivia: Tips and Tricks from Monrovia
CLIVIA Houseplant – How to Grow & Flower, Root Prune (C. miniata) – Do this in Fall
FAQ
How do you care for potted clivia?
How do I get my clivia to bloom?
What is the best potting mix for Clivias?
How do you grow Clivias for beginners?
How do you grow Clivia in a pot?
Fill the pot with soil up to about two-thirds full, leaving enough space to accommodate the plant’s root ball. Remove the Clivia plant from its existing container and loosen any tangled roots. Place it in the center of the pot and fill around it with more soil until it reaches about 1 inch below the rim of the pot.
What size should a pot be for a Clivia plant?
A Clivia plant needs a pot that is slightly larger than the current root ball. The pot should not be too small, as it can restrict root growth, nor too large, as it can hold excess moisture and cause root rot.
Why is it beneficial to plant Clivia in a pot?
You can easily showcase your Clivia in different parts of your home to enhance your décor or to share its beauty with guests by planting it in a pot. Additionally, potted plants generally have fewer issues with pests and diseases, as they are not exposed to the same environmental factors as outdoor plants.
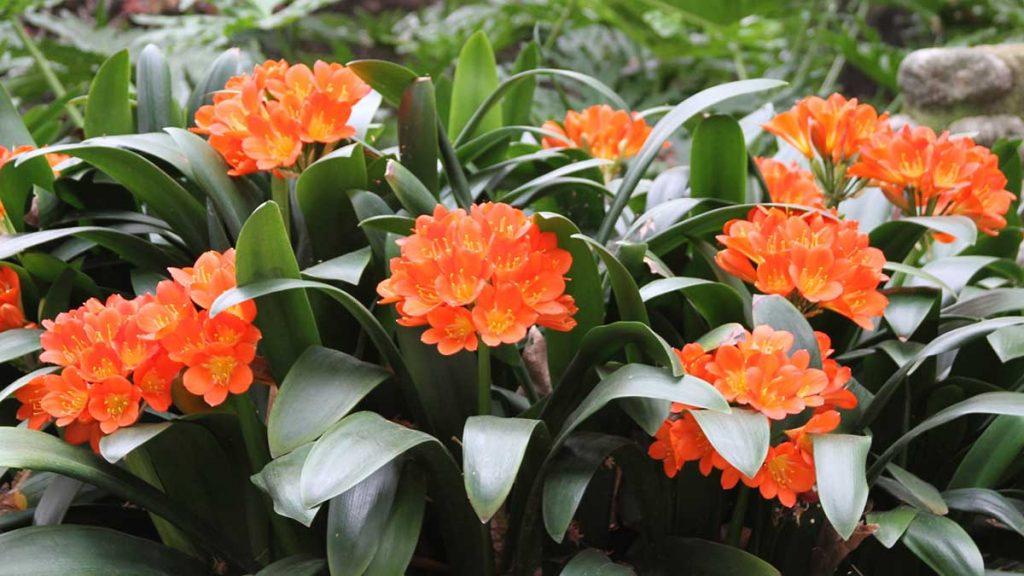
Where should Clivias be planted?
Clivias grown outdoors in temperate climates should be planted in well-drained soil in a spot that receives shade in the afternoon. When used as landscape plants, clivias are often planted under tall growing trees that let a little dappled sunlight through.
- How to Grow Gorgeous Climbing Roses on a Wooden Fence - March 24, 2026
- Avoid These Plants When Companion Planting with Oregano - March 24, 2026
- 15 Great Trees to Plant Near Your House - March 24, 2026