I’m going to share with you how to make a faux topiary from a formerly real Topiary.
Like me, do you find it hard to keep a real plant alive? I’m good at keeping plants outside, but I’m terrible at keeping plants alive inside.
There are times when I use affiliate links on my blog, Living Large in A Small House. If you buy something through the link, I get a small commission. If you use the affiliate link or a non-affiliate link to go straight to the seller’s website, the price will be the same. You can find my full Disclosure Policy HERE.
Crafting Gorgeous DIY Topiary Balls A Step-by-Step Guide
Topiary balls are a timeless decorative element that add natural flair to any space. With their round sculpted shape and lush greenery these ornate spheres have graced gardens and homes for centuries. Thankfully, crafty DIYers can easily replicate the classic elegance of topiary balls right at home. If you want to try your hand at creating these living works of art, follow this simple, step-by-step guide to crafting beautiful DIY topiary spheres from scratch.
Supplies You’ll Need
- Floral foam balls (3-4 inches in diameter)
- Faux greenery like boxwood, eucalyptus, or other leafy stems
- Florist wire
- Hot glue gun
- Scissors or pruning shears
- Moss (optional)
- Terra cotta pot (optional)
Step 1: Prepare the Foam Ball
Floral foam balls form the base of your topiary sphere. Use wire cutters to clip off any stems sticking out of the ball. This gives you a smooth surface to work on. If desired, gently scrape the foam with a knife to create some texture and help the greenery adhere better.
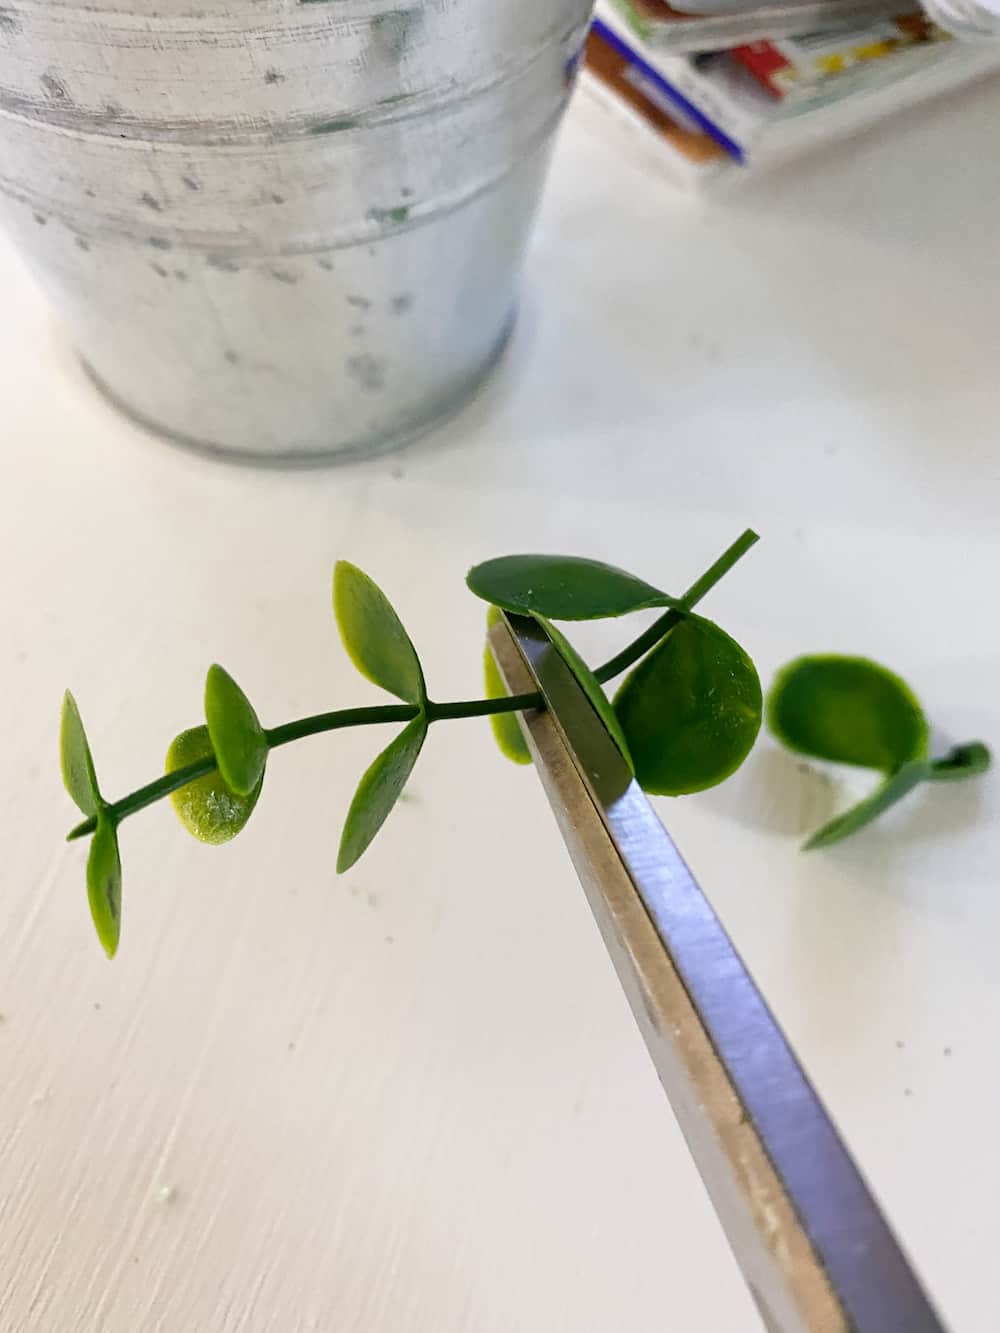
Step 2 Cut Greenery PiecesTake your faux greenery and cut pieces 2-3 inches long using scissors or pruning shears. Try to cut them roughly the same size. Boxwood, eucalyptus cedar and other leafy stems work beautifully.
Step 3: Attach Greenery
Use a chopstick or skewer to poke holes in the foam ball about 1/2 inch deep. Apply a dot of hot glue in each hole, then insert a prepared greenery stem. Push it gently but firmly into the glue.
Step 4: Cover Entire Ball
Continue gluing trimmed greenery pieces all over the foam sphere. Work in sections, covering the whole ball until no more foam is visible. Overlap the leaves and stems to mimic natural growth. Let any excess glue dry completely.
Step 5: Shape and Refine
Once the topiary base is covered, carefully shape and refine it by snipping any stray stems. Bend and adjust pieces to create a rounded, sculpted look. Trim any excess length to your desired shape.
Optional Steps for Display
-
Add moss around the bottom for an organic look. Secure with hot glue.
-
Place your topiary ball in a terra cotta or metal planter filled with foam or florist oasis soaked in water. Hide any exposed mechanics with moss or pebbles.
-
Insert a dowel into the bottom of the ball and glue in place. Set in a pot to create a topiary tree.
-
Affix magnets to the back if using on a magnetic board or fridge.
-
Glue a candlestick, wood slice, or tray on bottom as a decorative base.
Design Inspiration and Tips
-
Vary the color and textures by mixing different greenery types like eucalyptus, cedar, magnolia, ivy, boxwood, and more.
-
Craft balls in small and large sizes for lots of decor options. Use giant ones as statement pieces.
-
Nestle ball topiaries in bookshelves, on mantels, in centerpieces, and more. Hang with ribbon for a floating effect.
-
Make neat gathered balls or let pieces splay out slightly for organic asymmetry.
-
Accent with blooms like roses or peonies using florist wire to attach them.
-
Display outdoor but bring inside if temperatures drop below freezing to maintain their lifespan.
-
Set on candle holders for instant height and structure. Coordinate metal finishes for a polished look.
Now you can create charming topiary spheres to round out your home’s decor! Have fun playing with shapes, sizes, and greenery colors. Whether you opt for classic round balls or experiment with ovals, cones, drums, and more, these living sculptures are sure to add an inviting touch of nature to your space.
How Do You Make a Faux Topiary?
Well, I’ll show you how to make artificial topiary trees from formerly real topiaries.
It’s great that these fake plants won’t need much care (I won’t have to water them), and I can use them anywhere, even outside as outdoor decor.
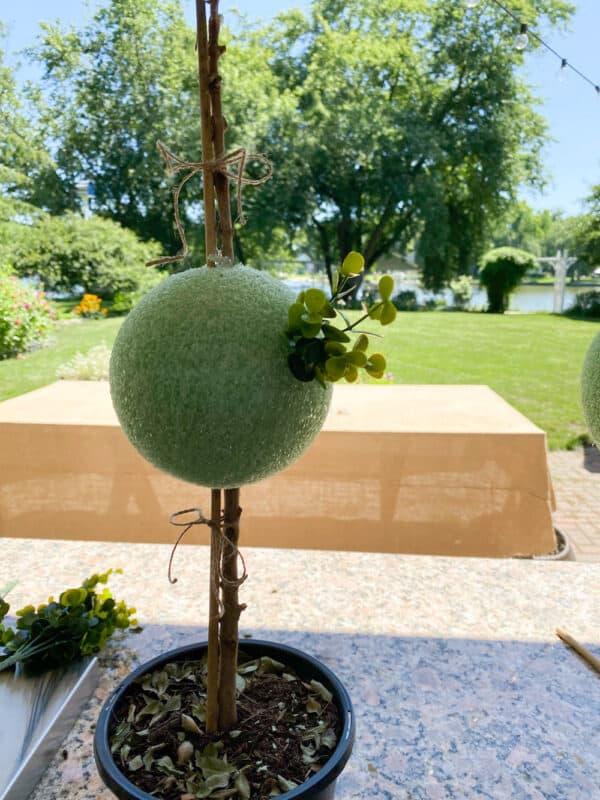
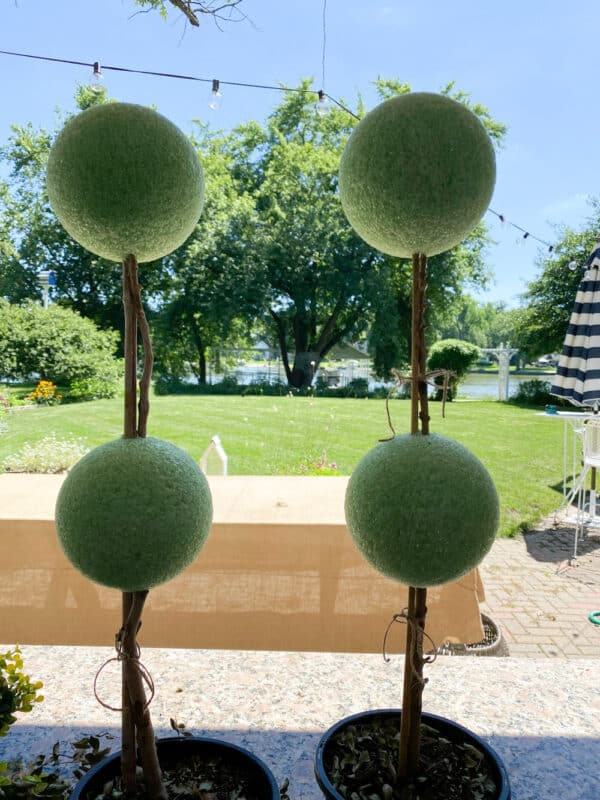
- I started by getting rid of all the old leaves. Then I glued the center ball to the stems and put it in place.
- I think you should use the dowel rod to make a hole in the middle of the styrofoam balls. Once the hole is set, take the ball off to add the boxwood; it’s easier to work with the ball off.
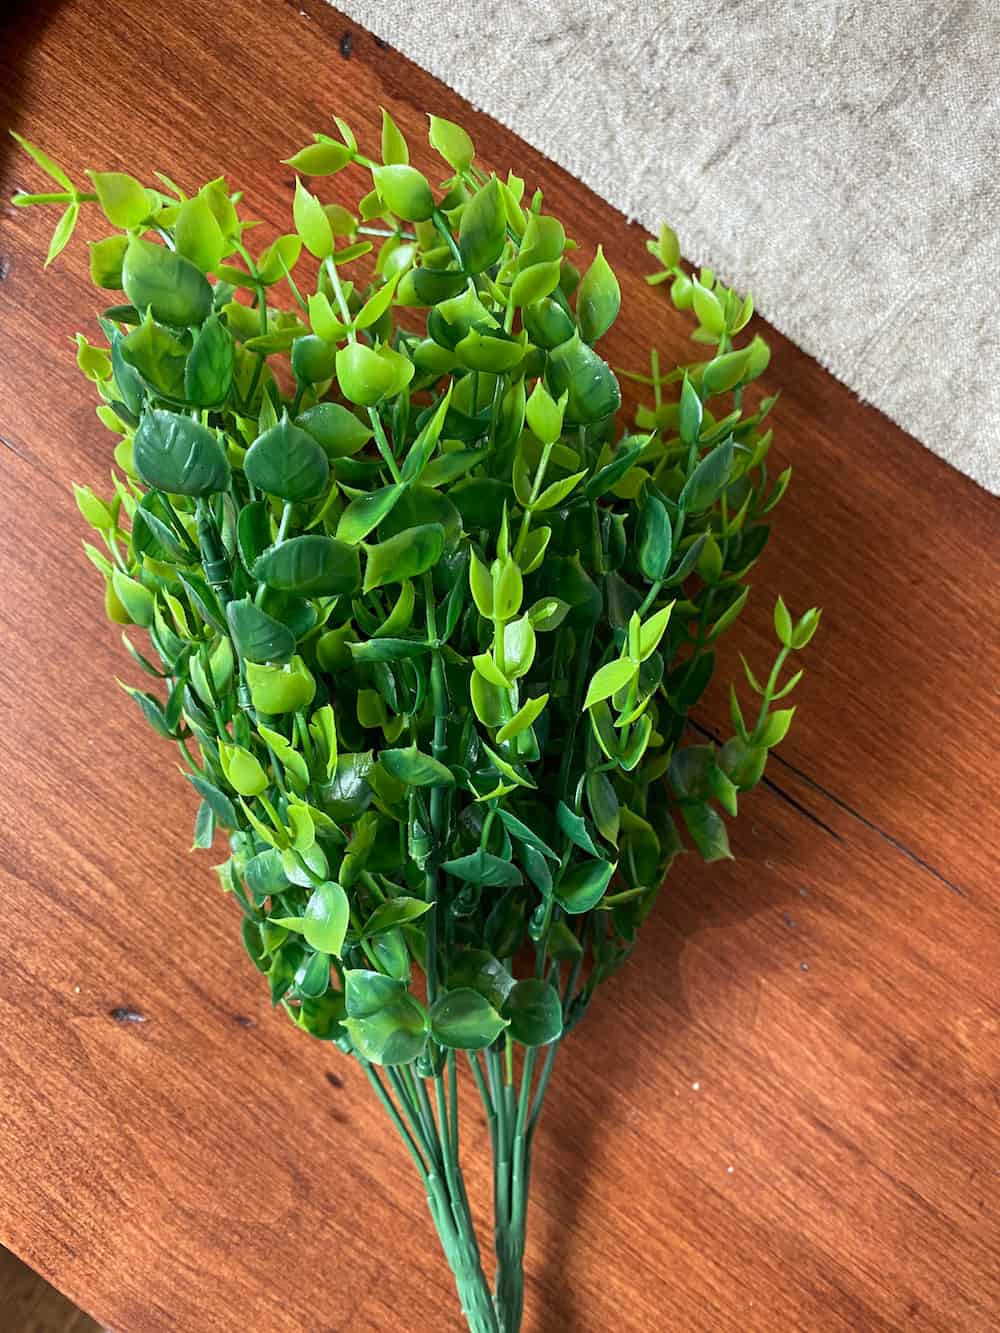
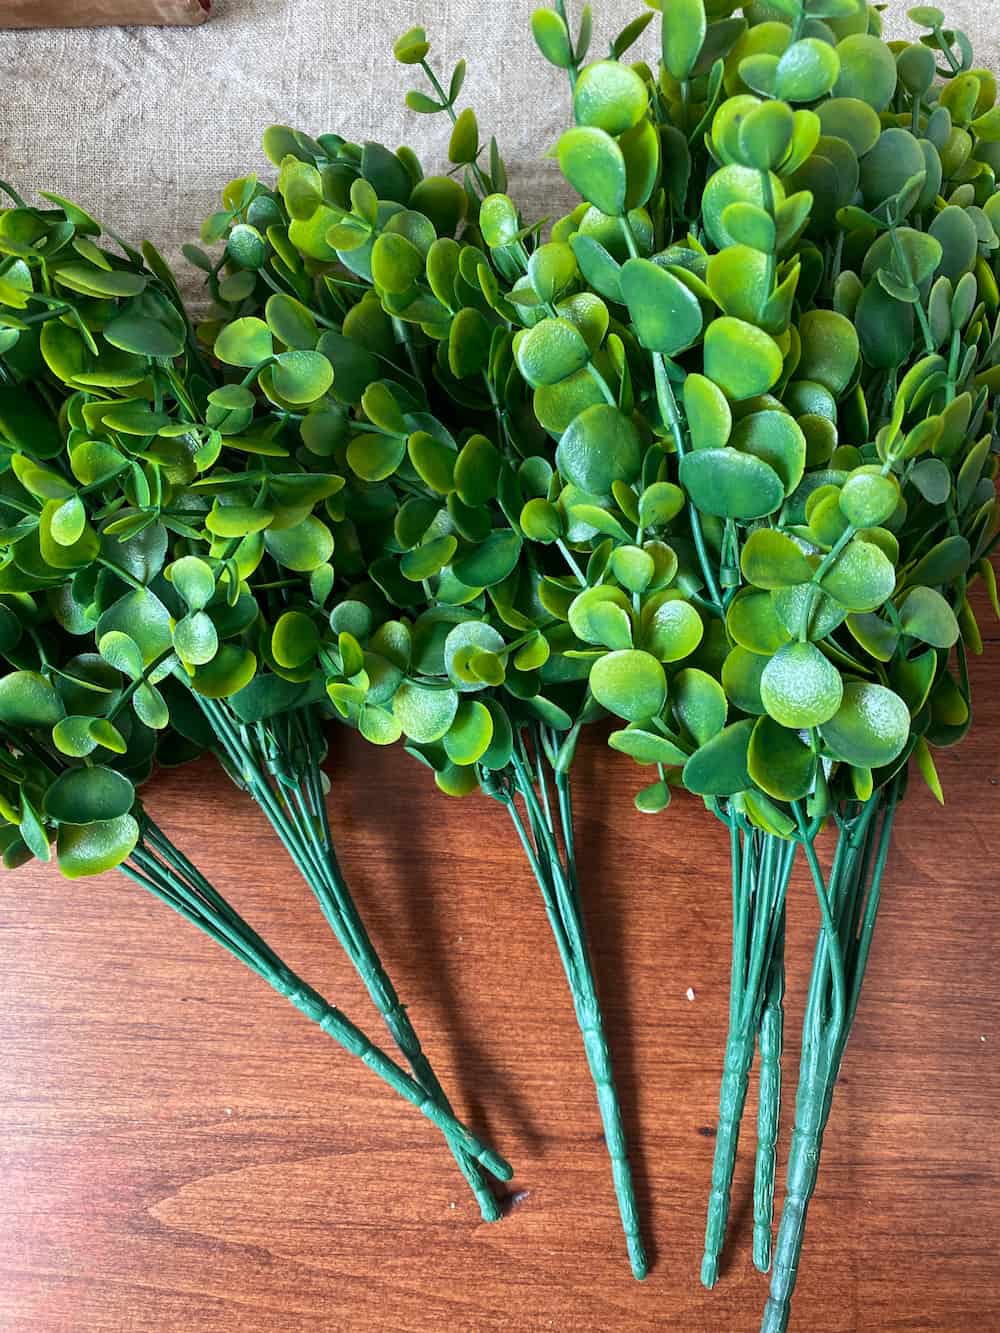
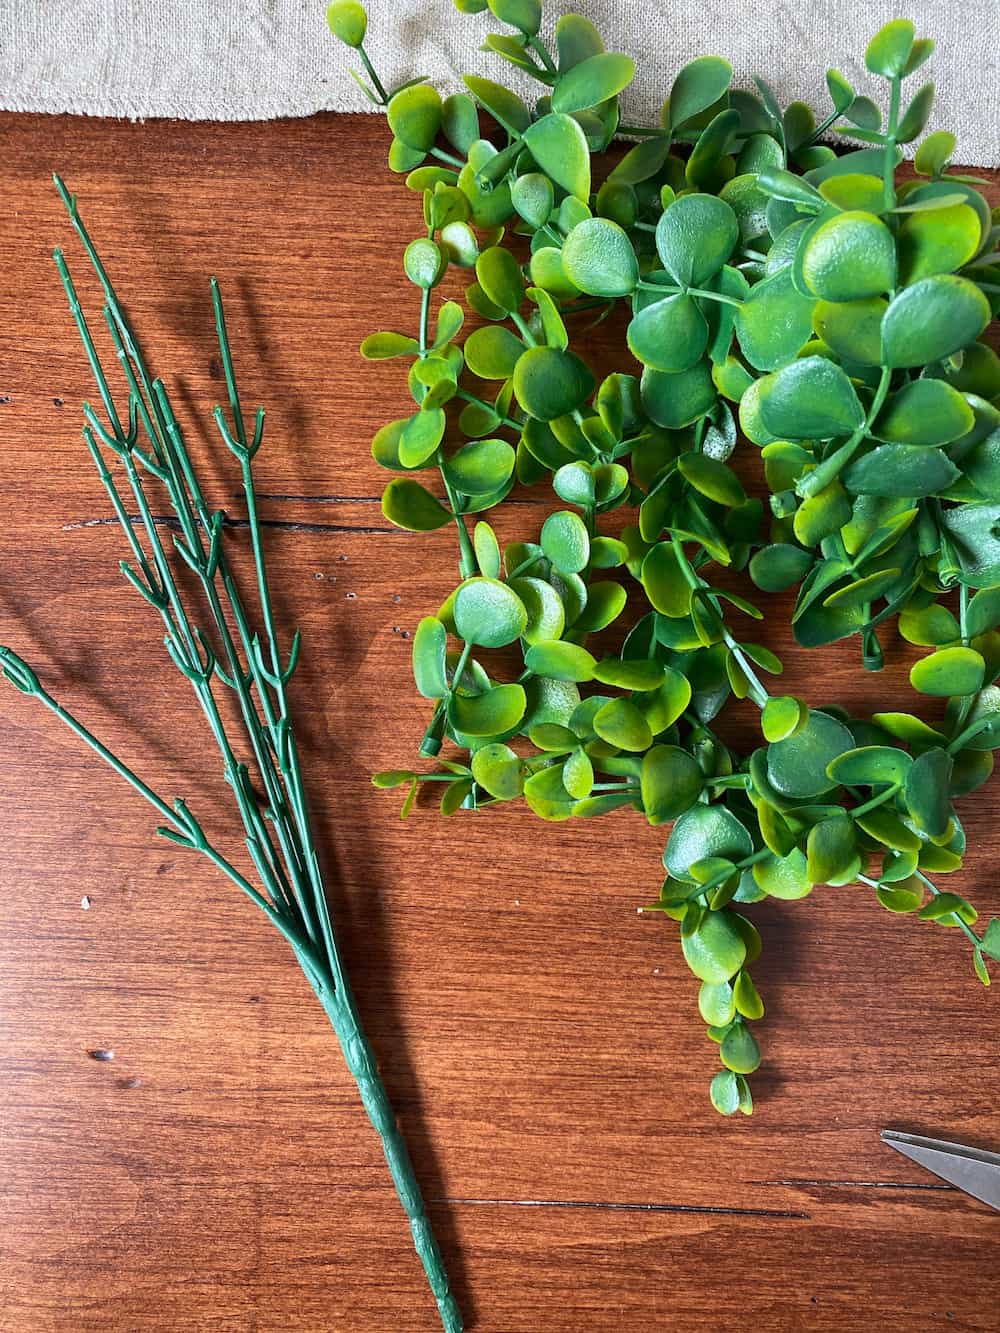
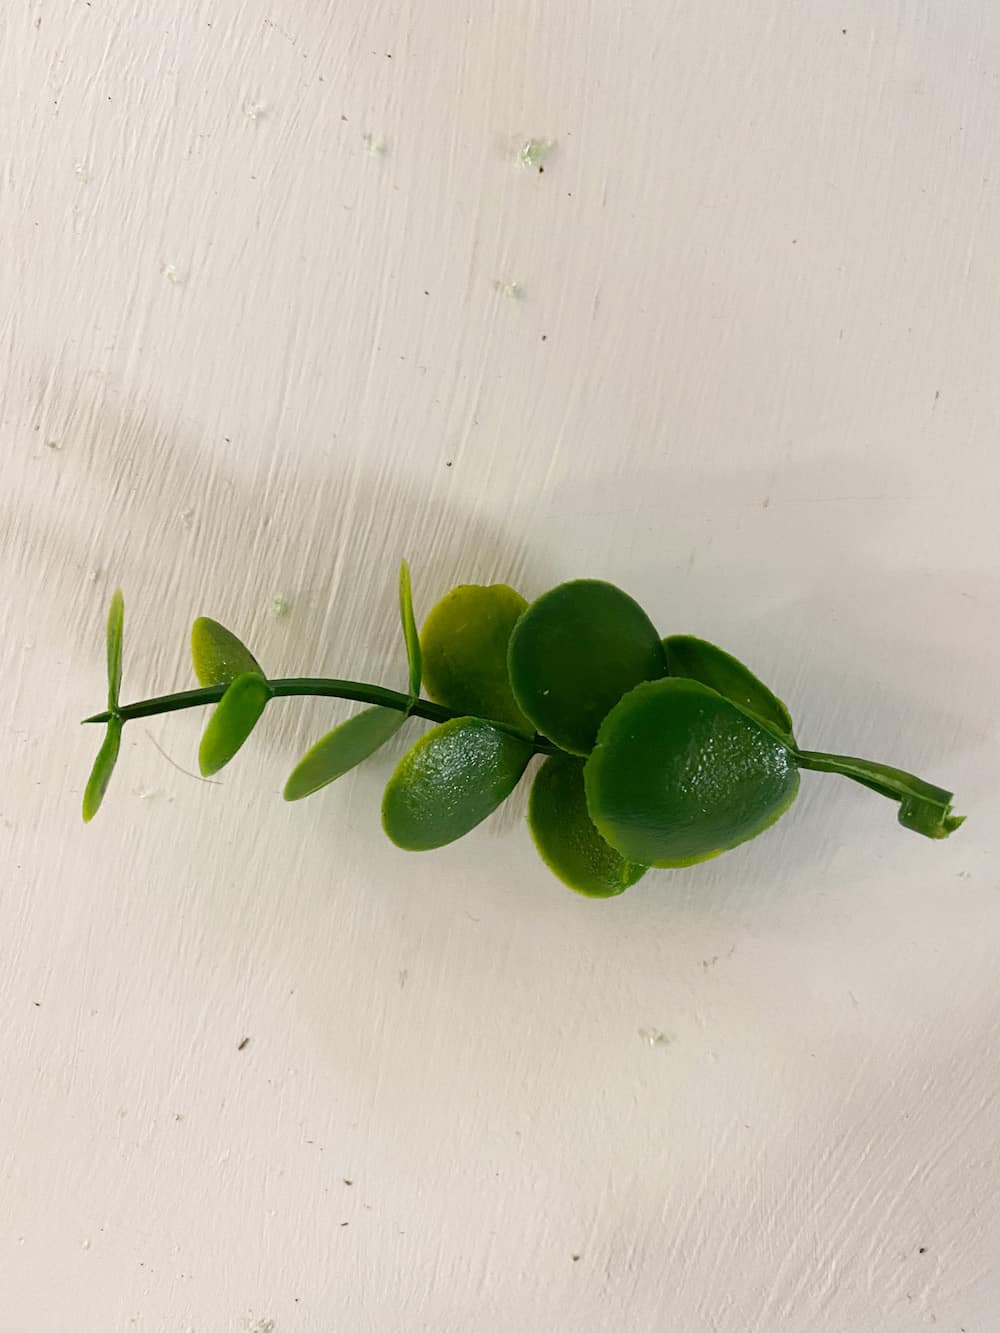
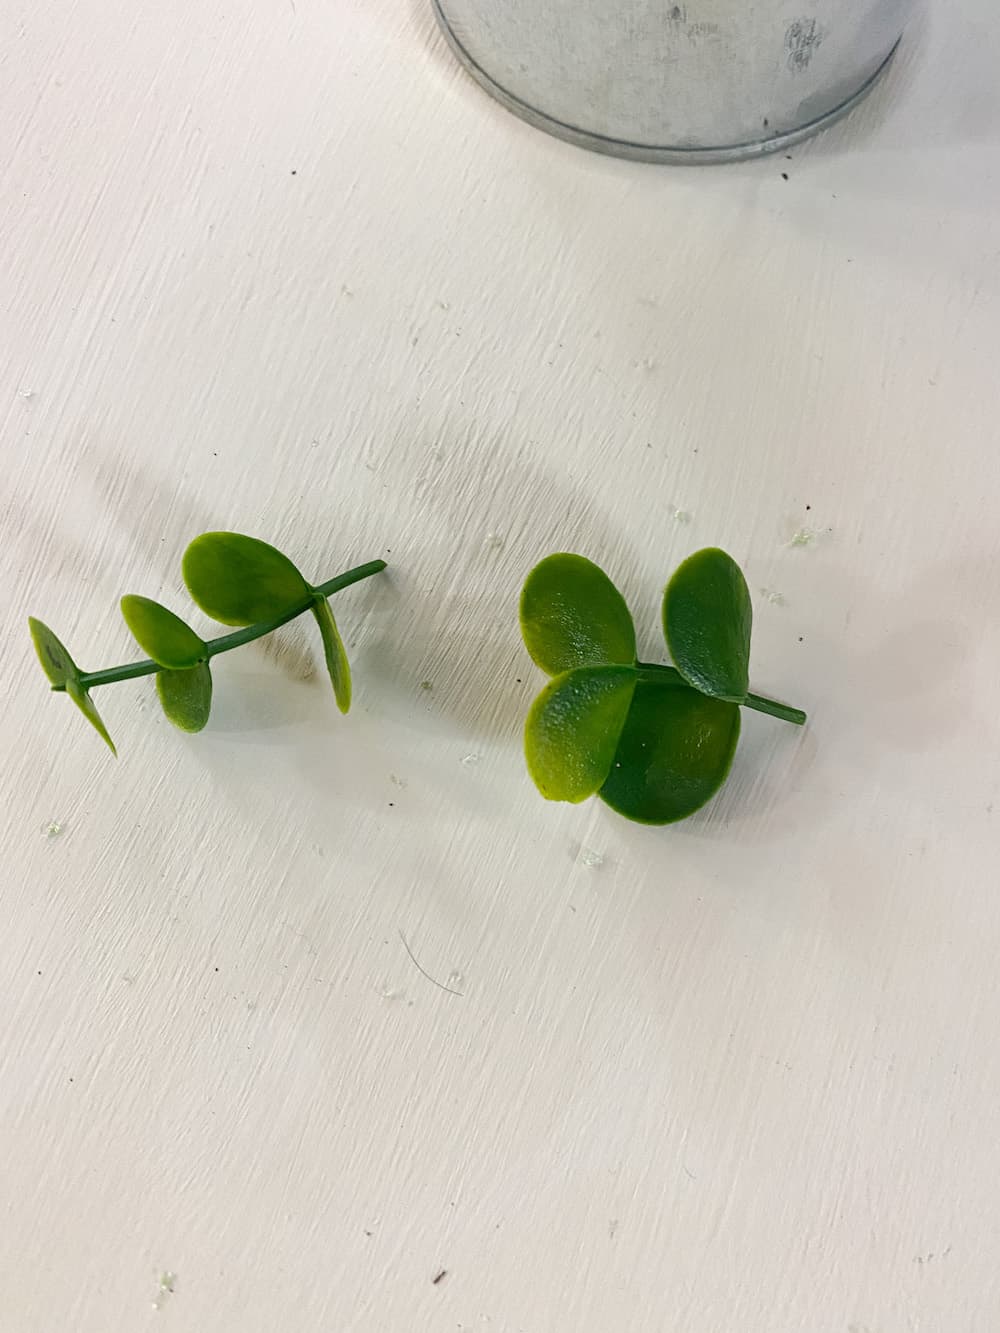
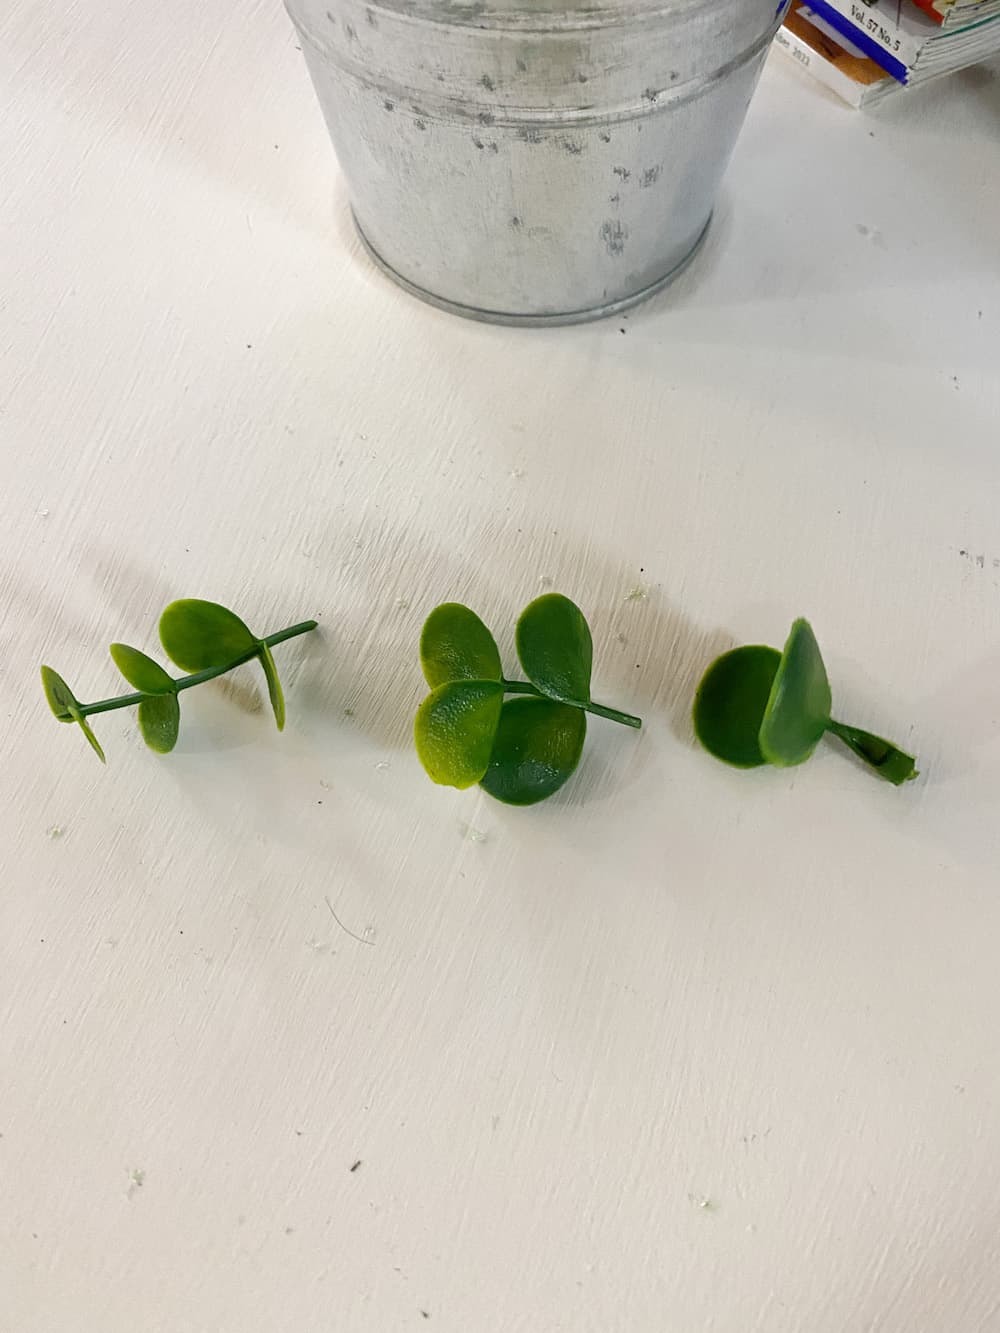
- When I bought boxwood, the stems were attached to a branch, so I took them all off first and then cut them to the right size for my topiary. From each stem, I was able to get two pieces of boxwood.
- Then I pushed the ends of each piece into the Styrofoam ball, working my way around it until it was fully covered. They didn’t have to be right next to each other for me to fill it all in. Six packs of six balls were enough to cover all four.
- Covering the balls lets you put them on the stick or stem and glue them down.
- I’m going to clean off the dirt from mine because they are real plants and then use plaster of Paris to hold them in place.
- After they are set, I will put my topiaries in pretty terracotta pots.
Amazon had the best price and fastest shipping, so I bought my topiary flower balls and boxwood leaves there.
It wasn’t boxwood at first, but I chose it for this project because it has thick leaves that I think will cover the fake ball well.
I also want faux topiaries that have a realistic look.
You however can choose any type of greenery to create your artificial topiary ball. There is such a wide range of faux topiary plants that you could choose from.
The project ended up taking more time than I imagined but I love how it turned out. I also haven’t had time for craft projects that weren’t wedding related for over a year.
I didn’t mind the process.
Being able to make this for a lot less than it would have cost me to buy it was fun and relaxing.
Now it’s time to cover the styrofoam balls with the boxwood branches.
I cut the boxwood stems off of the main branch and then joined each stem together to make a smaller stem. When I bought stems, I cut off the very bottom leaves and didn’t use them because they would have made a big hole in the ball and will have fallen out.
Working with the middle balls first, I gently pushed the ends of the branches into the styrofoam ball. Initially, I had thought that I would hot glue each piece. If I did that I would be working on this project for months. I also found that the stems stayed in the ball quite nicely. I just pushed the stem all the way up to the first set of leaves.
The top ball was the easiest because I was able to take that off. Working with it without the stem was a simpler way to work.
When you are done you can place the tree into a cute decorative pot. I have two cute little black planters that I’m using. I will probably be changing the color of the planters but that’s a project for another time.
You might want to even tackle something like a floor plant. It could be a focal point in an outdoor area such as your front porch.
I love the look of spiral topiary trees flanking a front door. If you want to use these outside, I suggest finding fake plants with leaves that won’t fade in the sun. This is especially true if they will be in direct sunlight.
My set will be used for one event outside, but most of the time it will be inside the house.
Topiary Ball | DIY | Interior Design | Terri Cumming
FAQ
How to create a ball topiary?
How do you make topiary balls?
You will need a stick, pot, floral foam, and moss. Place foam in the bottom of a small clay or tin pot (glue to the bottom), push a stick into the middle of the foam, put a dab of hot glue to make sure the stick stays in place, then place one of your topiary balls on the top of the stick.
How do you make a small topiary?
Smaller topiaries can be made using the same method above but an easier way to make a smaller version of topiary frames is with green moss. It is easy to work with and comes as lumpy moss matts or moss balls. You can use any extra moss or sphagnum moss to put in the top of your pot with a dab of hot glue or you can use real dirt.
How do you make a topiary stick?
Place foam in the bottom of a small clay or tin pot (glue to the bottom), push a stick into the middle of the foam, put a dab of hot glue to make sure the stick stays in place, then place one of your topiary balls on the top of the stick. You will need to make sure the stick pushes into the foam and put a bit of hot glue to keep in place.
How do you make DIY Moss topiary balls?
I can’t wait to show y’all just how simple these DIY moss topiary balls were to make! 1. Working over a bit of newspaper to control the mess, start by spraying a small section of one styrofoam ball with some spray adhesive. 2. Then quickly cover the glue it with a thin layer of moss. 3.
Can you use a topiary ball in a garden?
The options for topiary are endless, from spirals to cones, cubes and globes, and even carefully crafted animal shapes. But if you want to include a little bit of topiary in your garden, an easy place to start is with the topiary ball – and it’s perfect for small spaces too. Topiary balls add soft curves to this otherwise structured courtyard.
Can you make a topiary ball from a lillypilly?
You can’t create a topiary ball from any old shrub. Hedging plants are ideal as are evergreen plants with small leaves that don’t mind being sheared. You’ll also need a plant that grows quickly and has dense, bushy branching. Keeping this in mind, the lillypilly is an obvious choice.
- The Ultimate Guide to Growing Strawberries in Raised Beds - August 8, 2025
- No-Dig Garden Beds: The Easiest Way to Grow a Beautiful Garden - August 6, 2025
- How to Protect and Preserve Wood for Raised Garden Beds - August 6, 2025


