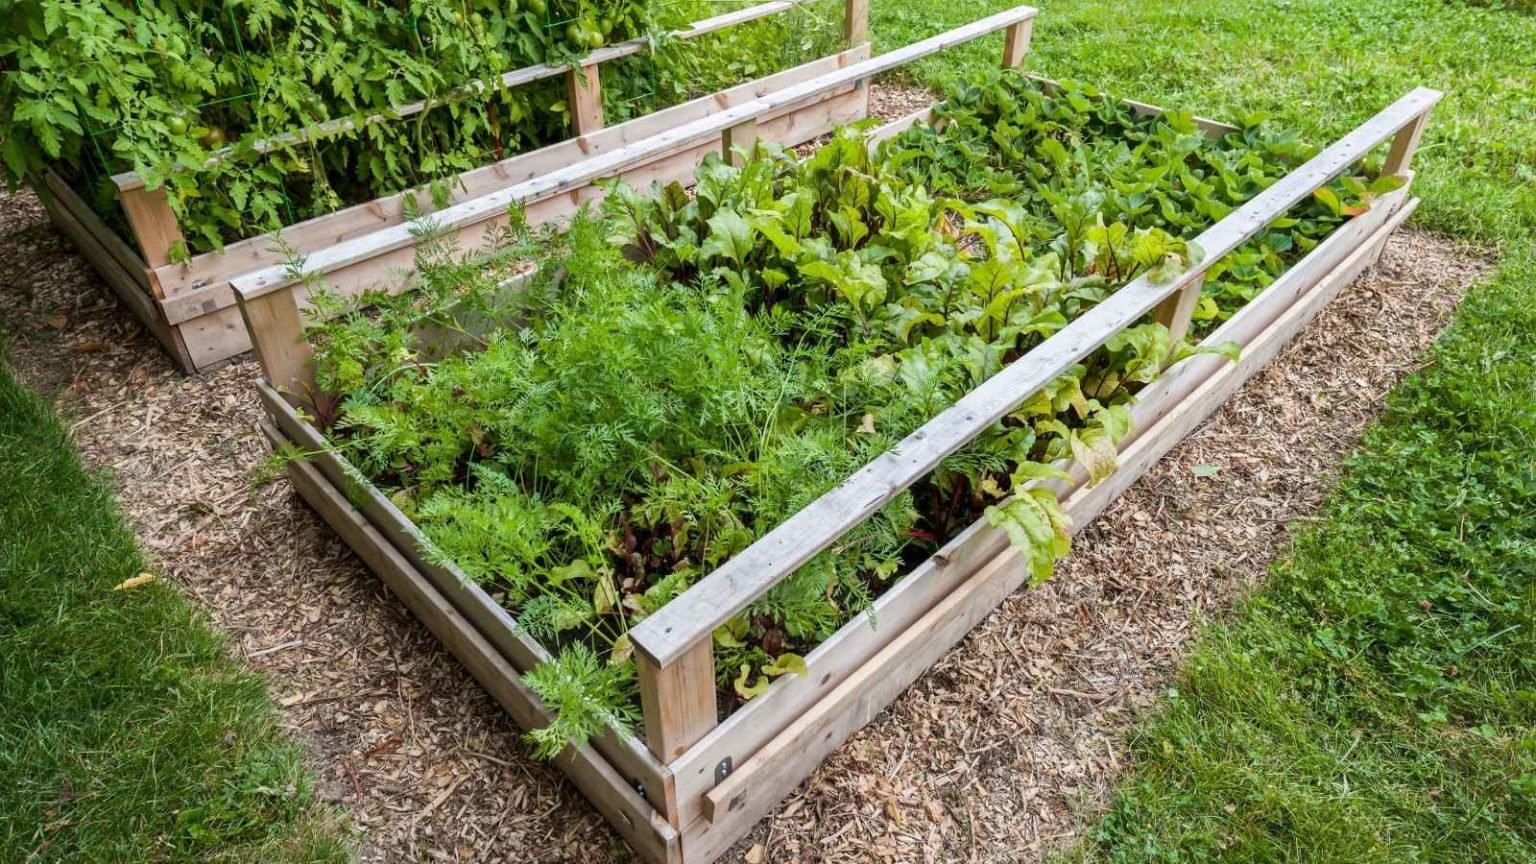
Raised garden beds made of wood are a popular way to grow vegetables, herbs, and flowers. Wood is affordable, easy to work with, and attractive in backyard garden settings. However, because wood is in direct contact with damp soil, it can start decomposing and rotting quickly. Taking steps to protect and preserve the wood will extend the life of your raised beds for years of gardening enjoyment.
In this comprehensive guide, we will look at various methods for treating and sealing both new and existing wood raised beds.
Why It’s Important to Protect Wood Raised Beds
Here are the main reasons you should take measures to treat your wood raised garden beds
-
Prolonged contact with wet soil causes wood to rot and degrade faster. Sealing the wood protects it from moisture damage.
-
Sunlight and weather exposure also break down wood over time. A protective finish prevents cracking, warping, and decay.
-
Unprotected beds may only last 2-3 seasons. With treatment, beds can last 5-10 years or longer depending on climate.
-
Preservatives block mold, fungi and insects that feed on untreated wood. This prevents beds from developing problems down the road.
-
Sealing the inside of beds prevents soil from wicking up into the grain, leading to premature rotting.
You can easily make your wood raised beds last twice or three times longer, which is good news.
When to Treat Raised Bed Wood
The optimal time to treat your wood is before constructing the raised bed, when you have full access to all sides of the boards. This allows you to coat the boards thoroughly.
However, you can still treat assembled beds by removing excess soil to expose the inner walls fully. Just plan to re-fill the beds after sealing.
Ideally, treat wood as soon as possible after purchasing to prevent any early damage. Don’t wait until you see signs of rot or deterioration. Prevention is key!
How to Prepare Wood Before Sealing
Proper prep is important to ensure the protective finish properly adheres and penetrates:
-
Use untreated, dried lumber without pre-existing finish or paint. New boards work best.
-
Remove any dirt, sawdust or debris with mild soap and water. Rinse and let dry completely.
-
Lightly sand to remove rough areas and “open up” the grain. Wipe away dust.
-
Apply sealer as soon as possible after cleaning and prepping for best results.
Recommended Wood Sealers and Protectants
You have several good options when it comes to sealing your raised bed lumber:
1. Mineral Oil Wood Preservatives
-
Made from natural plant and mineral extracts.
-
Penetrate deep into wood grain to protect from inside.
-
Allow wood to breathe while repelling water.
-
Won’t peel, fade or leach out over time.
-
Developed beautiful patina on wood as it cures.
-
Safe for use around gardens and pets when dry.
2. Tung Oil
-
Derived from tung tree seeds; non-toxic and food-safe.
-
Naturally water-resistant; repels moisture while allowing wood to breathe.
-
Enhances wood grain with warm, low-luster finish.
-
Dries hard; resists abrasion, heat, chemicals.
-
Apply multiple coats for best protection.
3. Beeswax and Linseed Oil
-
All-natural blend of bee wax and flaxseed oil.
-
Creates protective, hydrophobic barrier.
-
Allows wood to expand and contract naturally.
-
Antibacterial and antifungal properties.
-
Multiple thin coats work better than one thick coat.
4. Exterior Paint or Stain
-
For assembled raised beds, paint is easy to apply.
-
Latex-based exterior paint seals wood from direct soil contact.
-
Oil-based stains offer decent protection with some wood grain visibility.
-
Won’t last as long as more penetrating oil finishes.
-
Go for quality exterior-rated products only.
How to Apply Wood Protectants and Sealers
With your boards prepped and your sealer selected, follow these steps:
Option 1: Brush-On Application
What You Need:
- Paintbrush, sponge brush or rag
- Paint tray or roller + roller tray
- Mineral spirits for oil-based (if needed)
- Gloves and eye protection
Steps:
-
Prepare your sealer according to instructions on packaging.
-
For brush application, dip your brush into the tray and coat all surfaces of the board with a thin, even layer. Apply with the grain.
-
For larger boards, a roller may work better to distribute sealer evenly. Avoid excess pooling.
-
Coat end grains and cut edges thoroughly for maximum protection.
-
Allow sealer to penetrate 10-15 minutes before wiping away any excess with a clean rag.
-
Allow boards to dry completely as per product instructions before assembling beds.
-
Apply a second coat if desired for maximum protection, especially on cut ends.
Option 2: Soak or Dip Application
This full immersion technique works great for sealing boards prior to constructing beds:
What You Need:
- Large plastic bins or troughs
- 2×4 lumber supports
- Disposable gloves
- Eye protection
- Rags for wiping down boards
Steps:
-
Fill bins with enough sealer to fully submerge boards. Mix per instructions.
-
Place boards side-by-side onto supports in bin to keep them submerged.
-
Allow boards to soak as directed on product (typically 15-30 minutes). Longer is okay.
-
Remove boards and wipe away any drips or excess finish with a rag.
-
Allow boards to dry fully laying flat before assembling into beds. Discard sealer mixture.
The combination of prep, application and dry time will vary based on products selected. Always follow manufacturer guidance closely.
Maintaining and Reapplying Wood Protectants
With proper prep and application, a single treatment can protect boards for years. However, reapplying protectant every 2-5 years will maximize longevity in direct ground contact:
-
Monitor beds for any cracks, peeling or changes in wood appearance.
-
Lightly sand and wipe down boards before reapplying sealers.
-
1-2 re-coats every few years will maintain protection.
-
For paint or stains, scraping/sanding may be needed if finish starts peeling.
-
Avoid pressure washing wood, which can degrade the protective finish.
Alternative Methods to Protect Wood Beds
If you want to skip the wood sealing steps, here are two other options:
-
Use naturally rot-resistant wood like cedar, redwood or cypress. These last much longer than pine or fir.
-
Line the inside of beds with landscape fabric or plastic liner before adding soil. This creates a moisture barrier.
However, pre-treating boards is still recommended for best results even with these wood types.
It just takes a little bit of extra care when building your raised beds to ensure your wood lasts for many years.
Treating your lumber with penetrating oils, waxes or finishes before exposure to wet soil and weather is well worth the effort. Your beds will maintain their structural integrity and aesthetic appeal season after season.
With these tips, your raised garden beds will become a long-term growing asset that continues providing an abundant harvest with minimal maintenance required. Just be sure to prep, seal and care for your wood properly from the start!
Using This Ancient Technique Makes a Raised Bed Last Longer!
FAQ
Do you need to seal wood for garden bed?
How to protect a wood planter from rotting?
How do I protect my garden from treated wood?
Should raised garden beds be treated or untreated wood?
How do you protect a raised garden bed?
You can protect wood by installing a liner or by using a stain or sealer to treat it. You can make a wooden raised garden bed last longer with stain, sealer, or a liner, all of which can help to prevent bed rot. You can make a raised garden bed last much longer if you choose the right type of wood before treating it.
How do I Keep my raised garden bed from rotting?
Hi, I’m Jon. Let’s solve your gardening problems, spend more time growing, and get the best harvest every year! There are 5 ways to keep your raised garden bed from rotting: choose rot-resistant wood, stain the wood, install a liner, build from stone, or build from plastic.
Can you use untreated wood in a raised garden bed?
If you have any doubts about using treated lumber, you can line the raised garden bed to prevent chemicals from leaching into the soil. Otherwise, you can use untreated wood with eco-friendly sealants or alternative materials.
Should I treat my raised bed with wood preservative?
Wood is an affordable way to get started in the garden, and now we can add more durability and sustainability to an already great option for your raised bed material. Treating your beds with wood preservative is such an easy way to add peace of mind that your investment is going to last much longer.
- How Fast Does Boston Ivy Grow? A Complete Growth Guide - June 9, 2026
- Gravel for Garden Beds: A Functional and Beautiful Option - June 9, 2026
- The Best Mulch for Raised Garden Beds – Pros, Cons, and Tips - June 9, 2026