Good soil prep is the key to successful gardening. Learn how to prepare a flower bed for planting.
Some things we all heard a million times as kids were things like “Make your bed.” As gardeners though, this simple phrase has a different meaning. “Make your bed” is all about preparing the soil for planting. Every gardener gets excited by the thought of finally getting their hands in the soil. Being able to finally see the flower garden come together in the spring is a pleasant experience. However, the key to success starts before the first plant even sees the garden.
The roots of a plant are the foundation on which that plant thrives. If a plant has good roots, it will probably be happy and healthy and be able to handle the harsh spring and summer weather. If your plants don’t have good roots, they won’t be able to grow to their full size and will be more likely to get insects and diseases. The most important factor for good roots is good soil preparation.
If you are a beginning gardener, properly preparing your soil can be daunting. However, there are some easy steps that you can take to get your beds ready to be planted.
There are three basic types of beds you might be preparing (click to jump to that section):
Preparing your garden beds for planting is one of the most important tasks to ensure you have a healthy, productive garden. Proper preparation sets the stage for your entire growing season.
In this comprehensive guide, we will walk through the key steps for getting new and existing garden beds ready for planting.
Assess the Garden Bed
First, take a critical look at the overall condition of your planting bed.
-
Check that the bed foundation and edges are intact without large cracks or gaps. Repair any issues to help retain moisture and prevent weeds.
-
Examine the drainage. Wet, compacted soils can hamper growth. Add organic material like compost to improve drainage in overly dense soils.
-
Test the pH if unknown, Most vegetables prefer a slightly acidic pH of 60-6,8, Adjust as needed with lime or sulfur based on soil test results
-
Evaluate sunlight exposure. Most edibles require at least 6 hours of direct sun daily. Consider relocating the bed if sunlight is insufficient.
Remove All Weeds
Eliminate existing weeds – roots and all. Hand pull small weeds. For larger weeds, use a digging fork or shovel. Be sure to remove any remaining root fragments which can resprout.
Alternatively, solarize beds by moistening the soil and covering with clear plastic for 4-6 weeks. The heat kills underlying weed seeds and roots.
Clear Debris
Remove any plant debris, rocks or other objects that can impede growth. Fallen leaves and mulch provide habitat for overwintering pests and diseases. Clear them away.
Add Compost
Improve soil nutrition and texture by incorporating 2-3 inches of finished compost across the bed surface. Organic compost feeds plants and beneficial soil organisms.
For new garden beds, mix in 1-2 inches of compost to a depth of 8-12 inches. Existing beds need only a yearly 1-2 inch compost topdressing.
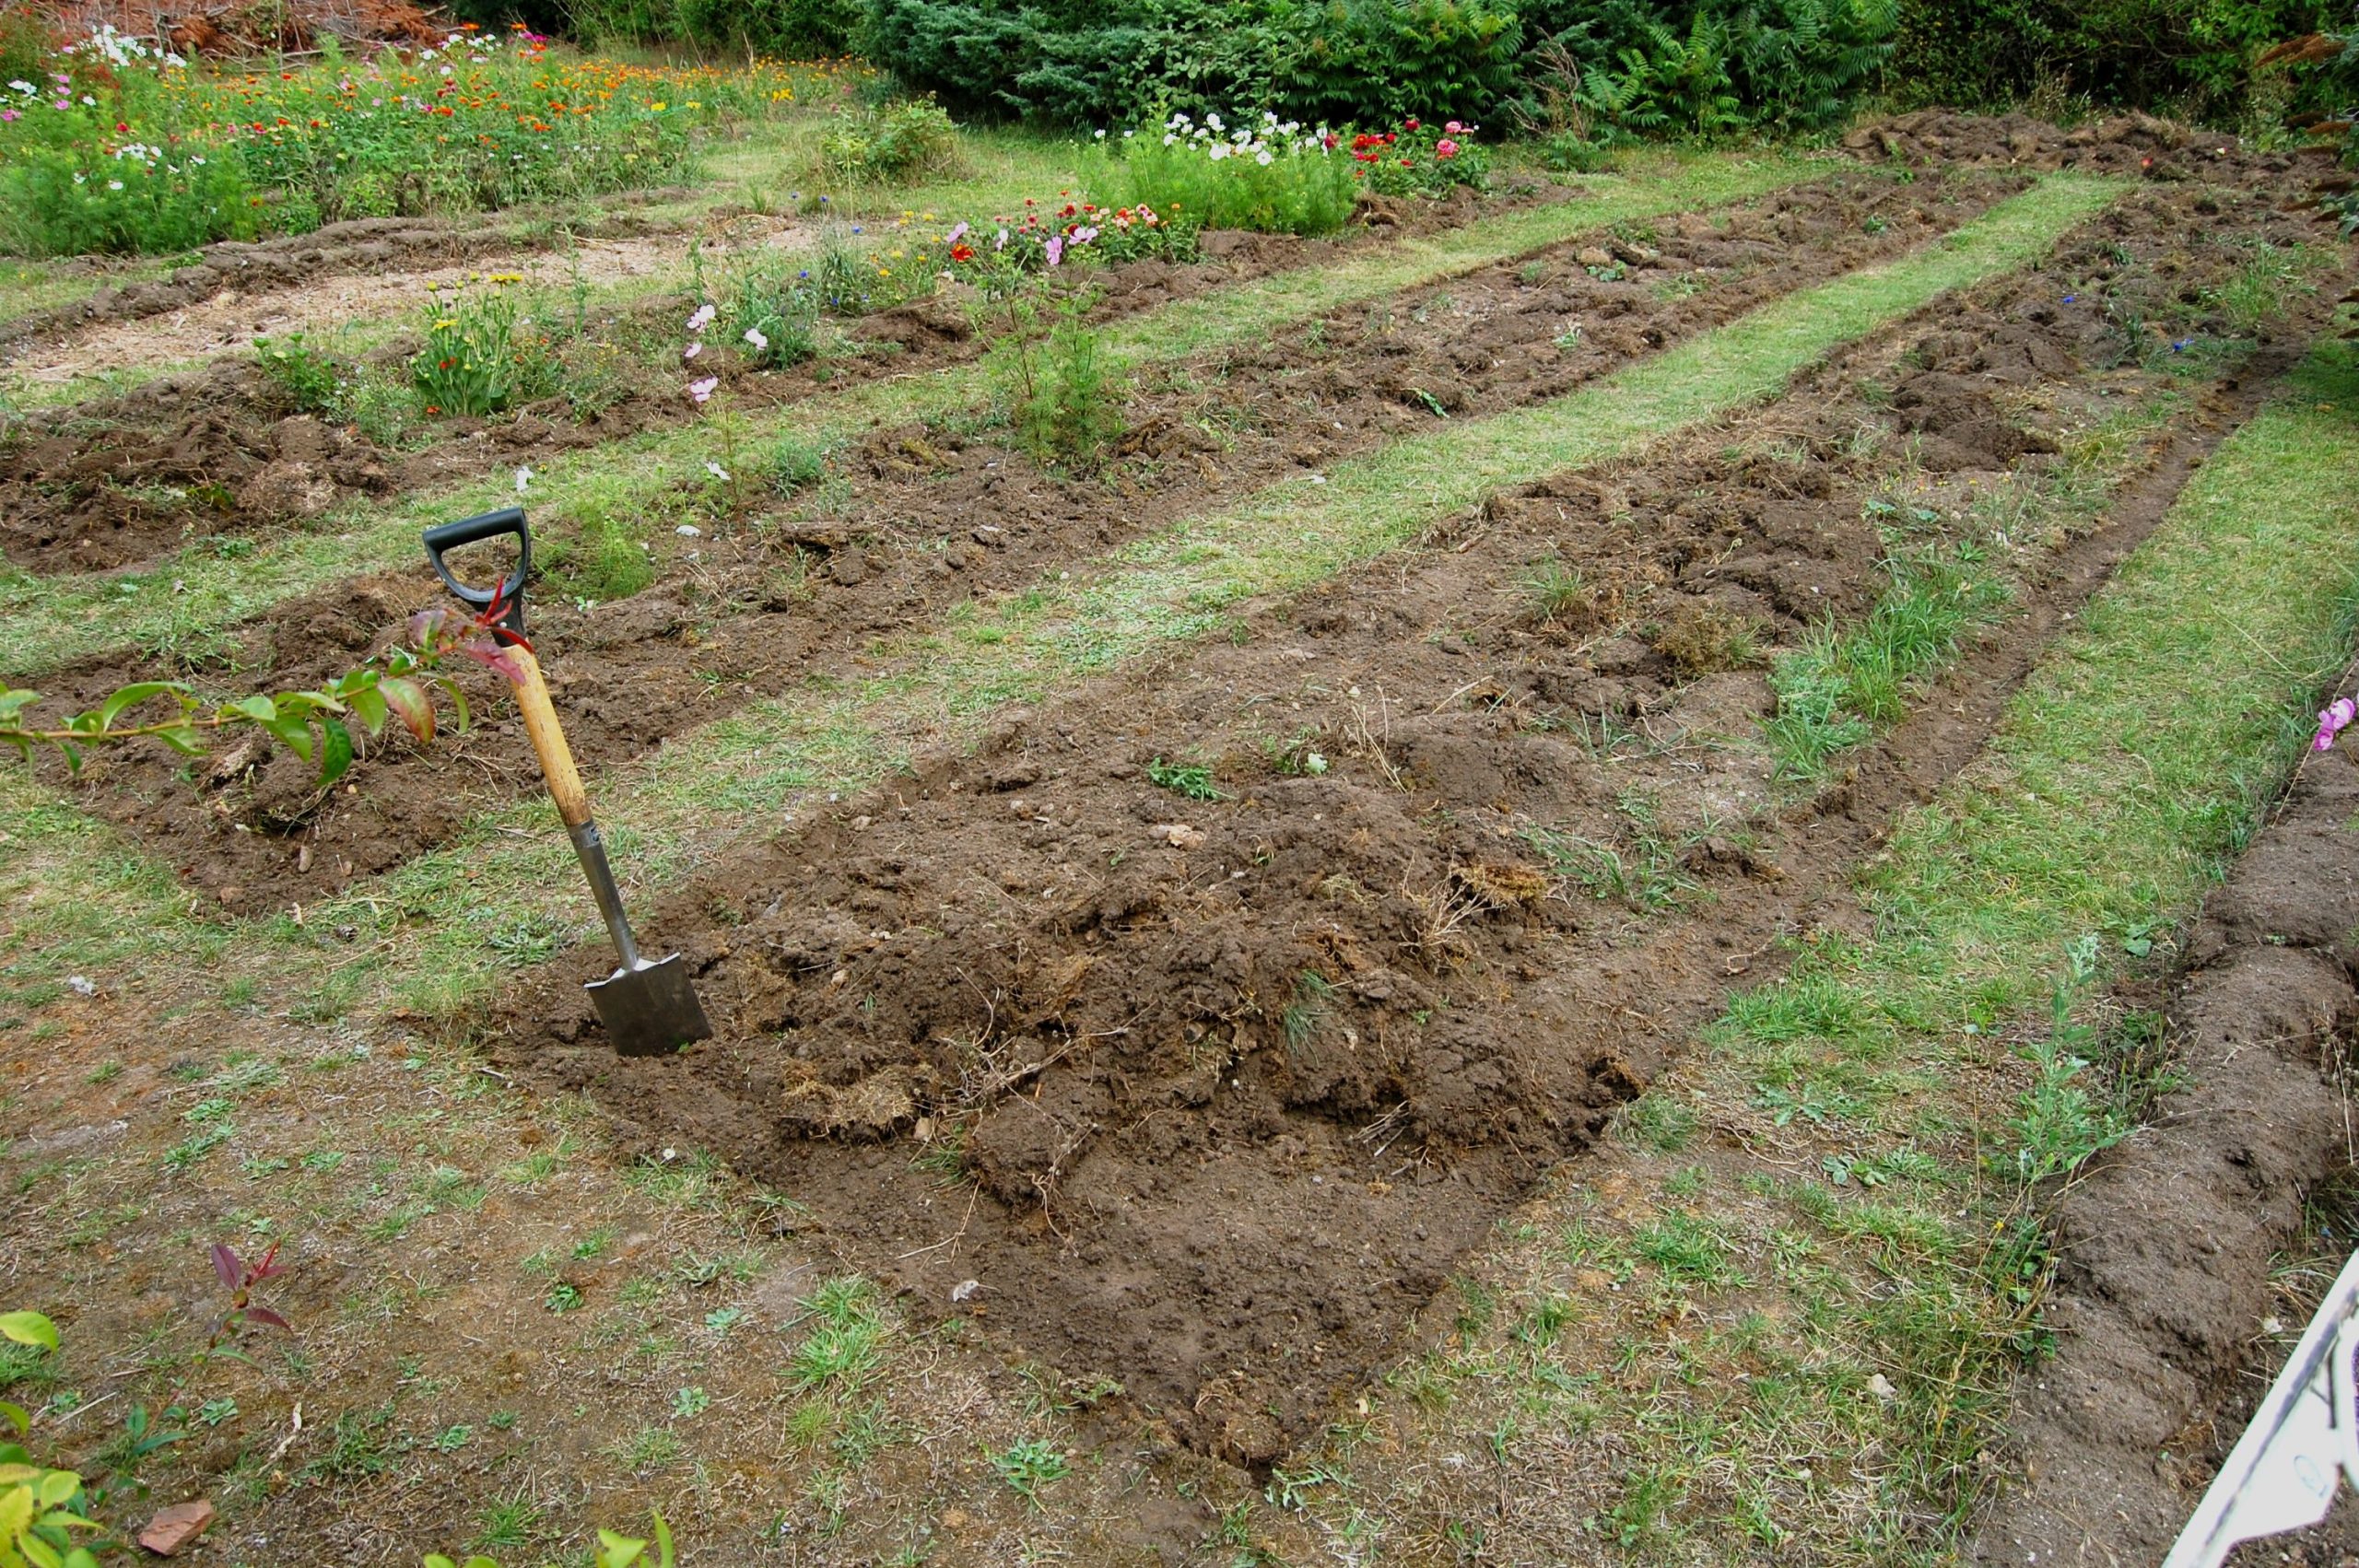
Turn Over Soil
Use a digging fork or shovel to gently turn over and loosen the entire bed to a depth of 8-12 inches. This aerates the soil and distributes amendments evenly.
Level Bed
Rake bed flat and smooth any low or high spots. Beds should be level to optimize irrigation and ensure even emergence after seeding.
Topdress with Mulch
Spread 1-2 inches of organic mulch like shredded leaves, straw or wood chips over the prepared bed. Mulch conserves moisture, suppresses weeds and keeps soil cool.
Edge Beds
Define bed edges with clean lines using wooden planks, bricks, rocks or metal edging. This gives beds a neat, orderly look and helps confine mulch.
With these key steps, your garden beds will be refreshed, weed-free and ready for planting healthy, happy crops this growing season. Prep work pays off all year long with improved soil, fewer weeds, and bountiful harvests. Get your beds prepped and let the planting begin!
Define the outline of your flower bed
In the fall, drawing the bed’s outline is the best way to start getting it ready. It can sometimes be helpful to use a garden hose to determine the outline of the bed. You can move and shape a garden hose until it’s the right size and shape for your bed.
Learn more: Flower Bed Design
When preparing a brand new bed you will need to kill the existing vegetation. If this is woody material, you willneed pruners or perhaps even a saw. If the existing weeds are herbaceous plants, things like grass and chickweed, you will have an easier time.
- A good 5 to 6 sheets of newspaper should be enough to cover the soil and plants. Then, a good thick layer of compost, 2 to 3 inches would be great, should be put on top of the newspaper. Do not use the slick, full color adds. There is no harm in the ink in regular newspaper, but there is harm in the ink in full-color ads on glossy paper.
- Leave the bed alone until spring. The newspapers will block out all light in the fall and winter, killing the plants. The newspapers will also break down over time. In the spring, you’ll have a nice layer of compost that you can mix into the soil. This method is all natural and will help your soil while killing plants that are already there.
- If it’s already spring and you want to plant your bed soon, you can kill the plants that are already there with an herbicide. Make sure you read the label to find out how and when to use the chemical. It is important to remember that some herbicides can work in the soil for a while after they are applied. This should be taken into account when planning your bed prep. You can also skip killing the plants and go straight to the next step, which is digging.
Apply a layer of mulch to the top of the soil
The compost should be mixed into the soil. You may want to add another layer on top of the soil to serve as mulch. If you add organic matter in the fall, it isnt necessary to add more in the spring. But if you have bad soil, adding compost twice a year will make it better much faster. Keep in mind that plants need this organic matter to keep doing their best. It is used up every year and needs to be replaced.
How to Improve Soil and Build an In-Ground Garden Bed
FAQ
What is the best way to prepare garden soil?
How do you care for a raised bed?
Appraise the soil for amendments and top up the beds. The soil in raised beds is constantly settling. In early spring, the soil level may be several inches lower than it was last fall. Take a spadeful of soil and see if it’s light, moist and crumbly. If the soil seems compacted, some peat may be needed to fluff it up.
How do you make a new garden bed?
Turn the soil. Use a tiller, spade/shovel, or garden fork to turn the soil over. A spade or shovel may be the best to use for a very new and firm bed. The soil should be damp, but not wet when you are working with it. It should break apart, look moist, and not stick to your tools. If the soil is not moist, you can add water with a garden hose.
How do I prepare my garden beds for planting vegetables?
Adding compost and other amendments, tilling or turning the soil, and mulching are all important steps to prepare your garden beds for planting vegetables. Once you get into the habit of doing it every year, it’ll be quick and simple.
How do you grow a garden bed?
Usually a garden bed is filled with native soil, then improved for gardening. It may need lightening with peat or similar medium, and may need lime and some phosphate. Once your bed soil is ready, then you add your compost and any other fertilizer, which are only a small percentage of the total soil mass. Hi there, thanks for your answer.
- How Much Water Do Peonies Need? An Expert Guide to Proper Peony Irrigation - May 28, 2026
- How to Prepare Soil for Hydrangeas – A Comprehensive Guide - May 28, 2026
- How Often Should You Water Raised Garden Beds? - May 26, 2026