All that’s necessary to propagate prickly pear cactus is a donor plant. The prickly pear cactus (Opuntia) is beautiful and incredibly easy to propagate from a cutting.
When I first moved to Arizona, one of the first plants I purchased was a prickly pear. I was unaware that a prickly pear cactus produced fruit at the time. More on the fruit a little later.
I recall that I paid about $25 for the prickly pear at Lowes. The cactus had a few large pads and was about a foot tall.
I didn’t know much about the prickly pear cactus at the time, so I thought it was a plant that grew slowly. The prickly pear cactus grows at an astonishingly fast rate. If it gets a lot of direct sunlight and is hot, it can grow to be more than 10 to 12 feet tall in just a few years.
Although it grows up, the prickly pear also grows in all other directions. From spring through summer, new pads keep growing out of bigger ones. Herein lies the problem, or if you want to propagate a prickly pear cactus, a bonus.
Because of the speed at which the cactus grows, it quickly cannot support its growth. As the size of the cactus increases, weaker pads will spit or even break off. As they fall from the main plant and break, they hit the ground and break off other pads in their way.
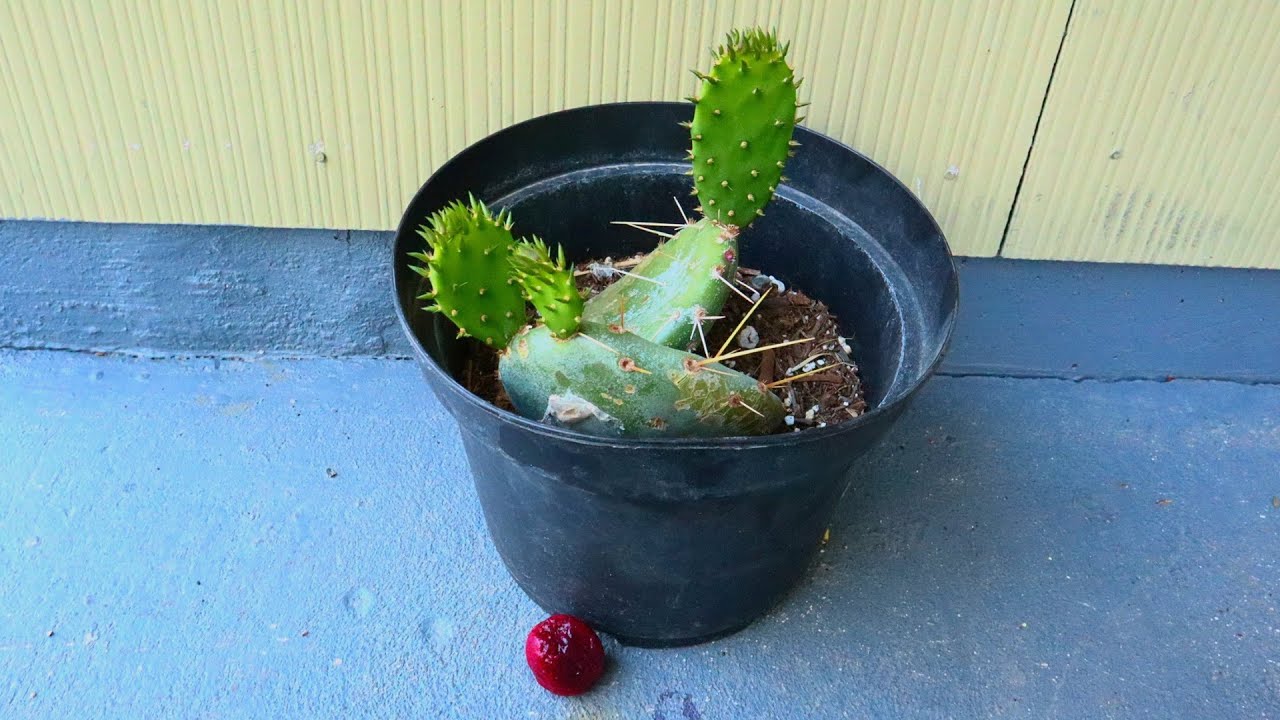
In my case, strong winds from the remnants of a rare Pacific hurricane tore off several large pieces of the prickly pear cactus as it passed through Arizona. Feeling disappointed, I decided to try growing the pads separated from the main plant.
Prickly pear cacti, also known as opuntia, are iconic plants of the American Southwest. With their distinctive paddle-shaped stems and colorful flowers, they make excellent additions to arid gardens. While you can buy prickly pear cacti at nurseries, propagating your own from an existing plant is extremely simple. With just a few basic supplies and steps, you’ll be on your way to growing an endless bounty of prickly pear cacti to liven up your yard.
Why Propagate Your Prickly Pear Cactus?
Propagating prickly pear cacti has many advantages For one, it’s an easy, inexpensive way to get new plants Buying cacti from a nursery can get pricey, especially for mature specimens. Propagating your own allows you to expand your collection without spending much money.
It’s also a great way to share prickly pear cacti with friends and family. The paddle cuttings you root make wonderful gifts for fellow gardening enthusiasts.
Propagating also preserves special cultivars. If you have a particularly unique or rare variety of prickly pear, propagation can help conserve it. The new plants will be genetically identical clones.
Finally, multiplying your cacti allows you to create stunning Southwest-style gardens. The more plants you grow, the more design options you’ll have.
How to Propagate Prickly Pear Cactus
Propagating prickly pear cactus is straightforward. There are two main methods: seeds or cuttings. Cuttings are faster and more reliable, so we recommend propagating cacti from cuttings. Here’s a step-by-step overview of how to do it.
Supplies Needed
- Sturdy gloves
- Sharp, clean knife or scissors
- Cutting of prickly pear cactus
- Container with drainage holes
- Cactus soil mix
- Spray bottle
Step 1: Take a Cutting
Use thick gloves to protect your hands when taking a cutting. Select a ripe, firm prickly pear pad to use. Carefully twist or cut it off at the joint using a sharp, clean knife or scissors. Make sure to get the whole pad.
Step 2: Allow to Callous
Place the cutting on a dry surface and allow the cut end to callous over for 5-7 days This seals the wound and prevents rotting,
Step 3: Prepare the Soil
Fill a container with cactus soil mix, leaving room for the cutting. Cactus mix is fast-draining and replicating the sandy soil of the desert.
Step 4: Plant the Cutting
Make a hole in the soil and insert the calloused end of the prickly pear pad. Bury 1/3 of the pad in the soil. If it won’t stand upright, lay it horizontally with the cut end centered.
Step 5: Water Lightly
Give the soil a light misting so it’s just moist. Avoid getting the pad itself wet.
Step 6: Provide Warmth and Light
Place cutting in a warm spot (70°F+) with indirect light. A greenhouse is ideal, but a sunny windowsill also works.
Step 7: Wait for Roots and Growth
Check for rooting after a few weeks. Once rooted, gradually acclimate to direct sunlight to spur growth. Mist soil when dry.
In a few months, your cutting will take off and form a whole new prickly pear cactus clone!
Tips for Growing Prickly Pear Cactus Cuttings
Follow these tips to ensure your new prickly pear clippings thrive:
- Be patient – rooting takes time, sometimes up to 8 weeks
- Don’t overwater – these are desert plants so less is more
- Give them warm temperatures
- Situate in full sun
- Repot in cactus mix once established
- Wait 1-2 years for blooms
With the proper care, your cuttings will flourish into mature, blooming prickly pear cacti.
Propagating Prickly Pear Cactus from Seeds
While prickly pear propagation from cuttings is faster, you can also grow cacti from seeds. Here’s an overview:
How to Harvest Seeds
- Allow prickly pear fruits to fully ripen on the plant.
- Collect seeds from the fleshy interior.
- Clean seeds and let dry for 1-2 weeks.
How to Germinate Seeds
- Perform scarification by nicking or scratching seed coats.
- Stratify seeds by exposing to cold treatment.
- Sow seeds in warm, moist cactus mix.
- Provide bottom heat.
- Germination may take weeks or months due to tough seed coats. Be patient!
Growing prickly pears from seeds is slower but a fun experiment for the patient gardener.
Enjoy Your Bounty of Prickly Pear Cacti
As you can see, propagating prickly pear cactus at home is easy and rewarding. With minimal time and effort, you’ll have prickly pear pads galore!
Propagation allows you to expand your cactus collection and craft stunning succulent gardens. Share the bounty with fellow gardeners or create a living fence.
Just be sure to wear gloves when handling the prickly pears—those glochids can be nasty! Avoid contact between skin and cactus.
We hope these tips inspire you to try prickly pear propagation. Let us know how your cutting and seed growing goes!
Care and Maintenance—Propagated Prickly Pear Cactus
Prickly pear cactus, like most cacti, require very little care. If you are planting your propagated cactus outdoors, choose a location that receives full sun throughout the day. The more sun the cactus gets, the faster it will grow.
Don’t worry if you don’t have full sun in your yard. The propagated prickly pear will still do well. However, it won’t grow as quickly. If the cactus’s pads start to grow long and thin, it means it needs more sun. If there isn’t enough sunlight, the cactus will “reach” toward the sun, which will change the shape of the pad as it tries to get more sunlight.
Water the cactus about once a week. A few ounces of water should be plenty. An easy way to tell if you are under-watering is to look for wrinkles on the pads. Prominent wrinkles mean the cactus is dry. Wrinkles or drooping can also indicate that the cactus is reacting to high temperatures and direct sunlight.
It’s okay for a few days if the soil around the base of the cactus dries out if you have an irrigation system.
It’s virtually impossible to kill a prickly pear, even if you occasionally forget to water it. However, overwatering can cause the cactus to rot.
If you think the cactus is starting to rot, take it out of the ground and cut off the part of the pad that is rotting. Place it back in the soil and reduce the water it receives.
The cactus might need to be pruned so it doesn’t fall over or get too big as it grows. Grab a hacksaw or a knife and remove the unwanted pads. You can then start the whole process of propagation over again or give the pads to a neighbor.
Propagate Prickly Pear Cactus (In a Pot or the Ground)
I spread some pieces of the prickly pear cactus to a different part of my yard after the hurricane was over. Three years later, I had a new prickly pear larger than the original.
The prickly pear, as well as most cacti, are incredibly resilient. The process is simple, even if you have no experience with propagating cacti. It’s the same process used to propagate a bunny ear cactus. All that’s required is some cactus soil and a little water. If you want to grow a prickly pear cactus in your yard but live in the desert, don’t use cactus soil. The soil in your yard will suffice.
If you don’t see many cacti where you live, dig a hole and fill it with cactus soil.
If you plan to grow your cactus in a pot, purchase a bag of cactus soil. Please don’t buy potting soil meant for house plants. Potting soil will retain water, causing the cactus to rot. Most cacti are incredibly susceptible to rot. If you water too much or use soil that holds too much water, the roots will not get enough oxygen, and the plant will die.
You don’t need a large pot, at least in the beginning. The prickly pear has a small root system and will grow fine in a smaller pot. Just remember that if you live in a place that gets a lot of rain, you might want to keep the cactus under a porch during heavy rainstorms to keep the soil from getting too wet.
I like to use a hacksaw to take a cutting from a prickly pear. Since the cactus is mostly water, a hacksaw blade easily cuts through the pad. A sharp knife will work if you don’t own a hacksaw. Cut the pad diagonally rather than straight across. A diagonal cut will give you more surface area to cover with dirt and provide a stable base.

You can remove a single or multiple pads connected to a larger pad. Prickly Pear cacti are tough plants. Don’t worry about hurting the donor cactus. Within a couple of weeks, the cactus will heal itself. Eventually, it will grow new pads in the area from which you removed the pad.

Dig a hole in the ground just big enough to hold the pad in place so it doesn’t fall over. If you have a few plant stakes, you can place them on each side of the pad. Tie a string around the pad and secure it to the stakes.
It’s not a pretty answer, but in a few weeks, the cactus will have enough root growth to stand on its own. You can then remove the stakes.

Opuntia for FREE! – How to plant & propagate Prickly Pear Cactus
FAQ
Can you grow prickly pear cactus from a cutting?
Can you propagate cactus cuttings in water?
How to start a new cactus from an old one?
How do you dig up and replant prickly pear cactus?
How long does it take to grow a prickly pear cactus?
“Cactuses can take a long time to grow—planting from seed could take up to three or four years to yield fruit,” she says. So, if you’re hoping to grow your cactus as a food source, starting from a growing plant is your best option. How to grow your own prickly pear cactus.
How do you grow prickly pear?
Remove or set aside old callus pads on the cut end of your prickly pear for several weeks to encourage its growth, and then remove or set aside pads six months or older. Pear pads can be grown if they are grown in half and half mixes of soil and sand. The pad will be filled with roots in a few months.
How to propagate cactus at home?
The drainage at the bottom of the pots should be high and coarsely fragmented. This plant is propagated at home in only one way – it is shared by adult, lush bushes. You can simply divide the bush into 2-3 large parts, or you can cut off rather small lateral, daughter processes with at least 2 to 3 leaves.
- How to Grow Gorgeous Climbing Roses on a Wooden Fence - March 24, 2026
- Avoid These Plants When Companion Planting with Oregano - March 24, 2026
- 15 Great Trees to Plant Near Your House - March 24, 2026