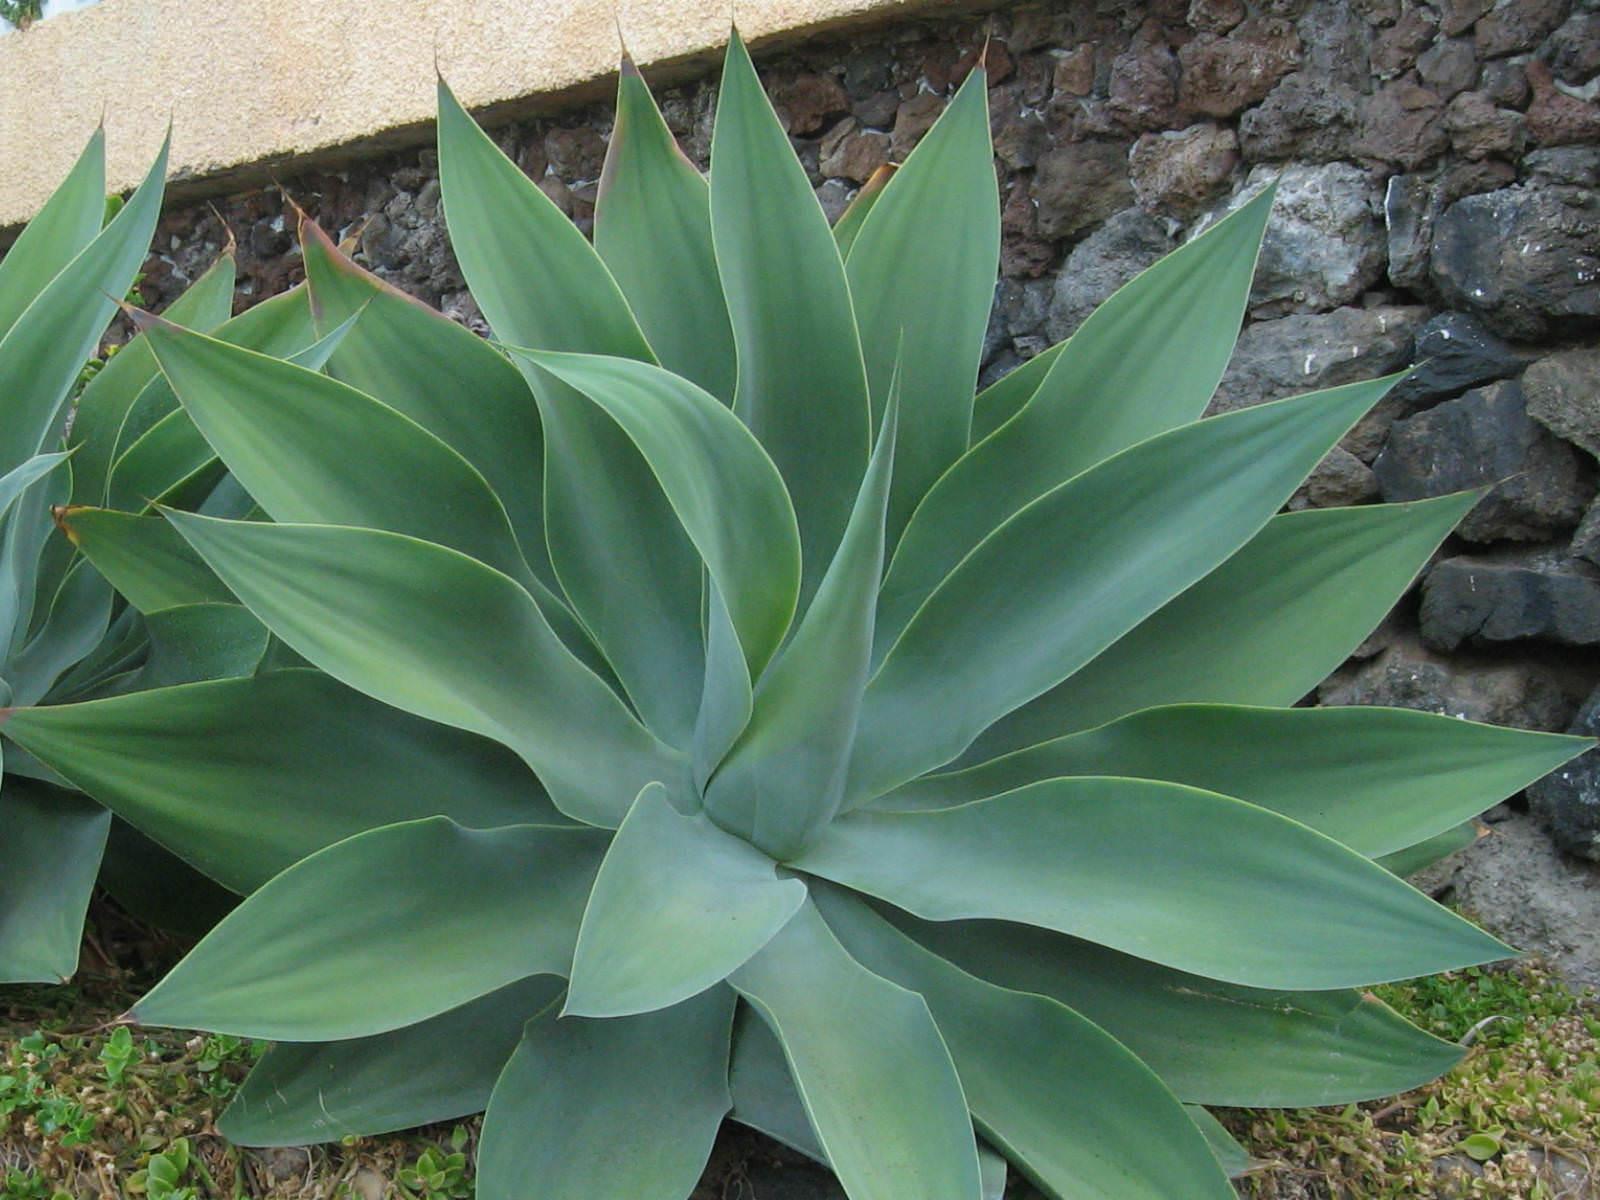
Agaves are striking architectural plants that can transform both indoor and outdoor spaces with their bold shapes and textures While purchasing mature agave plants can be expensive, propagating agave pups is an easy and affordable way to add these dramatic succulents to your home or garden design.
In this comprehensive guide, we will walk through everything you need to know about propagating agave plants, from identifying pups ready for transplanting to proper care after repotting. whether you are a beginner or seasoned gardener, this step-by-step tutorial will set you up for agave propagating success!
An Overview of Agave Propagation
Agaves primarily propagate through “pups” – cloned plantlets that emerge from the mother plant. As the mother matures and produces a flower stalk, she puts energy into creating new baby agaves at her base or edges. These pups have their own developing root system but are still attached to the parent.
Propagating agave pups simply involves gently removing them from the mother plant and repotting or transplanting into soil. This cloning process skips the seed starting and germination wait time Because the pups are genetically identical clones from the mother, you know exactly the look you will be getting as they mature.
When to Propagate Agave Pups
Ideally, agave pups should be separated and repotted when they are 1/3 to 1/2 the size of the mother plant. At this stage, the pup will have a more developed root system but still be small enough to transplant easily.
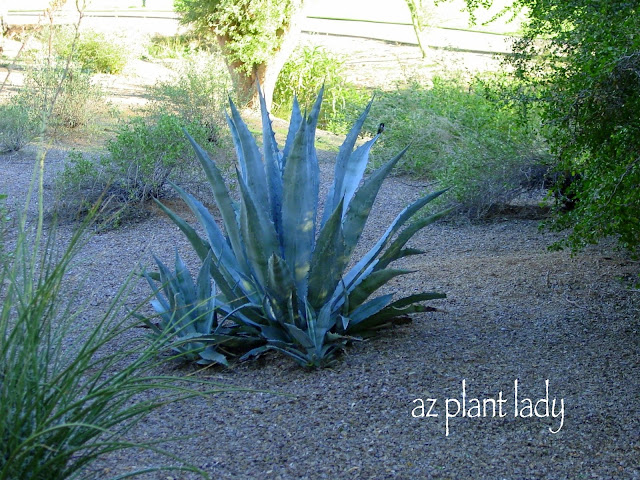
Pups are often found crowded around the base of a blooming or mother plant that is several years old However, some agave species also produce pups regularly even when not blooming
Smaller pups can be left on the mother longer to allow them to grow larger before removing. However, waiting too long increases chances of damage to both the pup and mother plant when separating.
Supplies Needed for Agave Propagation
Propagating and repotting agave pups is a straightforward process. Here are the basic supplies you will need:
- Sharp, sterile pruning shears or knife
- Trowel or shovel if transplanting from ground
- Containers or pots for pups
- Fast-draining cactus/succulent soil mix
- Gloves for protection from spines and needles
Optional supplies:
- Hori Hori gardening knife for easier digging
- Water/mist bottle for watering in newly potted pups
- Grow lights if keeping agave pups indoors
Step 1 – Prepare the Pups
The first step in propagating agave pups is gently removing them from the mother plant.
For potted mother plants:
Carefully tip the container on its side and slide the mother plant out. Use shears to slice down the side of the nursery pot if you need better access to the base.
Gently loosen the soil around the pups to locate their roots. Find the thicker connecting rhizome attaching pup to mother.
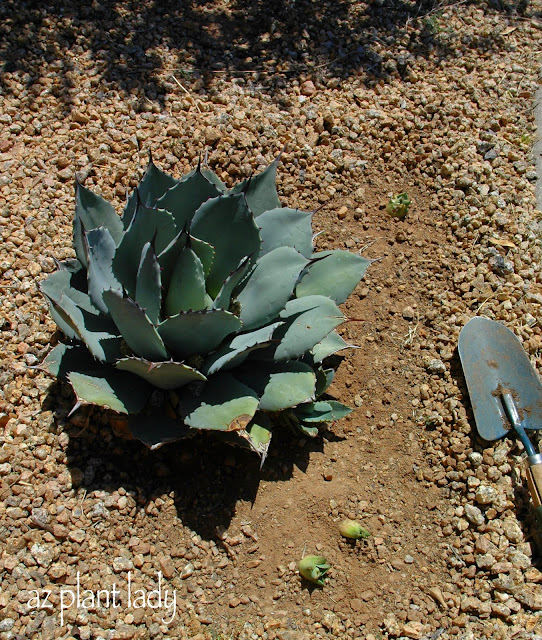
For in-ground mother plants:
Use a shovel or hori hori knife to loosen and dig out the soil around the base, exposing the pups. Locate thicker mother-pup connecting rhizome.
Once roots are located, carefully cut the connecting rhizome with sterilized shears or knife. Trim any excess roots but keep intact as much of pup’s root system as possible.
Step 2 – Repot the Pups
Now the agave pups are ready for transplanting! For best results:
-
Choose containers with drainage holes, 2-4 inches wider than pup. Terracotta pots work well.
-
Fill pots about 1/3 with dry, porous cactus/succulent soil mix.
-
Nestle each pup in pot, spreading roots over mound of soil.
-
Backfill soil around roots, keeping top 1/2 inch of pup above soil.
-
Firm soil around edges leaving no air pockets, but don’t pack tightly.
For in-ground planting, dig holes wider than root balls andBACKFILL with cactus mix/native soil blend. Mound soil under pup, keeping crown above grade.
Step 3 – Water and Care for Pups
After transplanting, water pups sparingly:
-
Water newly potted pups lightly to settle soil. Avoid saturating.
-
Let dry out between waterings until roots establish, 1-3 weeks.
-
Gradually increase water for pups in faster draining cactus mix soil.
-
Water less frequently for pups planted in ground, especially in winter.
Agaves dislike wet feet. Allow containers to fully dry out before soaking again. Water less in winter months. Provide bright light or partial sun. Transition pups to direct outdoor sun over time to harden growth.
Protect newly planted in-ground pups from frost and freeze. Shelter pots when temperatures drop below 45°F/7°C.
Common Questions About Agave Propagation
Propagating agave plants from pups is generally simple but there can be a few questions along the way! Here are some commonly asked questions:
How long does it take for agave pups to root?
Agave pups form their own root system while still attached to the mother plant. This means they are essentially ready for transplant as soon as they are removed! You may see new root growth in as little as 2-3 weeks after repotting.
Can you propagate agave leaves?
Agave leaves cannot be propagated directly into new plants. However, some agave flowers will produce small plantlets or bulblets that can be removed and grown into independent plants.
Do all agave species pup?
Most common domesticated agaves like A. americana and A. attenuata produce pups regularly. Some exceptions like A. parryi rely more on bulbils/plantlets from flowers. Check your specific agave species’ propagation methods.
How to revive a drooping, transplanted agave pup?
A pup that is drooping or dropping leaves shortly after transplanting is likely stressed from being overwatered. Stop watering and allow it to fully dry out. Remove any rotted roots and transplant into fresh, dry soil. Hold back on watering and increase light exposure.
Potting Up Agave Pups for Gifts or Display
Once agave pups are transplanted and begin establishing, you can create a striking display by planting grouped together in a large container. Here are some tips:
-
Choose a wide, shallow planter or bowl with drainage. Terracotta, concrete, and metal work well
-
Fill bottom third with cactus/succulent soil mix.
-
Arrange pups at different heights, packing soil around roots.
-
Allow room for growth, spacing small pups 2″-5” apart.
-
Top dress with decorative gravel or stones if desired.
Potted arrangements of agave pups make wonderful gifts! Just include care instructions to avoid overwatering.
Transplanting Agave Pups In the Garden
Adding agave pups to your garden or landscape design provides instant sculptural impact. For in ground planting:
-
Prepare planting holes at least twice the width of the pup’s root ball.
-
Partially backfill holes, creating a mound to place the pup on top of. This prevents crown rot.
-
Spread roots over mound and backfill with a mix of 1 part cactus soil, 1 part native soil.
-
Pack soil firmly around edges. Slope soil slightly underneath to improve drainage.
-
Allow at least 2 feet between most agave species, 4-6 feet for largest varieties.
Remove any surrounding grass/weeds and top dress with pebbles or gravel to reduce competition. Take care not to bury the neck or crown of agave pups when planting.
Troubleshooting Agave Pup Transplant Problems
Propagating and transplanting agave pups is quite easy when done correctly. Here are some common issues and how to avoid them:
-
Rotting at the base or crown – This is caused by excess moisture. Improve drainage, water less frequently, and allow soil to fully dry out between waterings.
-
Drooping or wrinkled leaves – Signs of underwatering. Gradually increase watering frequency and quantity for newly planted pups.
-
Failure to root or establish – Can be caused by damaging roots during removal, or transplant shock. Minimize root disturbance, shelter from sun/wind, and hold off watering until pup recovers.
-
Slow or no new growth – Insufficient sunlight. Gradually transition to brighter light. Fertilize lightly in spring. Also check for root damage or disease.
Propagating Agaves: An Easy Way to Expand Your Collection
Propagating agave plants by removing and transplanting pups is one of the simplest and most gratifying succulent projects. In just a few straightforward steps, you can create new agave specimens for indoor containers or outdoor landscaping.
The ability to clone your favorite agave varieties ensures you can repeat their shapes, textures, and colors in endless eye-catching combinations. Enjoy watching your new agave babies flourish!
Let us know if you have any other agave pup propagating questions in the comments! We are always happy help fellow succulent enthusiasts.
What Do Agave Pups Look Like?
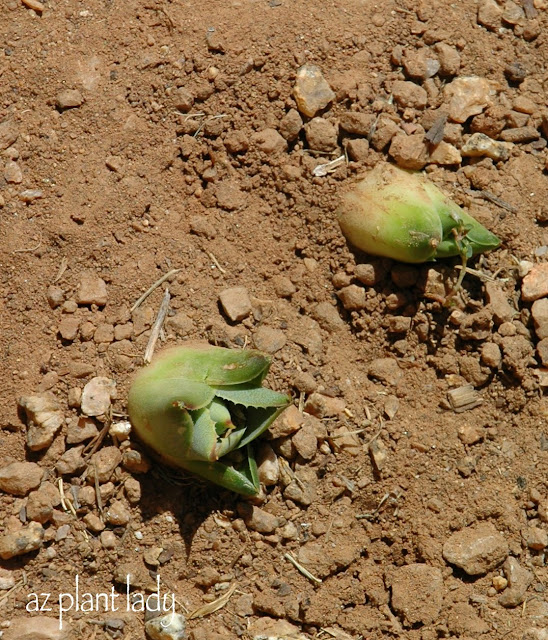
Propagating agave succulent with actual results
- The Ultimate Guide to Growing Strawberries in Raised Beds - August 8, 2025
- No-Dig Garden Beds: The Easiest Way to Grow a Beautiful Garden - August 6, 2025
- How to Protect and Preserve Wood for Raised Garden Beds - August 6, 2025