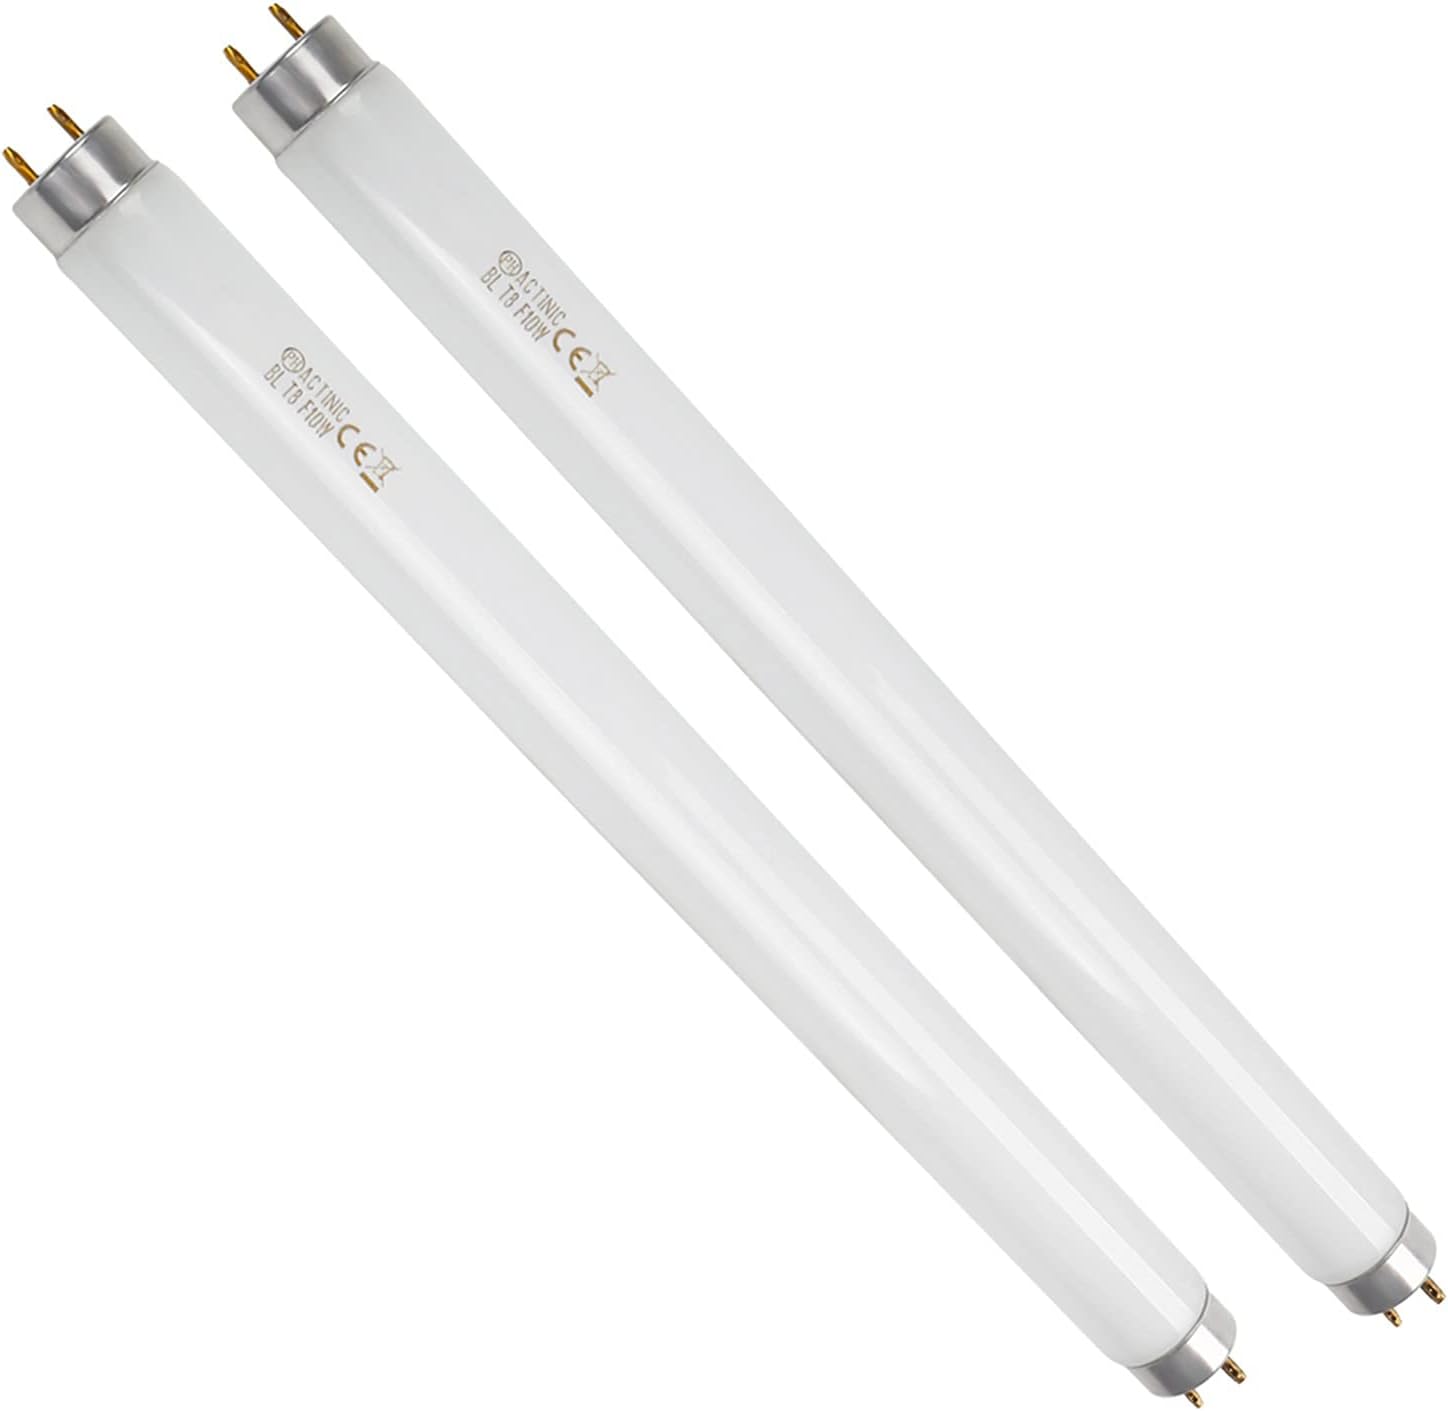
Bug zappers provide an efficient way to trap and kill flying insects outdoors. These electronic devices lure bugs in with ultraviolet light then eliminate them with an electrified metal grid. But over time the bulb producing the attractive light will burn out and need replacing. Here is a step-by-step guide to changing out a burnt-out bug zapper bulb for a new one.
Supplies Needed
- Replacement bug zapper bulb (check wattage/type of your model)
- Work gloves
- Safety glasses
- Phillips or flathead screwdriver
- Step stool (for high mounted models)
Steps to Replace Bug Zapper Bulb
-
Unplug the zapper. Disconnect the electrical cord so the device is not live when you access the light housing.
-
Locate the bulb compartment Bug zappers have a small compartment that holds the bulb and protects it from the elements, This is usually found at the bottom or back of the unit,
-
Open the housing. There will be a movable panel, lid, or other access point secured with screws or a locking mechanism Use gloves when handling in case of electrified parts
-
Remove the old bulb. Gently grasp the bulb and pull it straight out from the socket. Do not twist. Dispose of the burnt-out bulb properly.
-
Inspect the socket. Look for any signs of damage, corrosion, dead insects, or debris. Clean if needed so the socket contacts are clear.
-
Check the replacement bulb. Confirm it matches the wattage and style of the original bulb. Never exceed the rated wattage.
-
Install the new bulb. Align the bulb pins with the socket holes and press gently but firmly until seated fully. Do not force.
-
Close the housing. Return the protective cover and secure it back in place with screws or by closing the clasp.
-
Plug in the zapper. Reconnect the power cord and turn on the device to ensure the new bulb illuminates properly.
-
Test the attractiveness. Turn the zapper on after sunset and observe if insects are drawn to its ultraviolet glow. Catch some bugs to verify it is working.
Tips for Bug Zapper Bulb Replacement
-
Wear safety gear when servicing to avoid shocks or burns. Turn off power first.
-
Handle new bulbs carefully by the base to avoid oil from fingers damaging the glass.
-
Compare old and new bulbs directly to match shape, size, pins, and color.
-
Dispose of used bulbs properly per hazardous waste guidelines to contain mercury.
-
Record the date of bulb replacement to track when maintenance is next needed.
-
Clean zapper grids during service to maximize effectiveness. Use isopropyl alcohol on a cotton pad.
-
Consider replacing bulbs annually before peak mosquito season for optimal performance.
-
Upgrade to LED bulbs for longer lifespan if your zapper model is compatible.
-
Have a backup supply of extra bulbs so you can replace immediately when one burns out.
With a simple bulb swap, you can quickly get your bug zapper glowing bright again and luring in insects. Schedule seasonal maintenance to replace bulbs before they burn out completely. And be sure to take proper safety precautions when accessing the electrified internal components. In no time, your zapper will be ready to zap hundreds more pesky bugs drawn to its inviting ultraviolet light.
DIY! How To Replace a Bug Zapper Light Bulb
FAQ
How long do fly zapper bulbs last?
Why do bug zappers stop working?
How do I replace a Bug Zapper light bulb?
In most cases, you can simply unscrew the bulb from its socket. If the bulb is broken or stuck, you may need to use pliers to carefully remove it. When it comes to choosing a replacement light bulb for your bug zapper, it’s important to select the right type.
How often should you replace a Bug Zapper light bulb?
If you own a bug zapper, you know how effective they can be in keeping annoying insects away from your outdoor space. But to keep your bug zapper working at its best, it’s important to replace the light bulb regularly. One of the best options for replacement bulbs is LED light bulbs.
What kind of light does a bug zapper use?
Bug zappers typically use UV or black light bulbs, which emit a specific wavelength of light that attracts insects. These bulbs come in a variety of sizes and shapes, so be sure to check the specifications of your bug zapper before purchasing a replacement bulb. It’s also worth considering the type of bulb you choose.
How do I fix a bug zapper that won’t light up?
Plug your bug zapper into the power socket and the globe should light up. Following steps 1-5 check the globe is secure in the lamp holder and replace plastic cover. Use genuine yard guard replacement lamps in your bug zapper. If you have followed these steps and your zapper still won’t light up, please contact us.
Do bug zappers need to be replaced?
If you have a bug zapper at home, you know how important it is to keep it in good condition. One key component of your bug zapper is the light bulb, which attracts insects to the device. Over time, the bulb will need to be replaced in order to keep your bug zapper working effectively.
Do Bug Zapper light bulbs kill Bugs?
Bug zapper light bulbs are a popular solution to keeping your outdoor space bug-free. These bulbs attract and kill insects such as mosquitoes, flies, and moths using ultraviolet light. However, choosing the right type of bug zapper light bulb can be confusing.

