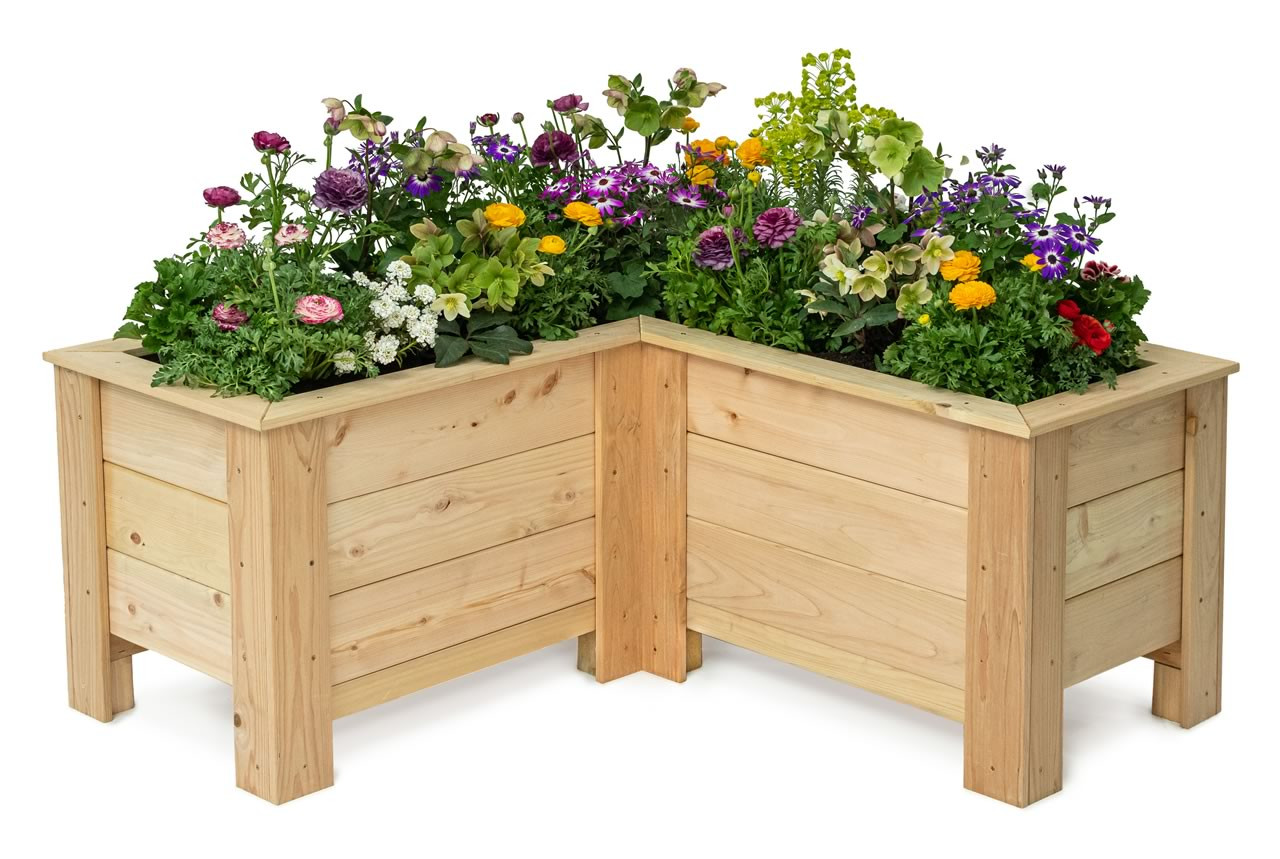
L shaped planter boxes are a great way to maximize gardening space in a corner or along a fence line. With a simple 90 degree angle design these raised garden beds let you fit more plants into compact areas. But you don’t have to buy pre-made planter boxes. With minimal DIY skills you can build your own custom L shaped planter tailored exactly to your space.
In this detailed guide, you’ll learn how to construct an L shaped raised bed from scratch. With a few basic materials and tools, you can create durable planting boxes to grow vegetables, herbs, flowers and more. Follow along as we break down the process into simple steps.
Benefits of L Shaped Planter Boxes
Before diving into the building process let’s look at why L shaped boxes are so useful
- Make use of wasted corner space in your yard or garden.
- Allow you to fit more plants into a small footprint
- Create an organized, designated growing area with clean lines.
- Keep plants upraised for improved drainage and easier access.
- Have a boundary to contain and separate different plants.
- Provide height for vertical or vining crops like tomatoes and cucumbers.
- Prevent grass or weeds from invading your planting beds.
- Give you ultimate control over the soil composition.
With the right DIY techniques, you can construct durable L shaped planters tailored to your exact garden specifications. Now let’s look at how to build them.
Planning Your Custom L Shaped Garden Bed
When designing your own L shaped planter, consider these factors:
- Location – Choose a level, sunny spot with access to water. Avoid trees and roots.
- Size – Size each long side based on space available. Standard widths are 3-5 feet.
- Height – Standard heights are 10-18 inches. Go taller for deep-rooted plants.
- ** Shape** – The “L” can be equal lengths or different proportions.
- Materials – Weather-resistant woods like cedar and redwood are best.
- Soil – Plan for high quality potting mix and amendments.
Create a simple sketch to visualize the layout. Measure the space and jot down dimensions. This will tell you how much material you need to purchase.
Constructing the L Shaped Garden Bed Frame
For the structure, you’ll need:
- 2×6 or 2×8 boards for the sides (cedar or redwood)
- 2×2 boards for corner supports
- 3″ exterior screws
- Exterior wood glue
- Power drill and drivers
- Saw (circular, miter or handsaw)
Follow these steps:
- Cut 2×6 or 2×8 boards to the lengths needed for the two long sides of the “L” based on your measurements.
- Butt joint and screw the corners together using short 2×2 blocks cut to fit inside. Stagger the screws to reinforce.
- Apply wood glue at joints for added strength.
- Cut two shorter boards to width and attach to complete the “L” shape.
- Add interior supports every 4-5 feet along the length.
- Pre-drill holes to prevent splitting, and use exterior rated screws.
- Create several boxes and arrange into a grouping depending on your space.
Be sure to check that the corners are 90 degree angles for a proper L shape before securing. With a sturdy wooden frame assembled, it’s ready for installation and filling.
Installing and Filling Your L Shaped Planter Box
To set up the bed for planting:
- Level and secure the frame into place on the ground where desired.
- Dig trenches or outline the shape with boards.
- Loosen and grade the soil beneath to improve drainage.
- Line the bottom with weed cloth to block grass and roots.
- Fill with a mix of potting soil, compost, manure and other amendments.
- Mound soil mixture 2-3 inches below the rim to leave room for mulch.
- Consider adding drip irrigation tubes if desired.
- Top off with shredded bark mulch once planted to retain moisture and suppress weeds.
Be sure to use high quality potting mix designed for optimal drainage and nutrition. Now that your custom L shaped planter box is installed, it’s time for the fun part – choosing plants!
What to Plant in Your L Shaped Raised Garden Bed
L shaped planter boxes are great for all kinds of flowers, herbs and vegetables including:
- Tomato, pepper and eggplant plants. Trellis one side.
- Pole beans, peas or cucumbers grown vertically.
- Lettuce, kale, spinach and salad greens.
- Radishes, carrots, beets and turnips.
- Herbs like basil, parsley, oregano and chives.
- Sun loving annual flowers like zinnias, petunias and marigolds.
- Sprawling vines like pumpkins, melons or squash.
Since L shaped planters maximize space, you can incorporate lots of different plants in the same bed by using dividers or alternating rows. Get creative with combinations!
Maintaining Your L Shaped Garden Planter Box
A few tips for keeping your custom L shaped raised bed looking great:
- Replenish mulch as needed to control weeds and retain moisture.
- Prune back overgrown foliage and remove spent plants.
- Check soil moisture weekly. Water when the top few inches become dry.
- Fertilize throughout the growing season as needed.
- Protect young plants with cloches or cold frames in spring and fall.
- Repair any cracks in the wood and replace rotten boards as needed.
- Empty, amend and refill soil mixture each year for optimal nutrition.
With proper care and maintenance, a custom DIY L shaped planter box can provide many years of gardening enjoyment. The effort to build one is well worth it!
Customize Your L Shaped Planter Box Design
The beauty of building your own L shaped raised bed is you can customize it to perfectly suit your space and needs:
- Make it taller for deep rooted crops or for gardeners who need increased height.
- Use smaller or thinner boards for shorter, lighter weight planters that are portable.
- Stain or paint the wood frame to match your outdoor color scheme.
- Add trellises, arches, hooks and other accessories.
- Include a bench or ledge along one side for seating.
- Attach decorative trim, latticework, casters or finishes.
- Construct a matching lid or protective cover to extend the season.
So don’t settle for a boring standard planter box. With a weekend DIY project, you can create custom L shaped raised garden beds that are functional and beautiful! What will you grow in your new garden space?
WoodBlocX L-Shaped Raised Planter
FAQ
What is a good size for a planter box?
|
Plant Type
|
Soil Depth in Inches (Minimum)
|
Planter Size in Inches (Minimum)
|
|
Herbs
|
6″ (Indoors) or 12″ (Outdoors)
|
14″
|
|
Annuals
|
12″
|
10″
|
|
Perennials
|
12″
|
6″
|
|
Peppers
|
12″
|
18″
|
- Mediterranean Pink Heath in Summer – Tips for Care and Maximizing Bloom - April 9, 2026
- How to Grow Gorgeous Climbing Roses on a Wooden Fence - March 24, 2026
- Avoid These Plants When Companion Planting with Oregano - March 24, 2026