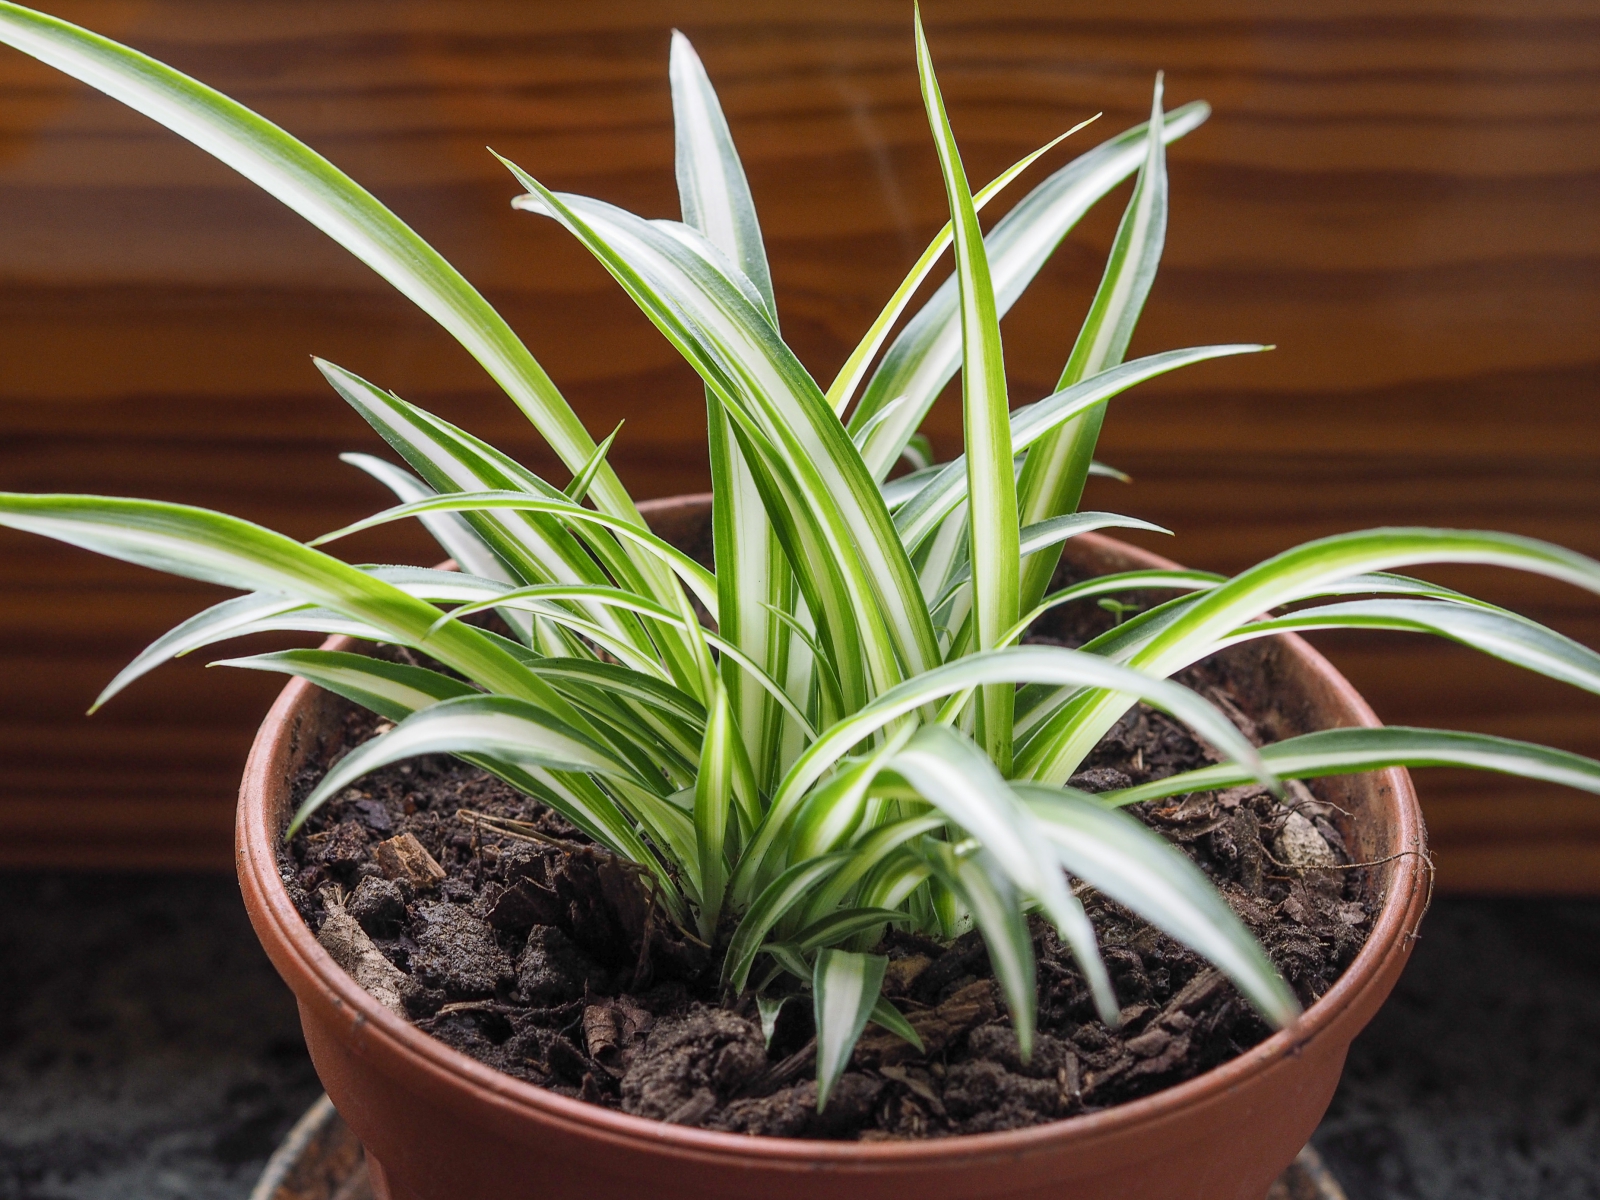
The spider plant, also known as chlorophytum comosum, is one of the most popular and recognizable houseplants. With its elegant green and white striped leaves and easy care requirements, it’s no wonder the spider plant has been a staple in homes for over a century. As an enthusiastic indoor gardener and photographer, I’ve found spider plants can make excellent photographic subjects. Their graphic shapes and patterns lend themselves beautifully to artistic photos.
In this article, I’ll provide tips on how to capture stunning pictures of spider plants by covering proper care, optimal lighting, creative styling ideas, and post processing techniques. Whether you want to document your own thriving spider plants or create unique photographic art pieces, read on for a comprehensive guide to photographing these classic houseplants.
Caring for Photogenic Spider Plants
The first step to picture-perfect spider plants is proper care and maintenance Here are some key elements
-
Soil – Use a well-draining potting mix and repot when rootbound
-
Water – Allow soil to partially dry out between waterings Avoid overwatering
-
Light – Bright, indirect light keeps spider plants happy. Some direct sun is ok.
-
Fertilizer – Feed monthly in spring and summer with a balanced liquid fertilizer.
-
Pruning – Trim off brown tips and unwanted runners to keep plant attractive.
-
Pest prevention – Watch for pests like spider mites, mealybugs and aphids. Treat promptly if found.
Taking good care of your spider plants ensures they will stay healthy and vibrant for photo shoots. Sturdy, perky leaves make the star of any spider plant picture.
Lighting Setups for Spider Plant Photography
Proper lighting is crucial for any photogenic subject, and spider plants are no exception. Here are some effective lighting techniques:
-
Natural light – Bright window light often works beautifully to illuminate spider plant leaves. Watch for unwanted shadows. Diffuse direct sun with a sheer curtain.
-
Continuous lighting – Use constant light sources like LED panels and tungsten lights off to the side to light the leaves. Reflectors can fill in shadows.
-
Backlighting – Position light behind the leaves to create rim lighting that outlines the leaf shapes.
-
Soft boxes – A soft box placed in front produces soft, flattering light. Experiment with light height and angles.
-
Light painting – During long exposures, handhold a small LED and “paint” light onto the plant to create artistic effects.
Adjust intensity, direction, and quality of light to bring out the colors and textures of the spider plant’s foliage. Pay attention to catchlights in the leaves to add dimension.
Creative Ideas for Styling Spider Plant Photo Shoots
With some creative styling, you can transform a simple spider plant into a visual delight. Here are fun ideas to spur your imagination:
-
Isolate a single leaf on a colored background. Try side and backlighting to accentuate its shape.
-
Combine multiple spider plants together in an interesting arrangement. Coordinate pots for a unified look.
-
Incorporate geometric shapes and lines in the composition, like placing in a windowsill or next to architectural elements.
-
Play with depth of field by using wide apertures to blur the background. Keep the spider plant sharp and prominent.
-
Pair with complementary props like hanging planters, clay pots, dip pens, books or candles for additional visual interest.
-
Photograph at various ages and stages, like newly sprouted plantlets or flowering shoots. Capture the plant’s life cycle.
-
Take macro shots of details like emerging roots, new leaf unfurling or flower bud. Use selective focus to creatively blur surrounding foliage.
Don’t be afraid to get creative with subject matter, compositions, colors and styling to end up with spider plant images that captivate.
Post Processing Tips for Enhancing Spider Plant Photos
Post processing is one more technique for transforming good spider plant pictures into great ones. Try these editing ideas:
-
Adjust brightness, contrast, shadows and highlights to make the greens pop.
-
Play with saturation to accentuate or mute the variegated white striping.
-
Use spot removal tool to eliminate any brown imperfections on leaves.
-
Sharpen the image slightly to bring out finer details and textures.
-
Darken or lighten isolated portions of the image to create visual interest.
-
Convert color images to black and white for dramatic, graphic effects.
-
Overlay textures like cloth or paper to tie in design themes.
-
Frame or matte photos to further isolate the spider plant as the focal point.
With the right post processing choices, you can enhance a spider plant’s captivating form and direct viewers exactly where you want their eye to wander in the frame.
Showcase the Iconic Spider Plant in New Ways
The beloved spider plant has been brightening windowsills for generations, and still makes for a fantastic photography subject today. With the right care, lighting, styling and editing, you can creatively capture these plants’ graceful elegance in endless artistic ways. Experiment with these tips and techniques to develop your own style. Soon you’ll have a thriving collection of gorgeous spider plant pictures you’ll be eager to display around your home or share with other houseplant lovers. Let your creativity run wild as you find new angles and perspectives to showcase the iconic spider plant.
Spider Plant Names With Pictures To Grow At Home Indoor Plants Images
FAQ
Where is the best place to put a spider plant?
How do you take care of a spider plant?
What are the benefits of spider plants?
How often should you water a spider plant?
- The Ultimate Guide to Growing Strawberries in Raised Beds - August 8, 2025
- No-Dig Garden Beds: The Easiest Way to Grow a Beautiful Garden - August 6, 2025
- How to Protect and Preserve Wood for Raised Garden Beds - August 6, 2025

