As a homesteader and gardener, I’m always seeking creative ways to maximize my harvest especially when space is limited. That’s why I was intrigued when I first heard about growing potatoes in a trash can or garbage can. This simple technique allows you to produce a substantial potato crop in a small footprint. I gave it a try last season and was thrilled with the results! Read on for a complete guide to this fun and productive method.
Overview of Growing Potatoes in a Trash Can
The concept is straightforward – plant seed potato pieces in the bottom of a large garbage can or metal trash bin then gradually add compost or soil as the plants grow. The plants form tubers along the buried stems. At harvest simply lift the can up and dump out your potato bounty!
Some key advantages of this approach
-
Higher yields in less space. A 20-30 gallon container can produce 5-10 pounds of potatoes.
-
Convenient harvesting. Just tip the can over to gather your crop.
-
Good for beginners. Minimal equipment needed and easy to maintain.
-
Fun for kids. Allows hands-on learning about plant growth.
-
Portability. Trash cans can be moved if needed.
While any large container with drainage holes could work, a plastic or galvanized metal garbage can is ideal. Let’s look at how to carry out this fun method.
Step-By-Step Instructions
Follow these steps for success growing potatoes in a trash can:
Choose a Container
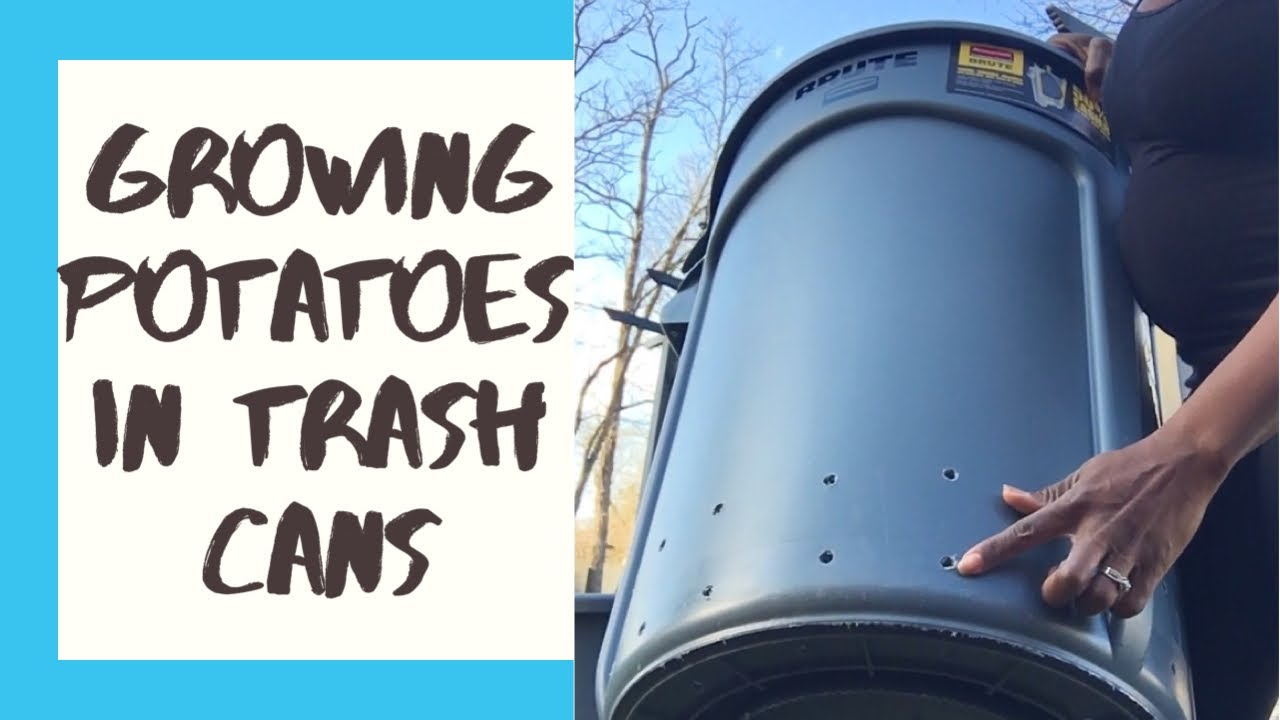
Select a 20-30 gallon rugged plastic or metal garbage can, or a food-grade barrel with a lid. Drill plenty of drainage holes in the bottom.
Prepare the Potatoes
Purchase certified seed potatoes. Cut them into smaller pieces containing 1-3 eyes apiece. Allow cuts to dry for 1-2 days.
Fill the Bottom
Place 6 inches of potting mix, garden soil, or straw in the bottom of the can. This will promote drainage.
Plant the Seed Potatoes
Arrange 3-5 seed potato pieces in the can, spacing them evenly and placing them cut side down. Cover with 4 inches of soil.
Let Potatoes Grow
Once plants reach about 10 inches tall, add 4 more inches of soil mix, leaving just the top leaves exposed. Repeat until the can is full.
Finish Growth
Stop adding soil once the can is full. Allow foliage to grow out the top. Water when the top few inches become dry.
Harvest Potatoes
After vines start to yellow and die back, stop watering. Allow 2 weeks for skins to toughen, then carefully tip the can over onto a tarp to collect your crop.
That’s all there is to it! With minimal effort, you can grow a significant quantity of potatoes in a compact setup.
Maximizing Your Trash Can Potato Harvest
Here are some additional tips to help your garbage can spuds thrive:
-
Place the can in full sun – potatoes need at least 6 hours of direct sunlight daily.
-
Use a quality potting mix or garden soil to fill the can as plants grow.
-
Consider lining the can’s interior with landscape fabric to prevent soil from slipping out.
-
Add a diluted, balanced fertilizer monthly for optimum nutrition.
-
Ensure consistent moisture, especially as plants start forming tubers.
-
Periodically check soil pH and maintain around 5.5-6.5 for best growth.
-
Monitor for Colorado potato beetles and other pests. Remove by hand if found.
With proper sunlight, irrigation, soil quality and pest monitoring, your trash can potato plants will yield a bountiful harvest!
Harvesting and Storing Your Crop
Once the potato vines have mostly died back, follow these steps for gathering and storing your tubers:
-
Holding over a tarp, carefully tilt the trash can to empty the contents.
-
Rake through the soil to collect all the potatoes, taking care not to pierce or bruise them.
-
Allow potatoes to dry in the sun for 2-3 hours after harvesting.
-
Gently brush off excess dirt but don’t wash them yet.
-
Cure potatoes in a dark, humid area around 60-70°F for 1-2 weeks.
-
Store cured potatoes in a cool (40-45°F), dark place for 2+ months.
-
Check periodically and use damaged ones immediately. Healthy potatoes can store for many months.
Letting potatoes properly cure and storing them properly are vital to getting the most out of your harvest. Enjoy your homegrown spuds!
Recipes and Uses for Trash Can Potatoes
Once harvested, there are endless ways to savor the delightful flavor of fresh potatoes:
-
Roast whole or diced potatoes seasoned with olive oil, garlic, and rosemary.
-
Make hearty potato soup or chowder.
-
Fry up hash browns or home fries for breakfast.
-
Bake classic potato skins loaded with cheese, bacon, and scallions.
-
Boil small new potatoes and toss in vinaigrette dressing for potato salad.
-
Grate potatoes into the batter for homemade gnocchi or potato pancakes.
With a simple trash can garden, you can easily grow plenty of potatoes to use in all your favorite recipes. The compact size, low maintenance, and high yield make this a winner!
Frequently Asked Questions
Here are answers to some common questions about growing potatoes in a trash can:
What size container should I use?
Aim for a 20-30 gallon heavy-duty plastic garbage can or metal trash bin. Or try a food-grade barrel.
How many potatoes will I harvest?
You can expect 5-10 pounds of potatoes from a properly managed 20-30 gallon trash can.
What kind of soil mix should I use?
Use a quality potting mix amended with compost. Or make a mix of garden soil, compost, and sand.
Should I fertilize the plants?
Applying a balanced organic fertilizer monthly will provide nutrients for optimum growth.
When do I harvest the potatoes?
Wait 2 weeks after vines start yellowing and dying back. Then carefully tip out the container onto a tarp to gather the crop.
How long do the potatoes store?
Cured properly and stored in ideal cool, dark conditions, potatoes can last 2 months or longer.
Growing an abundant harvest of potatoes doesn’t require a spacious garden. With a simple garbage can, you can easily produce plenty of these popular tubers in a small space. Give it a try this season for fun and culinary rewards!
When to Plant Potatoes
Tradition holds that potatoes should be planted near St. Patrick’s Day for a successful harvest. There’s some truth to the old wives’ tale about planting potatoes on St. Patrick’s. Forget about the exact date of March 17, what matters is that planting in March will lead to higher yields.
The fun of trash can potatoes!
Experience the fun of trash can gardening with Janice Stillman, Editor of The Old Farmer’s Almanac. Planting potatoes in a big pot is a great idea because they take up too much space in small gardens. Here are the steps to grow potatoes in a trash can.
If you want to grow potatoes but don’t want to make a whole garden bed for them, try growing them in trash cans! They’re deep enough for potatoes, so they’re perfect.
Easy DIY Garbage Can Potato Garden Planters | Repurpose/reuse
- How to Grow Gorgeous Climbing Roses on a Wooden Fence - March 24, 2026
- Avoid These Plants When Companion Planting with Oregano - March 24, 2026
- 15 Great Trees to Plant Near Your House - March 24, 2026