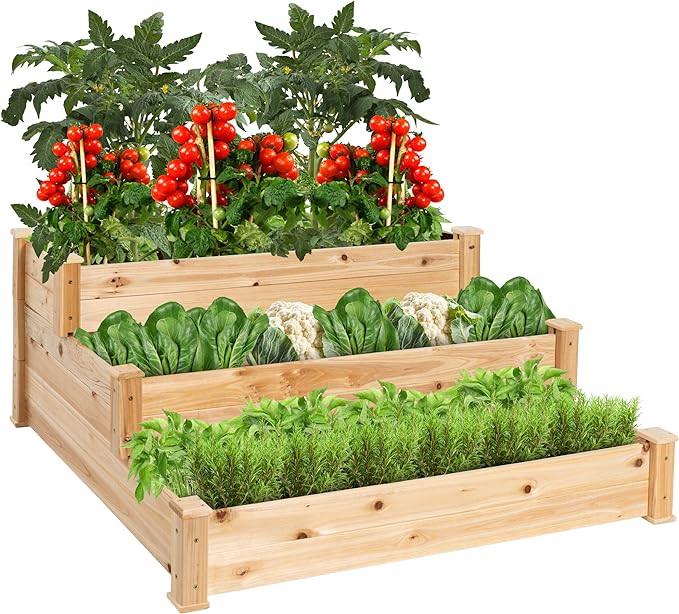
Growing vegetables, herbs, and flowers in raised garden beds makes gardening easy and accessible The elevated design reduces bending and kneeling while creating healthy, loose soil Best Choice Products offers a variety of quality cedar and fir wood raised beds to suit any gardening need.
Even though Best Choice Products raised beds come with instructions on how to put them together, it can still be scary for people who have never done it before. With this guide, we’ll show you the right way to put these raised garden beds together. Just follow these steps to build your new raised planter and get it ready to plant!
Things You’ll Need
- Best Choice Products raised bed kit
- Power drill with Phillips head bit
- Tape measure
- Level
- Safety glasses and gloves
- Additional wood screws (optional)
Step 1 – Layout the Side Boards
Make sure the area is flat and level before you start putting the kit together. Place the four side boards on the ground so that they form a rectangle. Make sure the corners are squared off at 90-degree angles with a tape measure.
Tip Lay down a tarp or blankets to prevent scratches or dirt
Step 2 – Attach the Corner Boards
The corner boards connect the side boards together. Place a corner bracket on each inside corner, angled edge facing out. Using the included screws, attach corner boards to the side boards with 2 screws per joint. Make sure boards remain aligned at 90 degree angles.
Pro Tip: Drill pilot holes before inserting screws to prevent wood from splitting.
Step 3 – Insert the Remaining Boards
Once the corners are attached, insert the remaining side boards into the corner brackets. Check that all boards are fully inserted and properly aligned. Attach each board with 2 screws at every bracket.
Step 4 – Attach the Cap Boards
The cap boards sit on top of the side boards and wrap around the outside perimeter. Position cap boards and attach them with at least 2 screws at each corner bracket location. Make sure cap boards are flush with the edges of side boards.
Step 5 – Attach Extra Support Boards
Some Best Choice Products raised bed kits include narrow support boards or slats for the sides. Attach these perpendicular to the side boards using screws. Supports typically get installed in the middle and on either end.
Step 6 – Seal the Inside
For wooden raised beds, apply a non-toxic vegetable-oil based sealant to the interior wood surfaces. This protects the porous wood from soil moisture and prevents rotting. Let the sealer dry fully before filling with soil.
Step 7 – Level the Bed
Make sure your raised bed sits level on the ground by checking with a bubble level on all sides. Add or remove dirt beneath the bed frame as needed until level.
Step 8 – Finish with Handles and Feet
If included, attach the pull handles to the outer sides of the bed with screws. Self-adhesive plastic feet can also be added to the four bottom corners to prevent direct ground contact.
And that’s it – you now have a fully assembled raised bed ready for planting! Be sure to fill it with quality potting soil and maintain it properly each season for maximum gardening success.
Helpful Tips for Smooth Assembly
Follow these tips for the easiest raised garden bed assembly process:
-
Review all instructions before starting. Take note of the quantities of each part.
-
Assemble on a soft, non-abrasive surface to avoid scratches.
-
Drill pilot holes when screwing into wood to prevent cracking and splitting.
-
Ensure all corners are squared properly at 90 degree angles.
-
Add extra screws to joints for maximum strength (use weatherproof exterior screws).
-
Check for wobbling and reinforce weak points if needed.
-
Use wood glue for extra adhesion and durability.
-
Seal indoor raised beds to contain soil and prevent rotting wood.
-
Apply insect treatments to discourage termites and carpenter ants.
With the right preparation and techniques, you can have your raised garden bed assembled and ready to use in under an hour. Maintain your elevated planter properly and it will provide many years of gardening enjoyment. Get growing!
Frequently Asked Questions About Assembling Best Choice Products Raised Beds
How long does assembly take?
For a medium size raised bed between 3-4 ft wide, expect the assembly process to take 30-60 minutes. Larger beds with more pieces may take 1-2 hours.
What tools do I need?
A power drill with Phillips head bit, tape measure, carpenter’s level, and safety glasses are essential. A rubber mallet can also help.
Do all the materials come included?
Best Choice Products raised garden bed kits include all required lumber and hardware needed for assembly. You supply the tools.
What if boards don’t align perfectly?
It’s normal to have small gaps due to natural wood variations. You can shim with small spacers if less than 1⁄4 inch. Avoid forcing misaligned boards.
Should I use wood glue too?
Wood glue is recommended for maximum strength and longevity. Apply glue to joints before screwing together. Just ensure proper alignment before the glue dries.
How much weight can raised beds hold?
Best Choice Products raised beds can typically support around 50-200 lbs depending on size. Avoid excessive weight or pressure on the frames.
Can the kits be customized?
The lumber can be cut to desired lengths if you want to alter the default sizes. Just maintain the proper support board placement.
With the help of these DIY raised bed assembly tips, you’ll be on your way to gardening success in no time. Always refer back to the manufacturer instructions, and don’t be afraid to ask for help along the way. Start growing!
An Easy to Assemble Raised Garden Bed You Can Buy on Amazon – Best Choice Products
- How Fast Does Boston Ivy Grow? A Complete Growth Guide - June 9, 2026
- Gravel for Garden Beds: A Functional and Beautiful Option - June 9, 2026
- The Best Mulch for Raised Garden Beds – Pros, Cons, and Tips - June 9, 2026