Clematis are a flowering vine that bloom from spring to the first frost in the fall. Clematis can also sometimes be a shrub. In either case, these can be grown in garden planters, and with a little extra care, they will do quite well. People who garden grow clematis in pots on balconies, patios, in the front door, on a deck, or even in a modern garden.
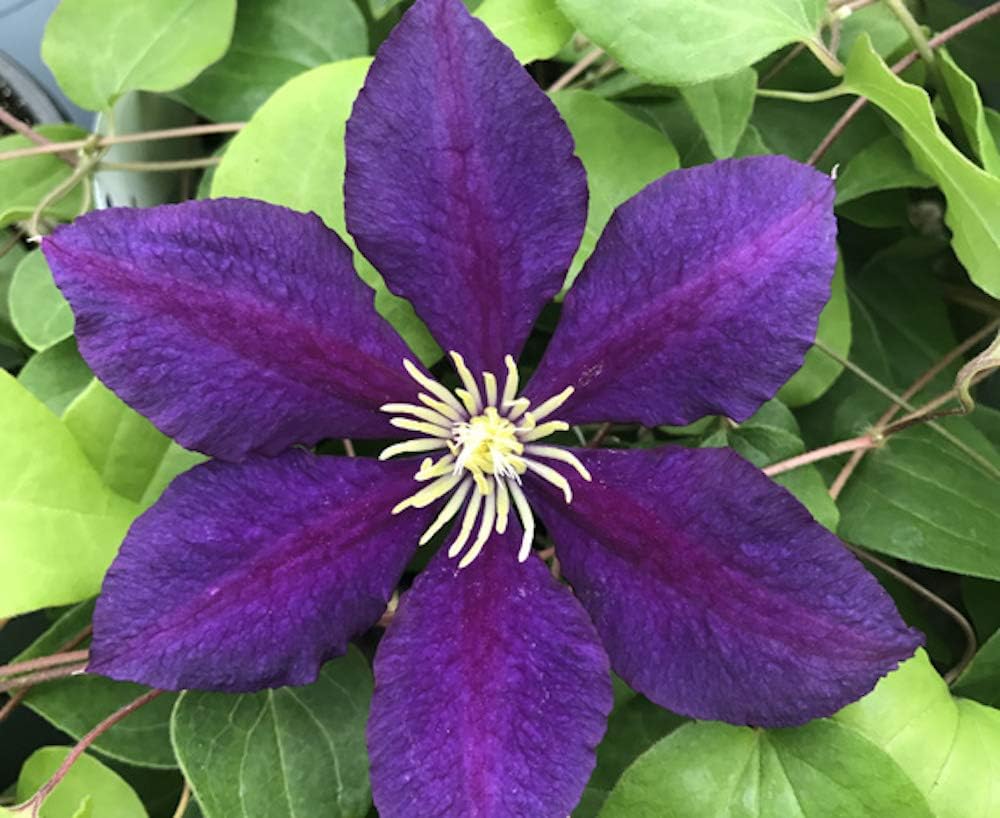
With their stunning blooms in shades of purple, pink, white, and red, clematis vines make a beautiful addition to any garden. But did you know these vining wonders can also thrive when grown in pots and planters?
Growing clematis in containers opens up new opportunities to enjoy these vines on balconies, patios, entryways, and more However, container culture does require a tailored approach.
One of the keys to success is getting the potting mix right. When grown in pots, clematis have very specific soil needs.
In this article, we’ll cover everything you need to know about crafting the ideal potting mix for vibrant, flowering container clematis.
Why Good Drainage is Critical for Potted Clematis
Whether planted in the ground or in a pot, well-draining soil is absolutely essential for clematis. These plants are highly susceptible to root rot if their roots stay constantly wet
In the open garden, they naturally thrive in loose, porous soil that allows excess moisture to drain away easily. Recreating these free-draining conditions in a container is crucial.
That’s why a specialized potting mix is a must for any clematis grown in a pot. Standard multipurpose potting soils are often too water-retentive for clematis grown in containers.
Necessary Requirements for Clematis Container Mix
An ideal potting mix for container clematis should include:
-
Excellent drainage – This is the number one priority. The potting medium must drain easily to prevent waterlogged roots.
-
Moisture retention – While drainage is key, the mix still needs to hold some moisture so roots don’t dry out. strike a balance between wet and dry.
-
Aeration – Air flow to the roots is vital. The mix needs lots of pore spaces.
-
Nutrient-rich – The mix should contain organic matter to provide nutrients for good growth. Fertilization is also required.
-
Soil pH 5.5 to 6.5 – Clematis prefer a slightly acidic soil pH, which the potting mix should maintain.
With these requirements in mind, let’s look at how to put together the perfect potting formula.
Ingredients for Exceptional Clematis Container Mix
Here are some ingredients to include in a tailored potting mix for growing clematis vines in containers:
-
Coarse sand or perlite – Provides drainage and aeration by creating air pockets. Use up to 25%.
-
Peat or coir – Retains just the right amount of moisture. Makes up around 25% of the mix.
-
Compost or leaf mold – Supplies organic matter to nourish plants. Add 25% compost.
-
Pine bark fines – Lightweight bark improves drainage. Use around 25% in the mix.
You can adjust proportions and components to optimize the mix. For example, add extra perlite if the mix is staying too wet. Introduce lime to raise pH or sulfur to lower pH if needed.
Creating the Ideal Clematis Potting Blend
Follow these simple steps to create a tailored clematis potting mix:
-
Gather ingredients – Collect perlite, peat/coir, compost, and pine bark fines.
-
Combine components – Blend materials together in a large bucket or wheelbarrow.
-
Moisten – Lightly dampen the mix while mixing to just moisten ingredients.
-
Let rest before using – Allow blended mix to sit for a day or two before potting up clematis.
When mixed properly using these ideal ingredients, your homemade potting medium will provide the perfect environment for growing vibrant clematis in pots.
Tips for Repotting Clematis into New Mix
Here are some useful tips for repotting container clematis into fresh potting soil:
-
Repot in early spring when plants are actively growing.
-
Water clematis thoroughly before repotting to moisten roots.
-
Loosen tangled roots very gently to prevent damage.
-
Choose a pot that’s only slightly larger than the current one.
-
Pack soil gently around roots but don’t compact too firmly.
-
Water deeply after repotting to eliminate air pockets and settle soil.
-
Resume normal watering once the plant is established, allowing soil to dry out between waterings.
Follow this advice and your clematis will transition smoothly into its new container home.
Store-Bought Potting Mix Options for Clematis
If creating your own customized blend sounds like too much work, don’t worry. Several commercial potting mix options are well-suited for growing clematis in containers.
Here’s what to look for when shopping for a quality off-the-shelf clematis potting mix:
-
Seek out mixes specifically formulated for vines and climbers.
-
Avoid soils with water-retaining gels or moisture crystals.
-
Look for mixes containing peat moss, perlite, bark fines, and compost.
-
Check that the pH range maintains a slightly acidic environment between 5.5-6.5.
-
Be sure the mix is very porous and fast-draining.
-
Avoid pre-fertilized mixes, as clematis are sensitive to excess salts.
With a bit of label reading, you can find excellent ready-made blends like Espoma Organic Potting Mix or Miracle-Gro Indoor Potting Mix. You may choose to add a bit of extra perlite for improved drainage.
Providing Proper Care is Key
A perfectly blended potting mix sets the stage for success, but growing thriving container clematis also requires diligent care:
-
Site in full sun – At least 6 hours of direct sun per day.
-
Provide sturdy support for vines to climb right away.
-
Water when the top inch of soil is dry 1-2″ below the surface.
-
Prune annually to remove dead growth and shape vines.
-
Use slow release fertilizer every 2-3 months during the growing season.
-
Move pots to a cool location for winter dormancy in cold climates.
Follow these best practices for watering, light, pruning, and fertilizing in addition to a well-draining potting mix. Your container clematis will reward you with bountiful blooms!
Now that you know how to put together the perfect potting formula for clematis in pots, you can grow these gorgeous vines anywhere. With the right mix, a bit of TLC, and proper overwintering care, you’ll have showstopping container clematis that will thrive for years to come.
Planting Clematis in Pots
When you plant clematis, make sure you use a big pot. The extra soil will help protect the roots in the winter and on hot summer days. We recommend a planter at least 24 inches in diameter. Terracotta or ceramic planters can break in the winter, so resin plastic is the best choice for the planter. Ensure the planter has drainage holes because the roots do not like wet feet.
The best time of year to plant clematis is in spring or fall. However, you can plant in the summer as well, though it will need more care and attention then. Clematis do best where they get full sun, which means at least six hours of direct sunlight a day. That will help the plant produce the most flowers throughout the year.
Once you have planted the plant in the container, immediately add support for the vine. It is important to do this right away because the plant needs support. Also, adding support later on could damage the roots when you stick the support in the dirt.
Fertilizing Clematis in Pots
You don’t have to fertilize the clematis again the first year if you added manure or compost when you planted it. Once the plant is established, you can feed with rose fertilizer in the early spring each year. Use the directions on the bottle for applying the fertilizer.
How To Grow Clematis In Pots
FAQ
What kind of potting soil for clematis?
Do clematis grow well in pots?
How deep should a container be for a clematis?
What is the best potting compost for clematis?
Can Clematis grow in pots?
There are a few things to bear in mind, however, when learning how to grow clematis in pots if you want to be guaranteed the best display possible. The best time of year to plant clematis in a pot as part of your container gardening ideas is in spring or early fall, as warm, moist soil at these times of year helps the roots get established.
What kind of soil do Clematis need?
The right mix is well-draining, fertile, and holds moisture without becoming waterlogged. A blend of high-quality potting soil with compost and a handful of perlite or grit for drainage makes for a gourmet soil mix that your clematis will relish. Effective watering is vital for potted clematis.
How do you plant Clematis?
Plant clematis in spring or autumn. All clematis varieties do well in moisture-retentive soil, so prepare a deep planting hole and add a bucket of garden compost or well-rotted manure. Mix this thoroughly into the soil.
When should you plant Clematis in a pot?
The best time of year to plant clematis in a pot as part of your container gardening ideas is in spring or early fall, as warm, moist soil at these times of year helps the roots get established. ‘Compact clematis grow happily in containers, as long as they are regularly watered and fed,’ says Anne Swithinbank, gardening expert for Homes & Gardens.
- How to Grow Gorgeous Climbing Roses on a Wooden Fence - March 24, 2026
- Avoid These Plants When Companion Planting with Oregano - March 24, 2026
- 15 Great Trees to Plant Near Your House - March 24, 2026