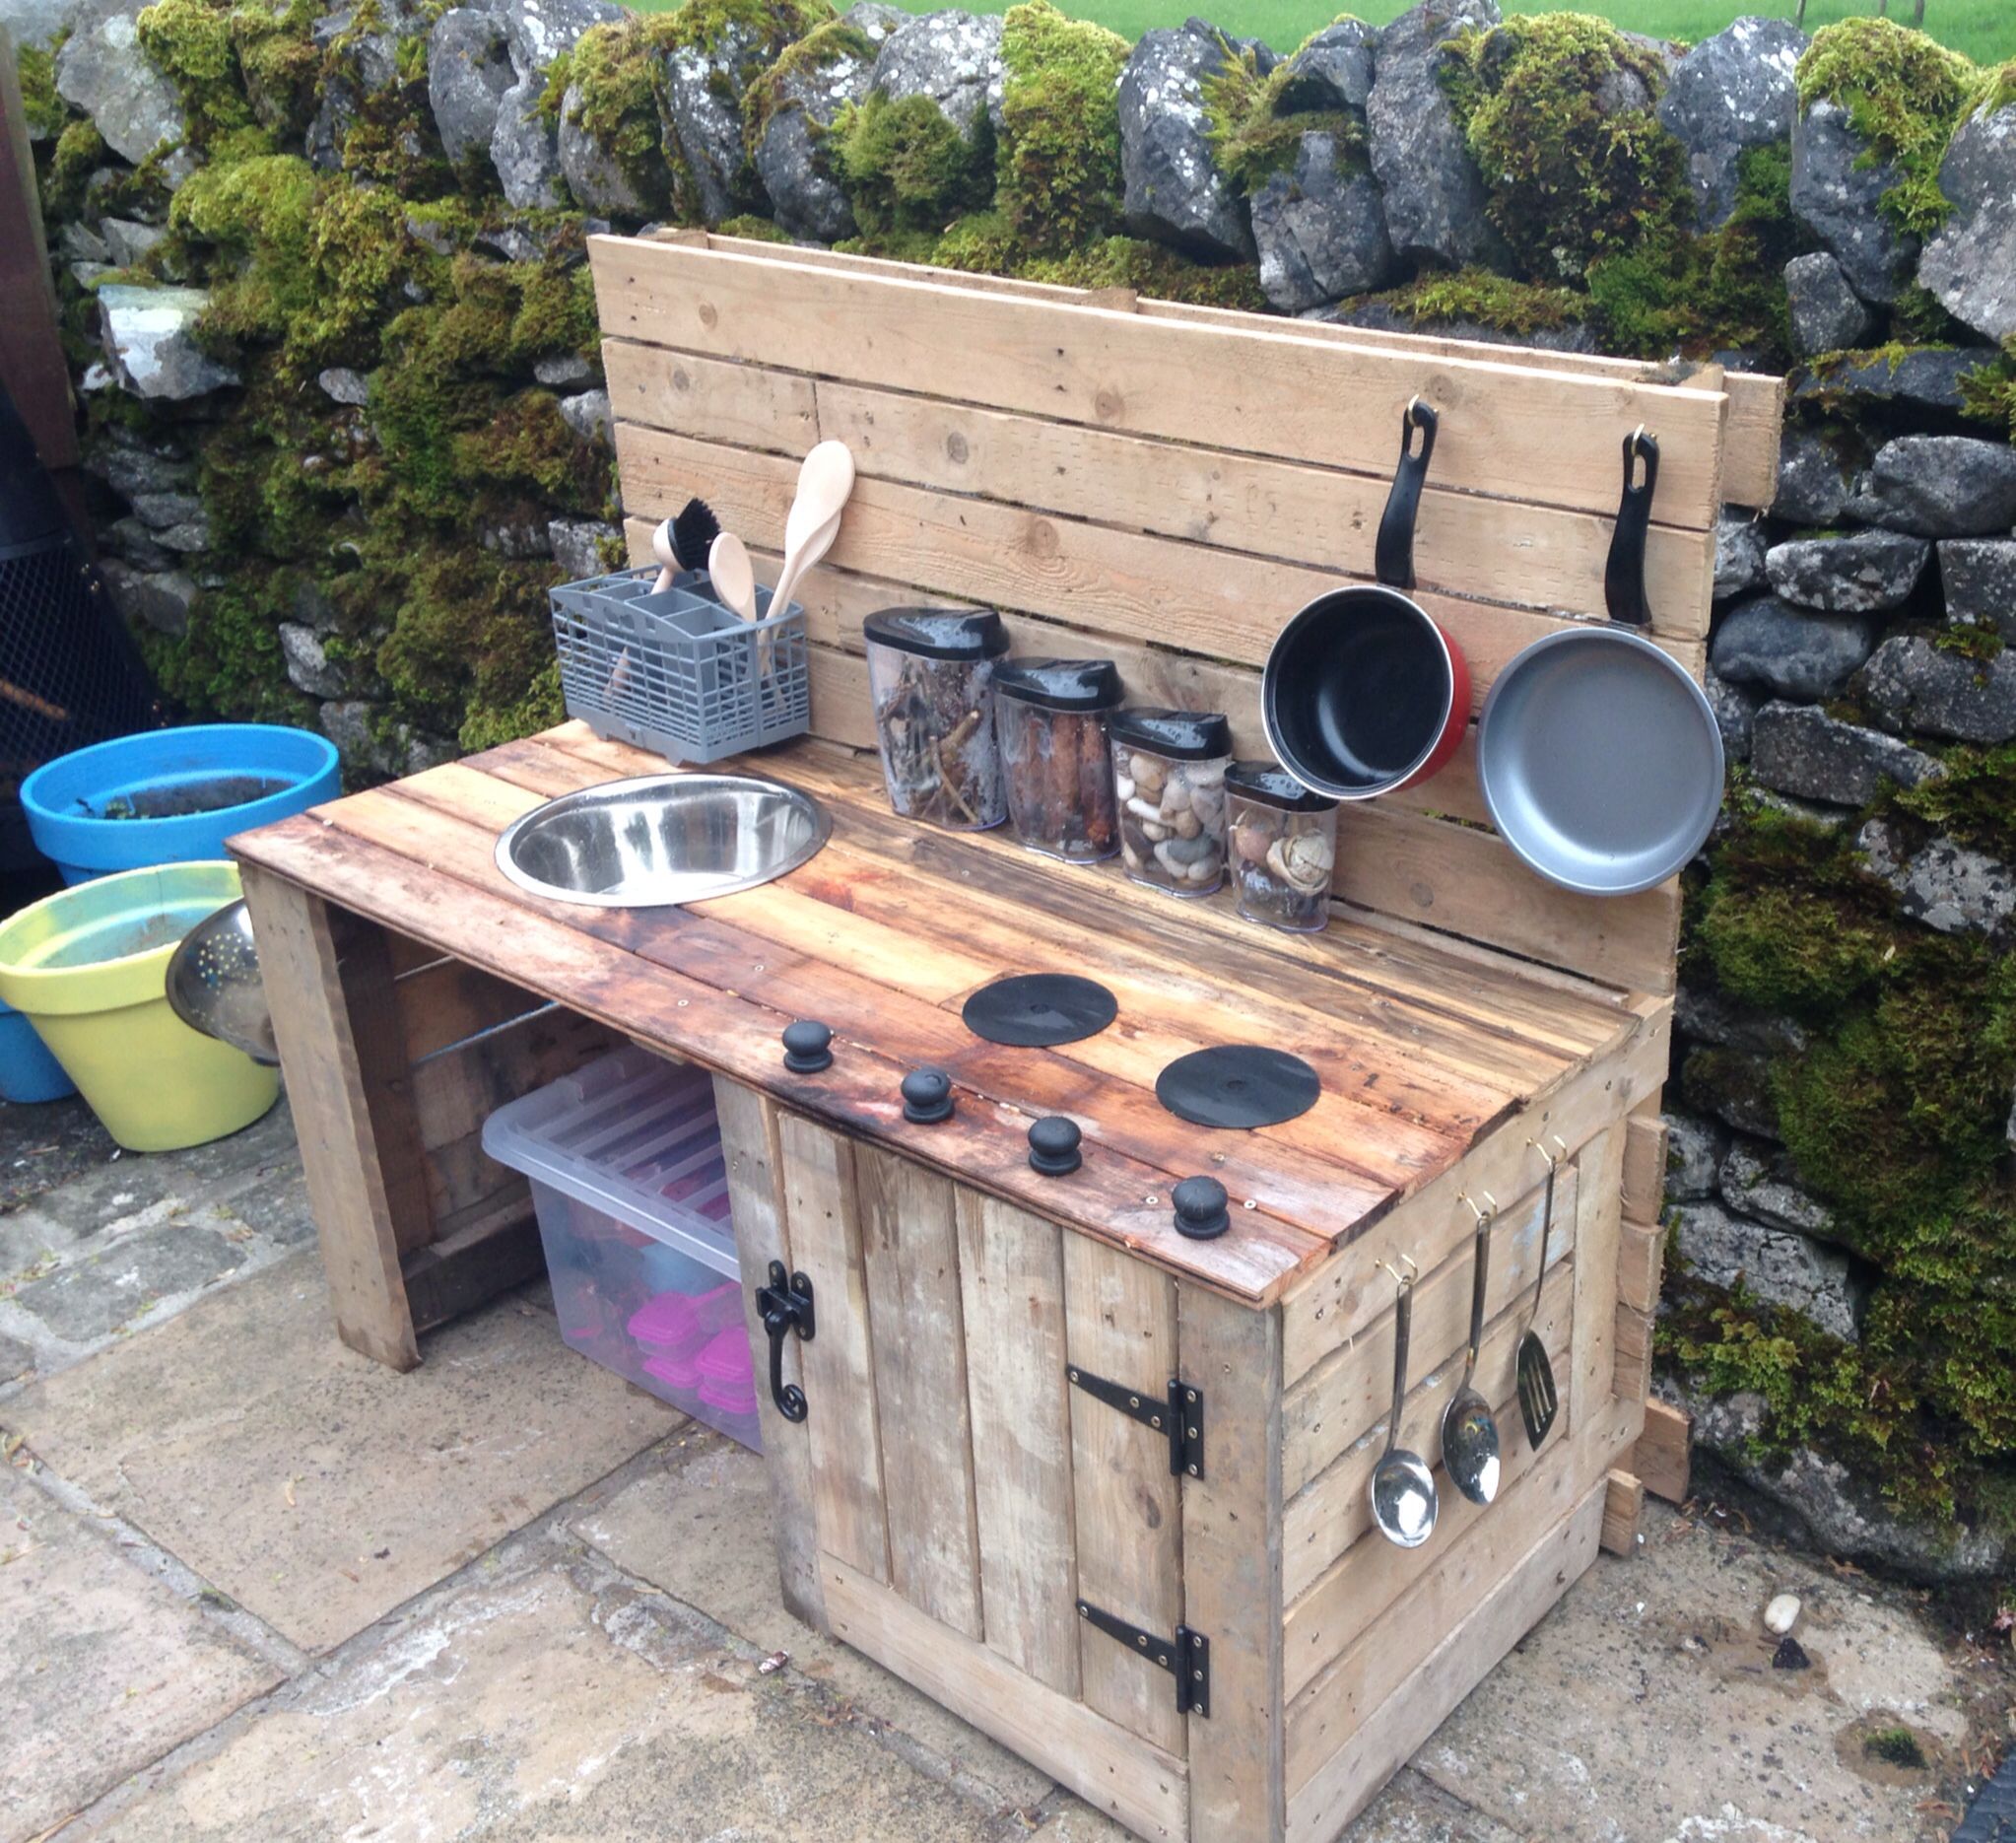
A mud kitchen is a fun, creative way to get kids outdoors and engage their imagination With some simple DIY skills, you can easily construct a mud kitchen for your kids using inexpensive wood pallets. Read on for a step-by-step guide to building your ownmud kitchen from pallets.
Benefits of a Mud Kitchen
Playing with mud might seem messy, but it offers many developmental benefits for children
-
Promotes sensory play and experiential learning
-
Lets kids experiment and get hands-on with “ingredients”
-
Sparks creativity, storytelling and roleplay
-
Develops fine motor skills and hand-eye coordination
-
Teaches planning, cooperation and problem-solving
-
Gets kids engaging with nature and the outdoors
A mud kitchen is also an open-ended toy that grows with your child. And you can feel good that they’ll be playing independently, allowing you time to tackle other tasks.
Planning Your Mud Kitchen
When designing a DIY mud kitchen from pallets, consider the following:
-
Location – Pick a flat spot in your yard or on a patio/deck. Ensure good drainage.
-
Dimensions – Size it appropriately for your child’s height. Leave room to walk around it.
-
Design style – Keep it simple or get creative with details like a chalkboard, flower boxes, etc.
-
Durability – Use weather-resistant wood and finishes so it holds up outside.
-
Safety – Sand thoroughly to avoid splinters. Round corners and edges.
-
Accessories – Provide kid-safe containers, utensils, aprons, etc. to enhance play.
With planning and care, your handmade mud kitchen can provide years of messy fun!
Gathering Materials and Tools
Constructing a mud kitchen from pallets requires just basic DIY tools and materials:
Tools
- Circular or jigsaw
- Power sander
- Drill
- Hammer
- Clamps
- Safety gear – gloves, glasses, mask
Materials
- 2-3 wood pallets
- Wood slats or boards for counters
- Weatherproof wood finish
- Paint/stain (optional)
- Wood screws, nails
- Sandpaper – coarse and fine grit
This simple design uses only pallets and basic hardware you likely have on hand. Watch for nails sticking out of pallet wood and remove them for safety.
Step-by-Step Instructions
Follow these straightforward steps to DIY a mud kitchen from wood pallets:
1. Disassemble the Pallets
Take apart pallets by prying off slats with a hammer or crowbar. Avoid splitting wood by using a knife or saw to cut nails. Remove or hammer down any protruding nails.
2. Cut the Pallet Wood to Size
Saw pallet wood to desired lengths for the main structure and counters. Leave wood oversized for now. A basic design uses:
- 2 side walls – Cut pallet stringers to size
- Back wall – Use full pallet section
- Counter – Rip pallet boards to width
3. Sand the Pallet Wood
Thoroughly sand all pallet wood with coarse 80-100 grit paper to remove splinters. Then smooth with 120-150 grit. Wear a mask to avoid inhaling dust.
4. Assemble the Frame
Attach the side walls to the back pallet section using wood screws or nails. Check for square. Top with counter slats. Use scrap wood to prop up counter temporarily.
5. Add Legs
Cut 4 legs to length from 2×4 lumber. Attach a leg to each corner with diagonal wood screws for stability. Adjust height as desired.
6. Attach Shelves (Optional)
Cut shelves from leftover pallet wood and attach with hardware. Get creative with shapes, or leave shelves loose for rearranging.
7. Apply Protective Finish
Finish the wood with weatherproof exterior stain or paint. Spraying works best. Let dry completely before use.
8. Add Accessories
Personalize with hooks, chalkboard paint, flower boxes, knobs, signs and other fun details. Provide kid-safe kitchenware.
9. Set Up for Play
Find a level, well-draining spot and place the mud kitchen. Fill containers with dirt, sand, water and other natural materials for kids to explore!
With just pallets, tools you likely have on hand, and a weekend for construction, you can create a mud kitchen your kids will enjoy for years. Customize the design to suit your space and their interests.
The hands-on, imaginative play a mud kitchen fosters is well worth the effort. And as an added bonus, it keeps them entertained outdoors so you can tackle your own DIY projects!
Mud Kitchen Inspiration and Tips
Need more inspiration for designing your DIY mud kitchen? Here are some helpful tips:
-
Add a canopy to provide shade or shelter from rain. Use something lightweight that won’t blow over like a beach umbrella.
-
Make a “brick” backsplash with tile, cardboard or wood to emulate a real kitchen.
-
Include growing space like window boxes or herb pots for kids to “pick” ingredients.
-
Attach pulleys and baskets with rope for lifting and delivering orders.
-
Consider wheels on one side so kids can move it around the yard.
-
Add a chalkboard for taking orders or displaying the daily specials.
-
Frame the front withtrim to give it a finished look. Paint or stain a fun color.
-
Turn the back into a work board to hang utensils and tools for easy access.
-
Attach a bucket or bin on the end to stow kitchen accessories when not in use.
Let the design evolve over time as your child’s interests change. Anything that enhances their creative, sensory play is perfect for a mud kitchen.
Building your own mud kitchen is a rewarding weekend project that results in years of open-ended outdoor fun for kids. Make use of free pallets and basic DIY skills to construct an imaginative play space that will get your kids excited about being outside. Then let their creativity take flight!
DIY Pallets Mud Kitchen \ step by step DIY Paletten Matschküche \ Animation
FAQ
How many pallets do you need for a mud kitchen?
How to make a mud kitchen on a budget?
What wood to use for an outdoor mud kitchen?
How do you use a pallet for a mud kitchen?
The pallet we used for the back wall of the mud kitchen stands in the middle. In front of the pallet are a couple of old shelves we removed from our daughter’s closet during a remodel. We used those for the sides of the mud kitchen to support the countertop. Behind the pallet, you can see the wooden pine board we used for the countertop.
How do you install a mud kitchen?
Place the third 1200mm long piece of wood below the ‘splash back’ of your mud kitchen. Drill, countersink, and screw into position. Remove more wooden slats from the third / fourth pallet and cut twelve 305mm lengths for the work surface of your mud kitchen. The edges and corners should be sanded with sand paper before fitting.
What are the best DIY mud kitchen ideas?
Mud Kitchen with a recycled kitchen sink 10. These kids built their own DIY mud kitchen 11. Huge DIY mud kitchen makeover 12. Fancy mud kitchen 13. Recycled plastic mud kitchen I hope you enjoyed all the fantastic DIY mud kitchen ideas that I put together for you.
What is a mud kitchen?
A Mud Kitchen is a play kitchen (like the Ikea ones) for outside, usually containing an area for sand and/or water for hours (hopefully) of tactile play. I used: Here are the step-by-step easy instructions: 1. Find two standard-size pine wooden pallets. The better the condition, the better! 2. Cut one of the pallets along the horizontal strut. 3.