Nothing beats the satisfaction of growing your own fruits, vegetables, and flowers. And what better way than transforming part of your lawn into a bountiful garden bed? Converting grass into a planting area takes some work, but the end result is well worth the effort.
In this guide, we’ll show you how to get rid of grass and prepare the soil below to make the perfect base for a productive garden bed. Let’s get growing!.
Why Convert Grass to a Garden Bed?
Here are some of the main benefits of replacing part of your lawn with a garden bed
-
Grow your own fresh fruits, veggies, and flowers. This saves money while providing healthy, homegrown food.
-
Reduce time spent mowing, fertilizing, and caring for grass. Less lawn = less maintenance.
-
Create a focal point to enhance the aesthetics and enjoyment of your yard Gardens add beauty!
-
You can make a space fit your gardening needs and tastes, whether you want a vegetable patch, a cutting garden, or a place for pollinators to live.
-
Improve the soil quality by amending and cultivating the ground, benefiting plants.
-
Prevent grass and weeds from encroaching into planting areas, saving you work down the road.
How to Remove Grass to Start a Garden Bed
Removing turfgrass entirely is crucial to prevent it from invading your garden bed later on. Here are effective methods to terminate grass before planting:
Sod Removal
This involves physically cutting and removing sod pieces.
-
Water area thoroughly 1-2 days before to moisten soil.
-
Outline bed shape with spray paint or stakes.
-
Slice perimeter with sharp shovel or edger, removing strips.
-
Cut sod into manageable pieces using a spade.
-
Pry up pieces, trying to retain soil. Discard or compost sod.
Smothering
Covering grass deprives it of sunlight needed for growth.
-
Overlap materials like cardboard, newspaper sheets, burlap, or cotton rugs over area.
-
Weigh down edges with boards, bricks, or soil. Leave for 2-4 months until dead.
-
For quicker results, lay materials in fall and leave over winter.
Solarizing
Solar heat and lack of air kills grass under plastic sheeting.
-
Mow grass short before solarizing.
-
Water lawn deeply before covering.
-
Anchor clear plastic sheeting tightly to ground.
-
Leave in place 4-6 weeks during warm weather until grass is dead.
Herbicide Application
Chemical weed killers are fast but controversial. Use glyphosate-based products sparingly.
-
Select calm, dry day to avoid drift onto desired plants.
-
Carefully spray only target area using safety precautions.
-
Wait 1 week for grass to fully brown and die back before removing.
-
For organic methods, try combinations like vinegar, salt, or boiling water.
Be patient – smothering and solarizing take time but avoid intensive labor. Removing sod is quickest but requires hard work. Herbicides are fast too but many gardeners prefer to avoid chemicals.
How to Prepare Soil After Removing Grass
With the grass vanquished, now it’s time to create ideal soil conditions for planting.
Eliminate Remaining Roots & Debris
Remove remaining grass clumps and root debris using a flat shovel, rake, or bow rake.
Add Organic Amendments
Till 2-4 inches of compost into top 6-12 inches of soil to increase fertility, nutrients, and water retention.
Test Drainage
Sprinkle water across bed. If it puddles, till in 1-2 inches of coarse sand to improve drainage.
Smooth and Level Surface
Rake bed flat and remove any rocks or debris. Beds with bumps and depressions will frustrate you later!
Build New Beds (Optional)
For poor native soil, build raised beds and fill with quality topsoil and compost.
Investing time into proper soil preparation results in healthier plants and fewer problems once established.
Design Considerations for Planting Beds
Don’t just start digging willy-nilly – take time to plan your perfect garden space.
-
Purpose – Consider your needs: food production, cutting flowers, herbs, pollinator habitat? Allow for crop rotation in vegetable gardens.
-
Theme – Coordinate colors and plant varieties to create cohesive beds like cottage, tropical, or desert gardens.
-
Size & Shape – Keep beds 3-5 feet wide for easy access. Rectangles maximize space while curves add interest.
-
Sunlight – Most vegetables and fruits need at least 6 hours of direct sun daily. Be mindful of sunlight patterns.
-
Water access – Situate garden near a hose bib or spigot. Drip irrigation systems are ideal for accessible watering.
-
Soil conditions – Test soil pH and amend accordingly. Group plants with similar needs like water-lovers.
-
Height & layout – Place taller plants towards center or back with smaller ones in front for balance.
Don’t be afraid to start small! It’s easier to expand later than deal with an overly ambitious initial space. Thoughtful planning sets your garden up for success.
Sample Timeline for Converting Grass to Garden
Here is a sample timeline outlining the optimal schedule for removing your lawn and preparing garden beds:
Fall
-
Outline new bed shape and area to remove.
-
Order soil test kit and send soil samples for analysis.
-
Smother or solarize grass using cardboard, yard waste, plastic sheeting.
Early Spring
-
Pull back smothering materials, amend soil as indicated by test results.
-
Sod removal: cut grass short, outline bed, slice strips, pry up sod pieces.
-
Herbicide application if desired – spray grassy area, allow 1 week to die.
-
Dig down 6-12″, turning soil, removing roots and debris.
-
Add 2-4″ of compost across bed and mix thoroughly into soil.
-
Rake smooth and level surface. Allow 2 weeks for soil to settle before planting.
Spring
-
Install edging materials or build raised beds if desired.
-
Plant transplants or sow seeds! Add gridding, trellises, etc as needed.
-
Consider installing drip irrigation.
-
Mulch around plants to control weeds and retain moisture.
The most intensive preparation occurs in early spring before planting. But getting a head start in fall speeds the process by killing grass through winter.
Helpful Tools & Materials for Removing Grass
Having the right tools for the job will make grass removal and bed preparation much easier. Helpful items to have on hand include:
-
Shovel and spade for digging and prying
-
Bow rake and stiff broom for smoothing soil
-
Garden hose, sprinkler, and spray nozzle to water area
-
Wheelbarrow for hauling materials and debris
-
Garden cart for moving soil, compost, tools, and plants
-
Garden edger for defining bed outlines
-
Sharp sod cutter or oscillating blades to slice strips
-
Shears and utility knife for cutting plastic, landscape fabric, etc.
-
Tiller for mixing amendments into soil (or a pitchfork and muscle!)
-
Stakes, tape measure, and string for marking new bed layout
-
Work gloves, knee pads, and eye protection for safety
Having the right tools for each task will make the work go faster and prevent frustration. Don’t be afraid to enlist a helper for the heavy lifting and digging!
Common Mistakes to Avoid
When removing grass and prepping garden beds, be sure to avoid these common slip-ups:
-
Assuming you got all the grass roots so weeds don’t creep back into bed later
-
Not removing soil deep enough – you need to dig out the grass roots!
-
Forgetting to level and smooth soil surface before planting
-
Neglecting to test drainage and amend soil texture if puddling occurs
-
Applying too little or too much compost – 2-4 inches is ideal
-
Letting unamended native soil press up against wood or other bed borders and stain them
-
Planting too soon before letting amended soil settle – wait 2 weeks
-
Crowding plants too densely – pay attention to mature plant width!
With careful planning and patience during the preparation stages, you can avoid most issues down the road. Stay consistent with watering and mulching, and you’ll have a thriving new garden bed!
FAQs: Converting Lawns to Garden Beds
How long does it take to get rid of grass and prepare a garden bed?
If using smothering or solarizing methods, allow 2-4 months to kill grass over winter before planting beds in spring. For quicker sod removal, plan on 1-2 weeks of intensive work before planting.
What’s the ideal time to convert a lawn area to a garden bed?
It’s best to prep beds in early spring, 2-4 weeks before your last expected frost date. But you can smother grass starting in late fall to get a head start killing it over winter.
How deep should you dig when removing grass to make a planting bed?
Dig down 6-12 inches deep to eliminate all grass roots and debris for a proper planting bed area.
Can you just till grass with a rototiller instead of digging it out?
This is not recommended. Tilling chops grass into bits but doesn’t remove it fully. Remaining roots will re-sprout weeds and grass later on.
What kind of soil do you need for a good garden bed?
Good garden soil is loose, fertile, and drains well. Amending native soil with 2-4 inches of compost creates an ideal planting mix. Test drainage by watering – standing puddles mean you need to add sand to improve drainage before planting.
The Satisfaction of Homegrown Plants
There’s nothing quite like harvesting fresh fruits, herbs, and veggies that you’ve grown yourself in your own garden bed, right in your backyard. Although it takes some diligence and muscle to get rid of stubborn grass at the start, the end result is well worth the effort.
Use this guide to tackle the lawn removal and soil preparation process with confidence. Incorporating the right techniques and timing, having the proper tools, and avoiding common errors will set you up for gardening success. Soon you’ll have a thriving planting bed tailor-made to your site conditions and gardening dreams!
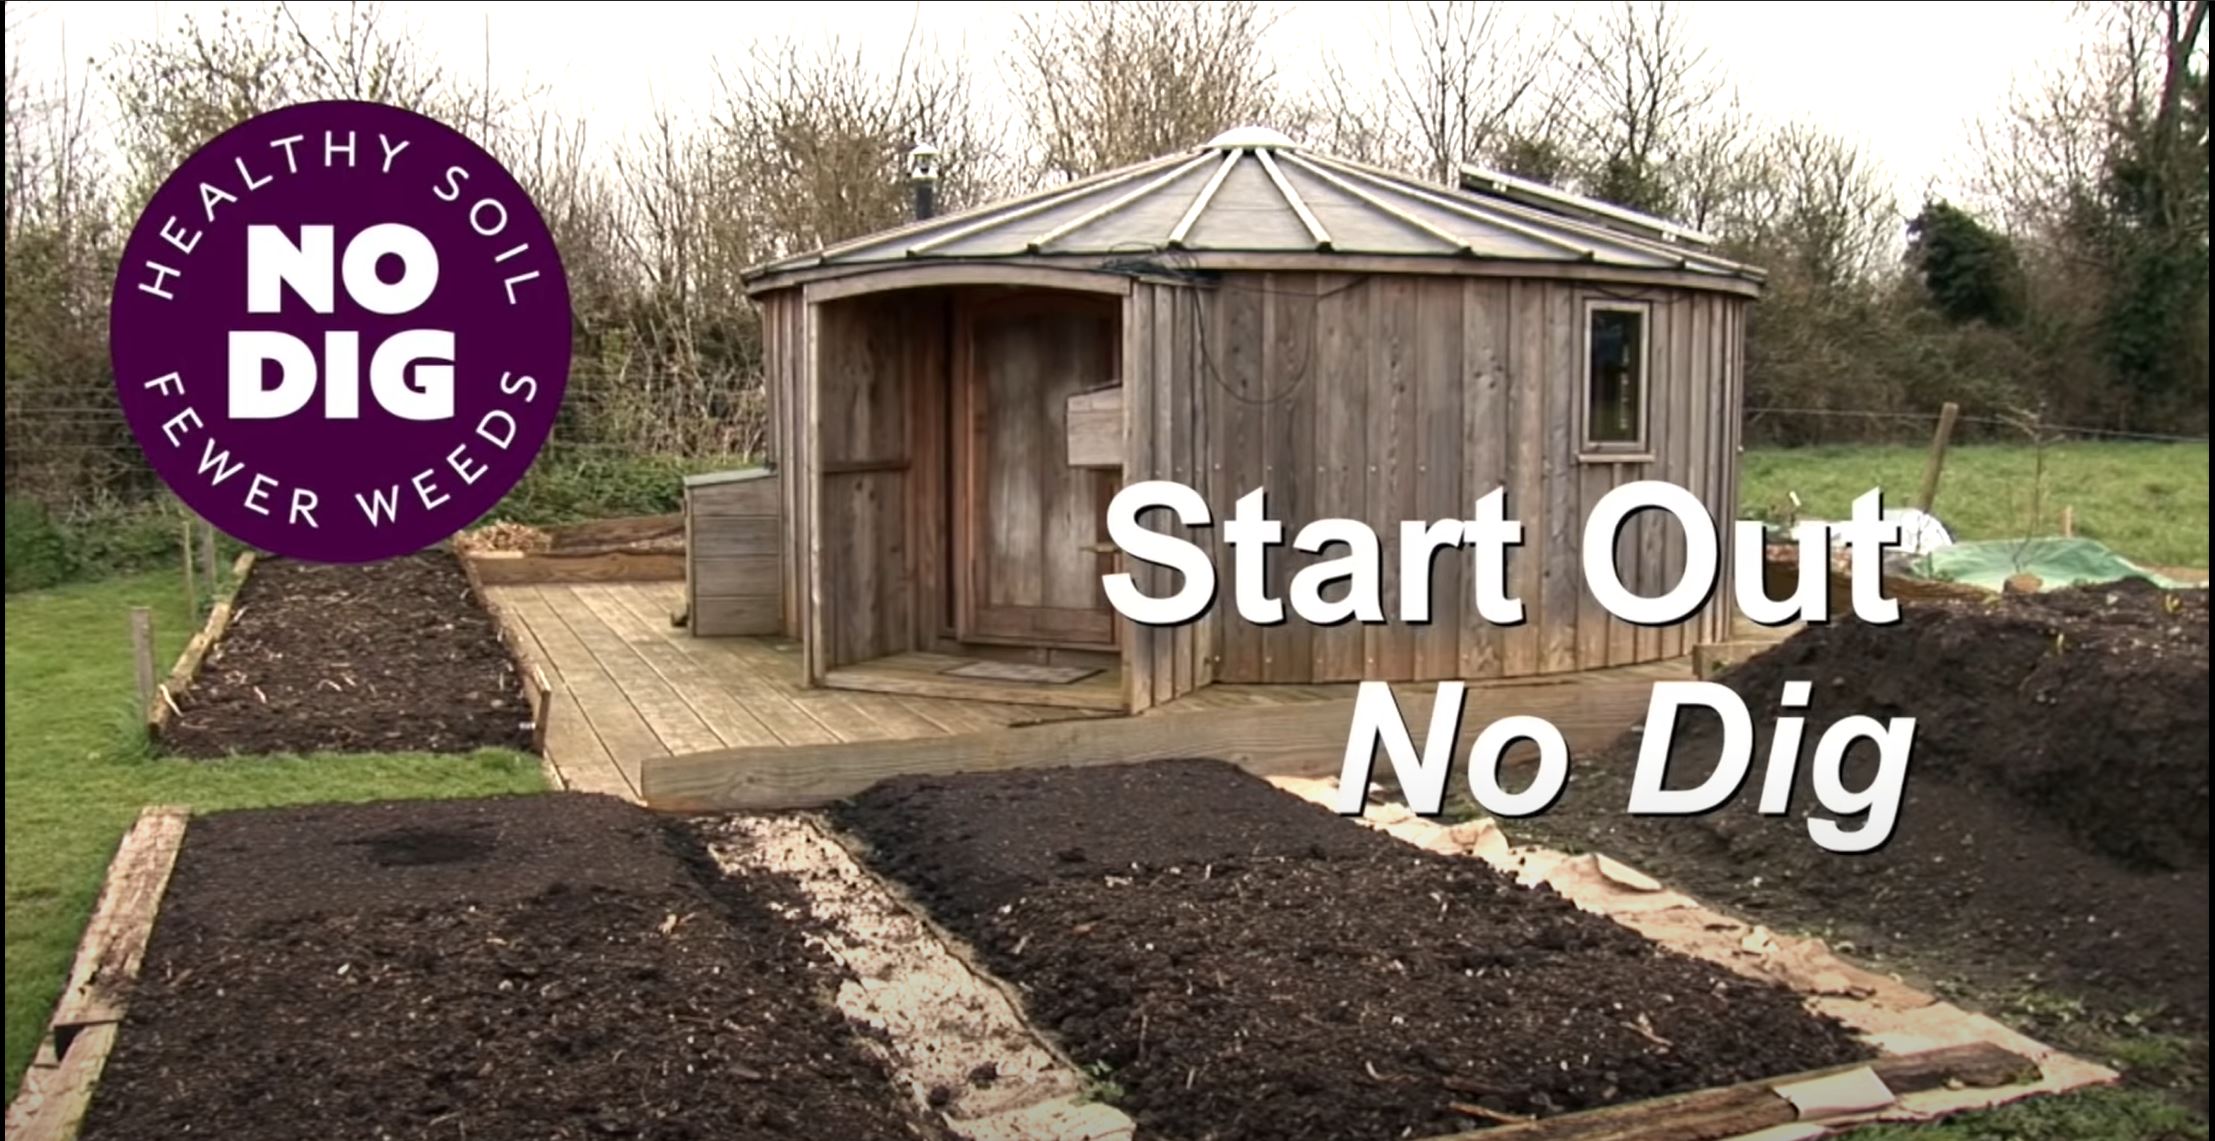
How to dig beds fast and turn your lawn into a garden. The Lazy Bed Method
- How Fast Does Boston Ivy Grow? A Complete Growth Guide - June 9, 2026
- Gravel for Garden Beds: A Functional and Beautiful Option - June 9, 2026
- The Best Mulch for Raised Garden Beds – Pros, Cons, and Tips - June 9, 2026