Hydrangeas root well from from cuttings, giving you a new batch of young hydrangea plants, for free. You can propagate cuttings from all types of hydrangea, including mophead and lacecap, Hydrangea paniculata, and climbing hydrangeas.
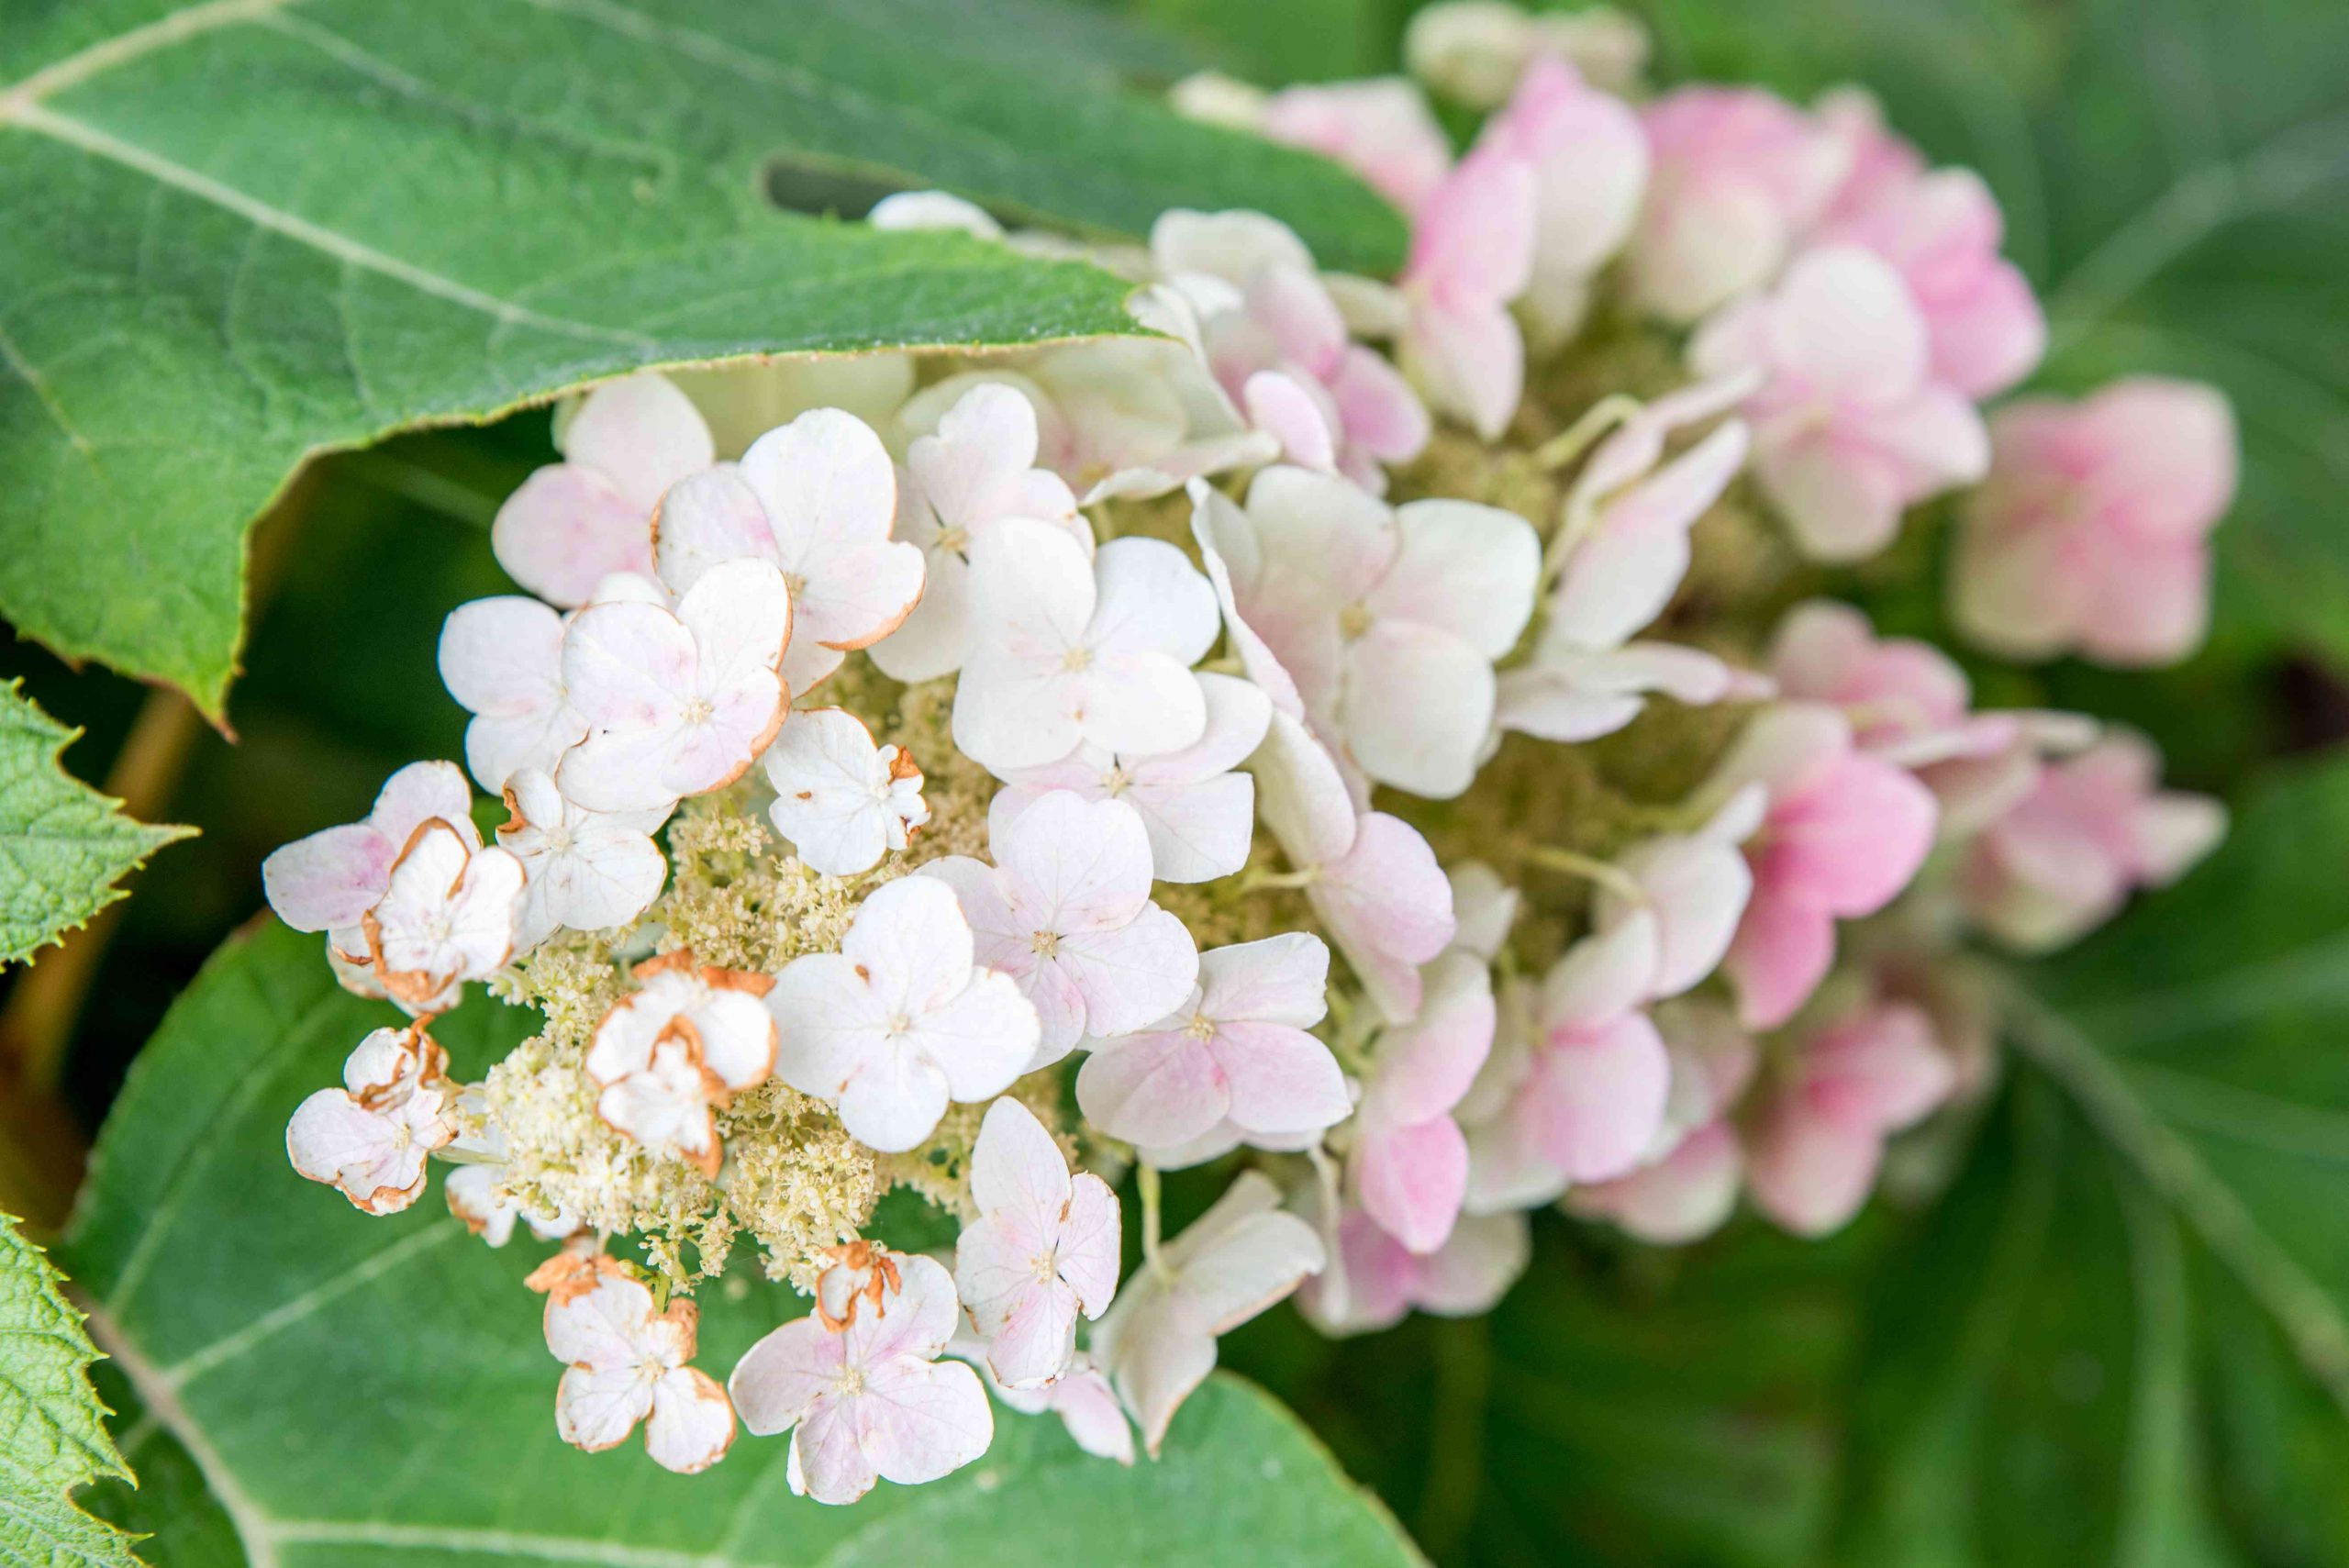
With their lush, colorful blooms, hydrangeas are a treasured shrub for gardens across many hardiness zones. Their captivating flowers come in shades of pink, blue, purple, white and green, lighting up the landscape. But did you know you can propagate new hydrangea plants from just a single leaf? With a little patience and the right technique, home gardeners can multiply their hydrangea collection with free new plants grown from leaves.
Why Grow Hydrangeas from Leaves?
Taking leaf cuttings is an easy inexpensive way to produce new hydrangea plants identical to the parent plant. Other advantages include
-
Free new plants – No need to purchase hydrangeas when you can get more from existing ones.
-
Genetic duplicates – The new plants will be exact genetic copies of the parent
-
Portable propagation – Just bring along a few leaves from your favorite hydrangeas when traveling.
-
Small start size – Leaf cuttings take up little space compared to other methods.
-
Fun project – It’s rewarding and exciting to watch a whole new plant emerge from a single leaf.
Overall, starting hydrangeas from leaf cuttings is a simple, frugal way to expand your hydrangea collection.
Step-By-Step Guide to Rooting Hydrangea Leaf Cuttings
Here is a step-by-step guide to successfully rooting hydrangea leaves to grow new plants:
1. Choose Healthy Leaves
Select leaves from the current year’s growth that are fully expanded and healthy. Avoid old leaves, those with spots or damage. The leaf stems (petioles) should be plump and firm. Take several cuttings to allow for some that may fail.
2. Prepare the Leaves
Trim each petiole to 1-2 inches long using clean, sharp pruners. Sterilize tools in diluted bleach between plants to prevent disease spread. Remove any leaves attached to the petiole. Prepare leaf cuttings in the morning for best results.
3. Dip in Rooting Hormone (Optional)
While not required, dipping the cut end of the petiole in rooting hormone will encourage faster root development. Use powder or gel formulas designed for hardwood or woody cuttings. Follow label instructions carefully.
4. Insert in Propagation Mix
Moisten propagation mix or half peat and half perlite. Poke a small hole and insert each cutting to about half its depth. Gently firm mix around the petioles. Space multiple cuttings 1-2 inches apart in trays.
5. Provide Warmth and High Humidity
Place trays in a warm spot (65-75°F) with very high humidity, such as under grow lights or plastic tents. Avoid direct hot sun. The goal is to prevent moisture loss while roots initiate. Mist often.
6. Watch for Root Development
Check for rooting after 4-8 weeks. Gently tug on cuttings to feel resistance from new root growth. When well rooted, new shoots will also emerge from petioles. Transition to partial sun once rooted to avoid leggy growth.
7. Transplant into Soil
Carefully pot up rooted cuttings into small containers using potting mix. Bury just the roots, keeping new shoots above soil level. Gradually expose to more sun, wind and lower humidity to harden off for a week before transplanting into the garden after the last frost.
Tips for Success Rooting Hydrangea Leaves
Follow these tips to achieve the best results:
-
Take cuttings in summer when leaves are actively growing.
-
Keep leaf cuttings very moist but not saturated until rooted.
-
Prune off any flower buds that form on petioles to direct energy to roots.
-
Apply fungicide spray or dust to prevent diseases like powdery mildew.
-
Pinch back new shoots once well rooted to promote bushy plants.
-
Shelter transplants from intense sun and wind for the first few weeks.
What You’ll Need to Root Hydrangea Leaf Cuttings
To propagate hydrangeas from leaves at home, you’ll need the following supplies:
- Healthy hydrangea leaves that are non-wilted
- Small, clean pruning shears or scissors
- Rooting hormone (optional)
- Propagation trays or pots with drainage
- Seed starting mix or peat & perlite
- Clear plastic tents, cloches or humidifiers (optional)
- Bright, gentle light source – no direct sun
- Small containers and potting mix for transplanting
Troubleshooting Common Hydrangea Leaf Cutting Problems
Here are some common issues and how to prevent them:
-
Wilting – Increase air circulation and humidity. Mist often.
-
Rotting – Allow mix to dry between waterings. Apply fungicide if needed.
-
No root growth – Ensure high humidity. Check for roots at 8 weeks before discarding.
-
Small roots – Give more sun once rooted to prevent leggy growth. Transplant promptly.
-
Leaves dropping – This is normal as energy goes to new roots. Keep petioles moist.
With the right care, nearly any healthy hydrangea leaf can be propagated into a brand new plant. In just a few months, you can have a collection of new hydrangeas to expand your garden or give as gifts. It’s a simple, satisfying way to multiply your plant collection for free.
When to take hydrangea cuttings
The best time to take hydrangea cuttings is in late-summer. They are semi-ripe, which means they come from this season’s growth but are old enough to have a woody base. The tips are still soft, though. The woody base prevents the cuttings from rotting when inserted into compost.
How to propagate hydrangeas from rooting leaves in 25 days
FAQ
Can you grow hydrangea from cuttings?
How to grow hydrangeas from cuttings without rooting hormone?
How do you propagate Hydrangeas in water?
If you want to attempt propagating hydrangeas in water, the steps are the same up until dipping the stem into rooting powder. Once coated, however, place the stem into a clear glass filled with water, ensuring that the leaves are above the water level. When using this process, make sure to clear the water every few days.
Should hydrangea leaves be left on top?
Each set of leaves can be very taxing on a hydrangea stem that doesn’t have roots yet (there’s no system to get water to the leaves), so I left the last few leaves on top but cut them down to reduce the overall burden for each plant. 4. Dip in root hormone
How to plant a hydrangea?
The first and most important problem when planting a hydrangea is finding a clear area of soil as pine tree have an extensive and shallow root system. If the tree is an old established pine then you can remove some roots with an axe without causing any lasting harm to the tree.
Can hydrangeas be propagated?
Once you have learned how to grow hydrangeas, propagating hydrangeas is easy and can be done at any time in the blooming season, using the same methods as pruning hydrangeas. Given that hydrangeas very rarely produce seeds, learning how to propagate them is one of the few ways to duplicate these plants.
- How to Grow Gorgeous Climbing Roses on a Wooden Fence - March 24, 2026
- Avoid These Plants When Companion Planting with Oregano - March 24, 2026
- 15 Great Trees to Plant Near Your House - March 24, 2026