With their intoxicating fragrance and beautiful white blooms gardenias are a treasured plant for any gardener. However they require some special care to keep them looking their best. Over time, gardenias can become root bound or the soil can become depleted of nutrients. Repotting is an essential task to keep your gardenia healthy and vibrant. Follow this simple step-by-step guide to successfully repot your gardenia.
Choose the Right Pot
Select a pot that is about 2 inches wider than the current container Make sure it has drainage holes at the bottom Terra cotta pots work well for gardenias, as they allow air to flow through the sides. Pick a pot that matches the size of your plant – don’t size up too much or downsize the plant.
Use Proper Soil
Good drainage is crucial, so use a potting mix formulated for gardenias and other acid-loving plants It should contain peat moss, pine bark, perlite, and compost You can also add sand or small gravel to improve drainage. The soil should be slightly acidic with a pH between 5.0-6.5.
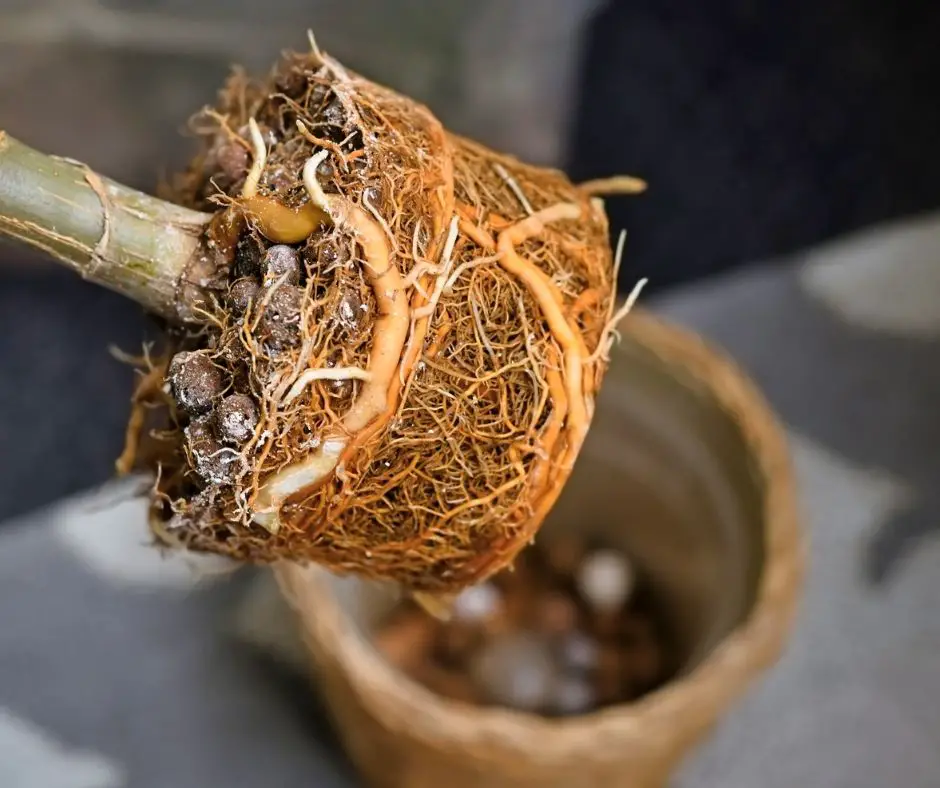
Prepare the Gardenia
Water the plant well the day before repotting. This makes removal from the old pot easier. Carefully remove the plant, keeping the root ball intact. Gently loosen any circled roots on the outside of the root ball with your fingers.
Add Drainage Material
Place a 1-2 inch layer of gravel, perlite, or other drainage material in the bottom of the new pot. This improves drainage and prevents soil from leaching out.
Fill With Soil
Fill the new pot about 1/3 full with fresh potting soil. Form a mound in the center to support the root ball. Place the gardenia on top of the mound in the pot. The top of the root ball should sit just above the soil level.
Backfill With More Soil
Fill in around the root ball with more potting mix, firming the soil gently with your hands to eliminate air pockets. Leave about 1 inch of space between the top of the soil and the rim of the pot.
Water Thoroughly
Water thoroughly until water drains from the bottom of the pot. This helps settle the soil around the roots. Allow excess water to drain fully from the pot’s drainage holes.
Apply Fertilizer
Apply a balanced liquid fertilizer diluted to half strength. Look for options formulated specifically for gardenias and azaleas. This provides nutrients to help the plant recover.
Provide Aftercare
Move the repotted gardenia to a shady spot for a few days to recover. Keep the soil evenly moist but not saturated. Resume normal care routines when new growth emerges. Repot gardenias every 2-3 years.
With the right pot, soil, and gentle handling, repotting your gardenia doesn’t have to be stressful. Pay close attention in the weeks after repotting and you’ll soon have a revitalized gardenia thriving in its new home.
Growth Spurts and Slowdowns
- Even with good care, if you notice a noticeable slowdown in growth, it’s likely that your Gardenia Florida is getting too crowded.
- Repotter the plant if it doesn’t have many new leaves or if it looks like it’s lost its shape.
The Repotting Rundown: A Step-by-Step Guide
Spring is the season of renewal, not just for us but for your Gardenia Florida too. Its the best time to repot, as the plant is gearing up for a growth spurt. Watch for a week or two of warm weather; you don’t want a cold snap to stress out your new plant friend.
How to Repot Gardenias : Garden Savvy
FAQ
What kind of soil do gardenias like to repot?
What kind of pots do gardenias like?
Do gardenias transplant well?
Do gardenias need repotting?
In this article, we will guide you through the steps of repotting your gardenia plant, including when to do it, choosing the right pot, and the steps to take during the repotting process. Gardenias should be repotted every 2-3 years or when the roots start to outgrow the pot. Signs that your gardenia plant needs repotting include:
How do you repot a gardenia?
Gardenias prefer a slightly acidic soil with a pH between 5.0 and 6.5. You can easily test the pH of your soil with an at-home testing kit. If the pH of your soil is too high, you can add some sulfur or elemental sulfur to lower it. When it’s time to actually repot your gardenia, make sure to use a pot that is slightly larger than the original one.
When should you repot a gardenia plant?
Gardenias should be repotted every 2-3 years or when the roots start to outgrow the pot. Signs that your gardenia plant needs repotting include: It’s best to repot your gardenia plant in the spring or early summer when it’s actively growing. Choosing the right pot for your gardenia is important for its health and growth.
How do you care for a gardenia plant?
Fill in around the root ball with fresh potting soil, gently pressing it down. Water the plant thoroughly, making sure that water drains out of the bottom of the pot. Place the repotted gardenia plant in a bright, indirect light and continue to care for it as usual. Water your gardenia when the top inch of soil is dry.

Follow me on YouTube
- A Complete Guide to Caring for Yuki Cherry Blossom Shrub - January 23, 2025
- Identifying Red Hot Poker Seeds: What to Look For When Harvesting Torch Lily Pods - January 23, 2025
- A Complete Guide to Harvesting Evening Primrose Seeds - January 23, 2025