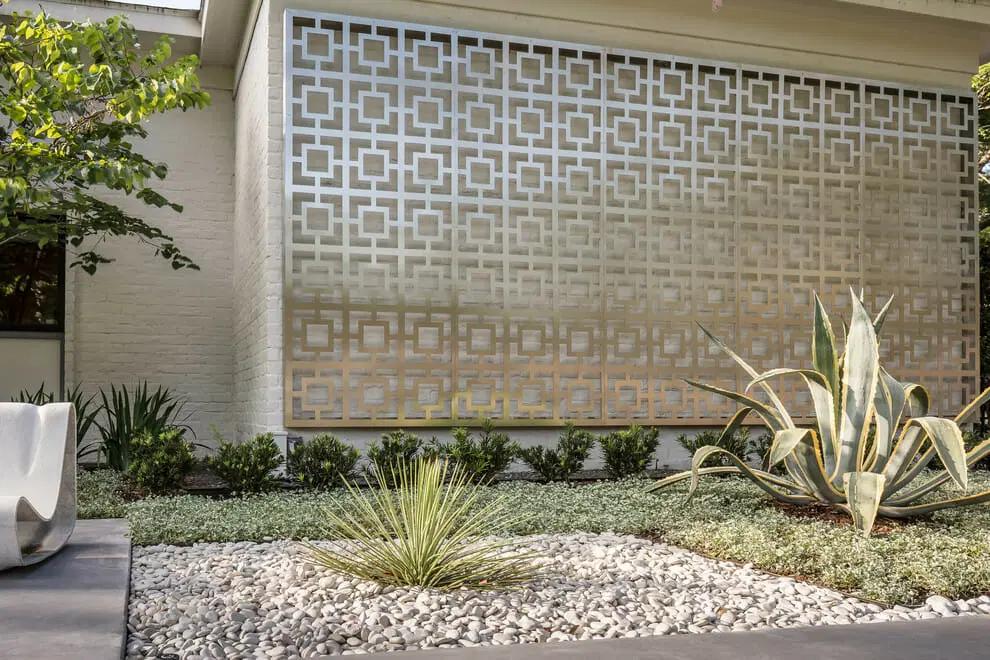
White landscaping rocks can brighten up your yard or garden with their clean, crisp look. However, proper ground preparation is crucial prior to installing the rocks for best results.
In this guide, we’ll cover the:
- Benefits of using a base under white rocks
- Different base options and how to install them
- Tips for prepping the ground before adding white rocks
Why Put a Base Under White Landscaping Rocks?
Adding a base under white landscaping rocks serves several important purposes:
Anchors the Rocks
A base anchors the rocks into the ground and prevents shifting, scattering or sinking into the soil over time.
Reduces Weeds
Landscape fabric blocks sunlight to suppress weed growth in rock areas. This cuts down on maintenance.
Improves Drainage
Sand or gravel bases enhance drainage underneath the rocks to prevent puddling.
Extends Life of Rocks
A barrier separates the rocks from soil. This prevents mud splashing up and keeps rocks cleaner looking for longer.
Levels Uneven Ground
Adding a base allows you to create a flat surface for the rocks, even on bumpy or sloped ground.
Defines the Area
Edging materials like landscape timbers or aluminum edging keep rocks neatly contained.
5 Common Base Options for Under Landscape Rocks
1. Sand
Laying coarse builder’s sand 2-3 inches deep makes an excellent base to anchor rocks and promote drainage. Compact the sand before adding rocks.
2. Crushed Gravel
For a sturdier base, use crushed gravel, sometimes called “road base.” Compact it 1-2 inches thick.
3. Paver Base
Paver base is coarsely crushed gravel blended with stone dust. It compacts firmly to make a solid sub-base for pavers and rocks.
4. Landscape Fabric
Fabric blocks light to stop weeds. Use permeable cloth that allows water to pass through. Overlap seams 6-12 inches.
5. Plastic Sheeting
Heavy plastic sheeting or pond liner also prevents weed growth. Use for more temporary applications.
Installing Bases Under Rocks
Here are some tips:
- Level and smooth the ground first
- Excavate several inches down to allow for base depth
- Add base material and rake smooth
- Compact with rented roller or hand tamp
- Edge the perimeter to contain the rocks
Preparing the Soil Before Adding White Rocks
Once you have your base in place, take time to prep the soil:
Remove grass, plants and weeds
Completely remove all vegetation in the area. Dig down 4-6 inches to get entire root systems.
Apply herbicide
Use a non-selective herbicide like glyphosate (“Roundup”) to kill any remaining roots 2 weeks before adding rocks.
Till the soil
Break up and smooth out the soil. Remove sticks, debris and stones larger than 1 inch.
Level bumps and slopes
The flatter the ground, the better your rocks will stay in place. Fill low spots and smooth high points.
Check drainage
Ensure water flows away from buildings and won’t pool on the soil under rocks.
Moisten dry soil
Mist the ground before adding rocks. This helps with compaction.
Tips for Installing White Landscaping Rocks
- Wear protective eyewear and dust mask
- Arrange rocks so sizes blend together naturally
- Spread rocks 2-3 inches deep
- Tamp down rocks as you go with a hand tamper
- Mist rocks to encourage settling
- Inspect occasionally and top up to maintain depth
Keeping the area under your white landscaping rocks properly prepped creates the ideal foundation. With the right base materials and soil preparation, you’ll have a beautiful, low maintenance rock area that will last for years to come.
- How Fast Does Boston Ivy Grow? A Complete Growth Guide - June 9, 2026
- Gravel for Garden Beds: A Functional and Beautiful Option - June 9, 2026
- The Best Mulch for Raised Garden Beds – Pros, Cons, and Tips - June 9, 2026