If you’ve ever stared at that patch of boring grass in your yard and thought, “Man, I could grow my own tomatoes and flowers right here,” then digging a garden bed is exactly where the magic starts. I done this plenty of times myself, and lemme tell ya, ain’t nothing beats the feeling when you finally step back and see that fresh, loose soil ready for planting. No fancy machines needed – just you, a shovel, and some elbow grease. In this guide, I’ll lay it all out simple and straight, from picking the spot to finishing up with mulch. We’ll dive deep into every bit so you feel confident jumping in, even if it’s your first go-round. Trust me, once you get that first bed dug, you’ll be hooked and planning the next one before the week’s out.
Right up front, here’s the deal: digging a garden bed by hand gives you total control. You get to know your soil up close, yank out every rock and weed root, and mix in exactly what it needs. I always start my projects this way because it feels personal, like I’m building something real with my own two hands. And yeah, it takes effort, but the payoff? Huge. Your plants root deeper, grow stronger, and you skip all that frustration from compacted dirt or surprise rocks later. Let’s break it down step by step, starting with the most important stuff so you can hit the ground running – or digging.
Choosing the Bed Site
When selecting where to locate your new bed keep these tips in mind
- Pick a spot that gets full sun—at least six hours of direct sunlight every day.
- Avoid low areas that collect water and remain wet
- Check for buried cables, pipes, or other obstacles. Call 811 for utility line marking if needed.
- Keep beds at least 2 feet from structures and fences for ease of access
- Consider how the shape will complement your landscape design.
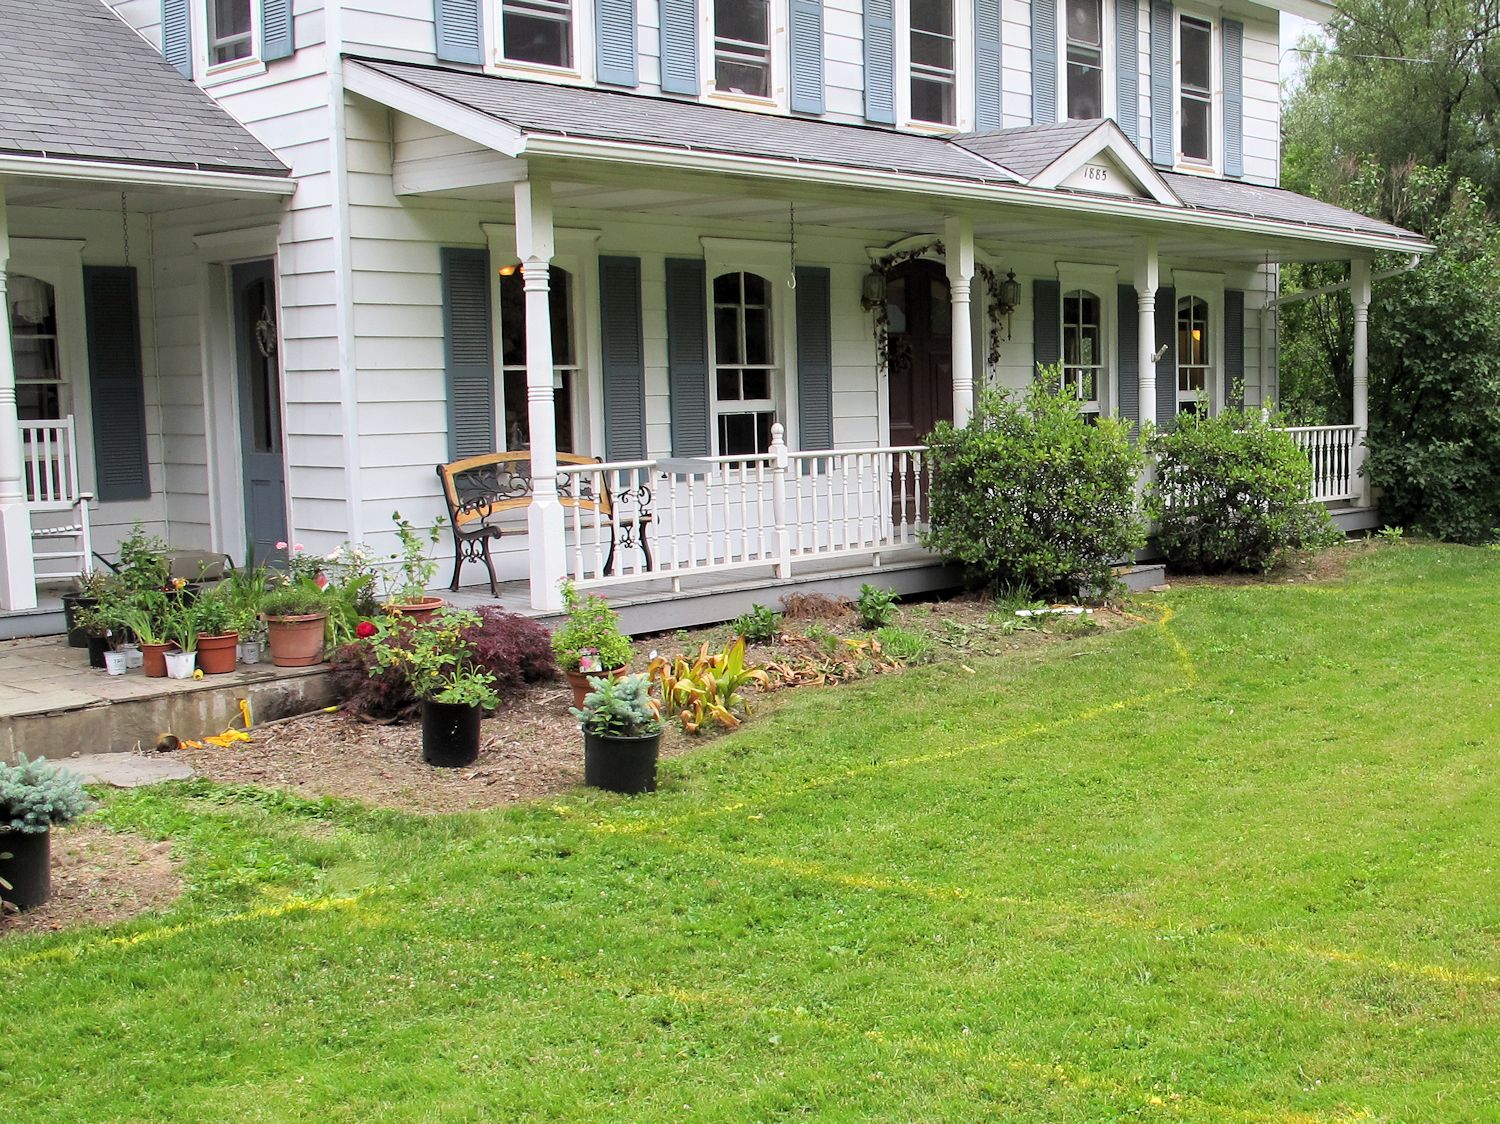
Planning Your Garden Bed Spot – Don’t Skip This or You’ll Regret It
Before you grab that shovel, pick the right place or you’ll waste all that sweat. I always look for spots with at least six hours of full sun a day – that’s gold for veggies and most flowers. Check how the light moves across your yard throughout the day; trees or buildings can throw shade you didn’t notice at first. Good drainage matters huge too. Low spots that stay soggy after rain? Skip ’em, or your plants will drown. I once picked a spot too close to the fence and regretted it when I couldn’t reach the middle easy.
Call 811 before you dig anything – seriously, do it a few days ahead. Buried cables and pipes hide everywhere, and hitting one ain’t fun. I learned that the hard way on a small project years back. Mark out your bed shape with a hose, rope, or even flour sprinkled on the grass. Start simple with a 4-by-8 foot rectangle if you’re new; it fits nice and gives you room to grow without going overboard. Curves look cool for flower beds, but rectangles work best for veggies ’cause rows line up perfect.
Think about the time of year too. Early spring or fall is my favorite for digging. Soil ain’t frozen, weeds ain’t exploding yet, and everything settles nice before planting. Late winter works if you want to get ahead. Mow the grass super low first – like, scalp it – to make sod removal way easier. I always do a quick soil test if I can, but if not, no biggie; we’ll fix it with amendments later.
Tools Needed
Having the right tools on hand will make digging your bed much easier:
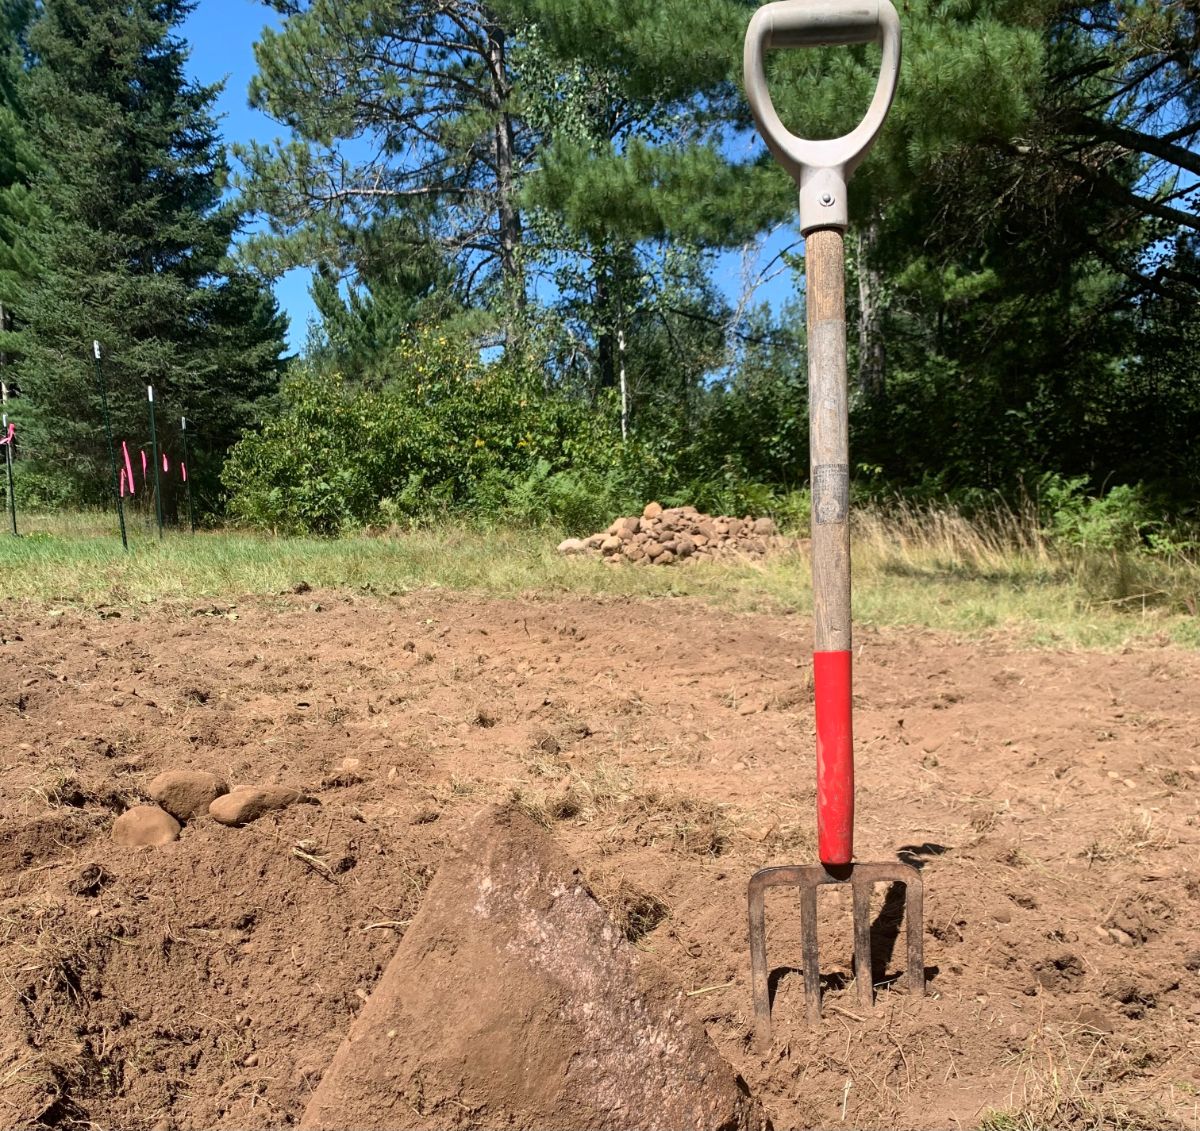
- Garden spade or shovel – Choose a sturdy, short-handled one for leverage.
- Garden rake – For smoothing and leveling the soil.
- Tarp – To hold removed sod and keep soil contained.
- Wheelbarrow or buckets – For moving soil as you dig.
- Landscape fabric, cardboard – To line bottom of bed.
- Compost, manure, peat moss – To amend the soil.
The Step-by-Step Process for Digging Your Garden Bed
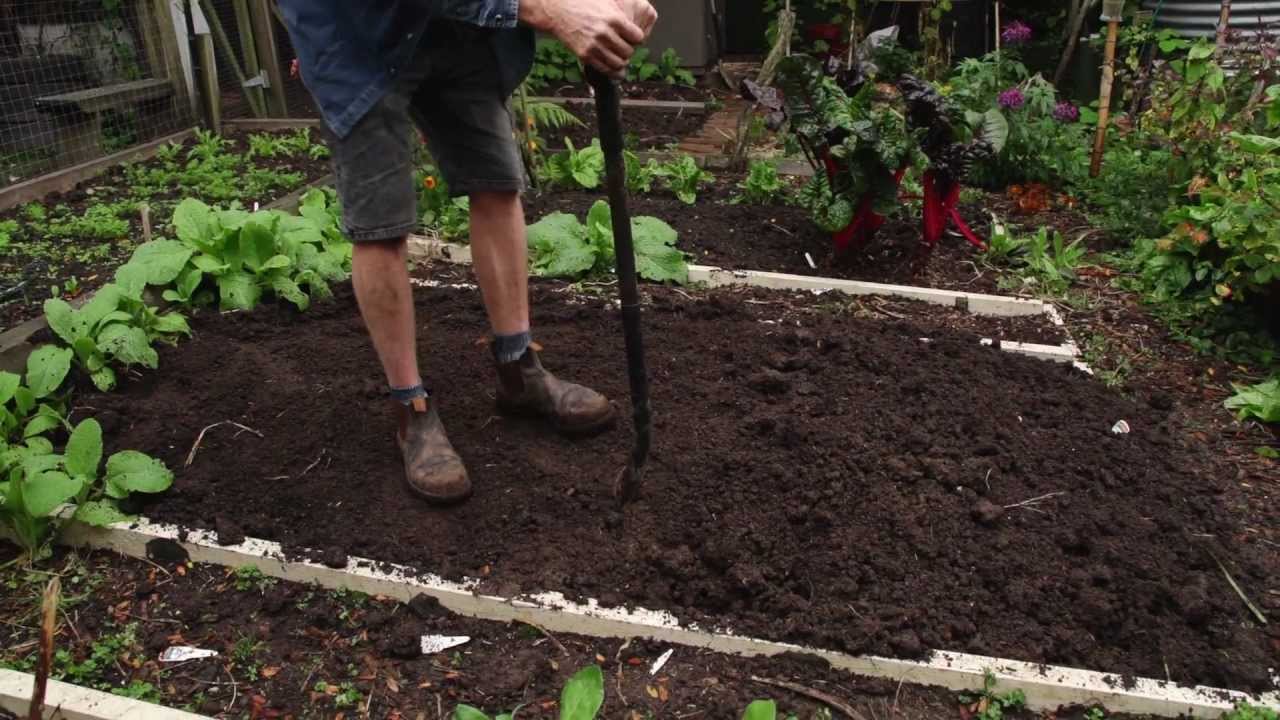
Alright, this is the meat of it – the actual digging part. I do these steps in order every time, and it keeps things organized. We’ll go deep so you see why each bit matters.
First, outline the whole area with your twine or hose. Stake the corners down good with rocks or staples. If the bed’s over 50 square feet, divide it into smaller 6- or 7-foot sections. I always finish one full section before moving on – that way I got ready soil to plant in immediately instead of staring at a disaster zone.
Next up, remove the sod layer. Lay your tarp nearby. Use that spade to cut the grass into 4- to 6-inch wide strips, digging as deep as the roots go. Roll ’em up like little carpets and toss onto the tarp. I shake off some dirt back into the bed sometimes, but mostly I haul the sod away to compost pile or use it elsewhere. This step stops grass from sneaking back in later. Takes time, but do it right and you save weeding headaches down the road.
Now dig out the top 6 to 8 inches of soil. Pile it separate on the tarp or in the wheelbarrow. Don’t go crazy precise – eyeball it. This top layer often has most of the nutrients, so we save it for later.
Time to loosen the bottom layer deep. Without removing it all, I dig and turn the soil another 6 to 12 inches down till it feels light and fluffy. Break every clump, yank out rocks, roots, and debris as I go. In rocky spots (New England dirt, I’m looking at you), this part takes forever, but it’s worth it. Your plants’ roots will thank you with faster growth and bigger harvests. I use the fork here if the ground fights back.
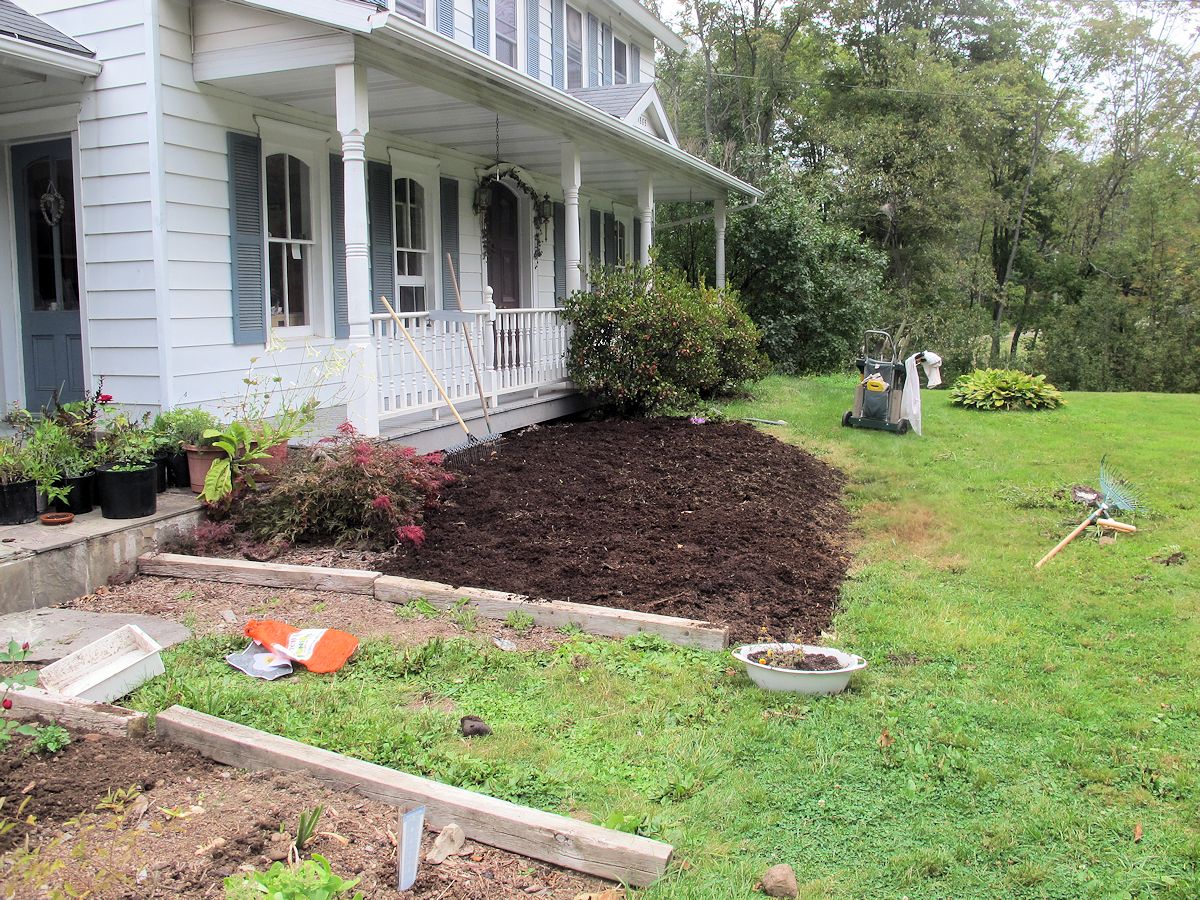
Add your amendments now. I spread 2 to 3 inches of compost or well-rotted manure across the bottom, maybe some peat moss if the soil feels heavy or sandy. Mix it in a bit, then toss the saved topsoil back on top and work in the rest of the goodies. Compost is my go-to every time – it improves texture, adds nutrients, and makes everything drain better. If your dirt’s clay-heavy, more compost and peat; sandy? Same thing plus some manure for holding moisture.
Rake it all smooth and level. The bed should sit a tad higher than the lawn to start, ’cause it settles. I edge around the perimeter with a 6-inch deep trench sometimes, then line it with bricks or wood to keep grass out. Water the whole thing good to settle the soil and kick out air pockets. Finally, top with 2 to 4 inches of mulch like shredded bark or straw. Leaves a clean ring around transplants so they don’t rot.
See? Not rocket science, but each step builds on the last for killer results.
Dealing With Different Soil Types – ‘Cause Yours Ain’t Like Mine
Every yard’s dirt tells its own story, and I adjust my digging based on what I find. Heavy clay soil? It clumps like cement when wet and cracks when dry. I dig extra deep and mix in tons of compost and peat to loosen it up. Works wonders for drainage.
Sandy soil drains too fast and starves plants of water. Same amendments help it hold nutrients better. Rocky ground? I pick stones like it’s a treasure hunt – multiple passes with the rake and shovel till I got most out. One bed I dug had so many rocks I built a little cairn with ’em at the end. Looks rustic and frees up the soil.
If it’s full of roots or old stumps, chop ’em out with the pickax or hatchet. I water the area deep the day before digging to soften everything – makes a huge difference in tough spots.
Common Mistakes I Made (So You Don’t Have To)
I ain’t perfect, and I’ve messed up plenty. Don’t dig huge sod chunks; small slabs cut easier and leave less mess. Forgetting to loosen the bottom layer leads to compacted soil that chokes roots – I learned that one quick. Leaving half a bed dug for days invites weeds and erosion. And skipping the utility call? Big no-no.
In rocky areas, don’t rush stone removal or you’ll hit ’em with the tiller later if you ever switch. Overfilling the wheelbarrow? Back killer and spills everywhere. Take breaks, wear good shoes, and enlist a buddy if possible. Makes it fun instead of a chore.
| Mistake | Why It Sucks | Quick Fix |
|---|---|---|
| Not marking full perimeter first | Ends up with wonky shape and wasted effort | Outline everything with rope before any digging |
| Chopping live grass with tiller | Spreads weeds like wildfire | Kill sod first with tarp or remove by hand |
| Ignoring rocks | Plants struggle, tools break later | Pick ’em all during loosening – multiple passes |
| No amendments | Soil stays poor, plants weak | Always mix in compost or peat in layers |
| Skipping mulch | Weeds explode, moisture evaporates | Top with 2-4 inches right after watering |
My Top Tips for Easier, Better Digging Every Time
Here’s the stuff I wish someone told me sooner. Work in short bursts if you’re not used to it – an hour a day keeps soreness away. Enlist the kids or neighbors; I turn it into a family thing with cold drinks after. Use quality tools and maintain ’em – clean and oil after each use so they last years.
For big beds, section it off like I said. Cover unfinished parts with tarp overnight to keep moisture in. If you got chickens, let ’em peck bugs while you work – free pest control! And always have a soil test kit handy for long-term tweaks. I replenish compost every spring and fall now.
Upcycle that extra soil and sod. I use it to level low lawn spots, fill pots, or build berms for privacy. One time I made a little labyrinth path with leftover dirt – super fun project.
After Digging: Keeping Your New Bed Happy Long-Term
Once it’s dug, don’t just walk away. I water deep right away and check for settling spots to fill. Mulch is key – it holds moisture, fights weeds, and breaks down into more goodness. Weed early and often; don’t let ’em get big.
Rotate your crops each year to keep soil healthy and dodge pests. Mid-season I hit heavy feeders with organic fertilizer. Test pH every couple years and adjust. Avoid walking on wet beds to prevent compaction. Edge seasonally to keep that crisp look.
Come fall, I loosen the top inch again and add fresh compost. Come spring, it’s ready for another round. My beds keep producing better every year ’cause of this routine.
Pros and Cons of Hand Digging a Garden Bed
Hand digging ain’t for everyone, but here’s my take:
Pros:
- Full control and soil knowledge
- Perfect for small or tricky spots
- No equipment rental hassle
- Rewarding and builds strength
- Cheaper long-term
Cons:
- Physically demanding
- Time-consuming on big areas
- Rocky soil tests your patience
Compared to machinery, hand work wins for precision. I own a tiller but reach for the spade first in most cases.
Wrapping It Up – Your Turn to Dig In!
Digging a garden bed opens up a whole world of fresh produce, pretty blooms, and backyard joy. I started with one tiny plot years ago, and now my yard’s full of ’em. You can do this too – start small, follow these steps, and watch it transform. The dirt under your nails, that fresh earthy smell, the pride when harvest time hits… it’s all worth it. Grab your shovel this weekend and get digging. Your future self (and your dinner plate) will thank you. If you got questions, drop ’em in the comments – I love chatting garden stuff. Happy digging, friends!
How to Dig Your First Earth Bed Vegetable Garden & A Cherry Tomato Hedge: All the Steps in Detail!
FAQs About Digging New Garden Beds
If you’re new to digging garden beds, chances are you have some questions. Here are answers to some of the most common queries:
How deep should a raised bed be?
For most plants, aim for between 8-12 inches of soil depth in your raised bed. Very deep roots may need 18-24 inches.
Should I line the bottom of my raised bed?
Lining the bottom with cardboard, landscape fabric, or weed barrier can inhibit weed growth but isn’t mandatory.
When is the best time to dig a new garden bed?
The ideal time is early spring, so beds can settle before planting. But fall digging also works – just amend and cover beds.
Can I just mix compost into my native soil?
Yes – but amended soil will drain and hold nutrients better. Replacing 3-5 inches of topsoil with compost is ideal.
Should I use a tiller for prepping garden beds?
You can till initially to chop and loosen compacted soils. But finish shaping beds by hand to prevent compaction.
What common mistakes do beginner gardeners make?
- Putting your garden out of sight. …
- Planting too much. …
- Planting too soon (or too late) …
- Planting in just any old soil. …
- Planting where there’s not enough sun. …
- Crowding your plants. …
- Planting far from a water source. …
- Not feeding your plants.
What is the 70 30 rule in gardening?
The 70/30 planting rule is a design and ecological principle where 70% of a garden consists of reliable, structural, or native plants, while 30% is reserved for experimental, seasonal, or accent plants. This approach ensures a stable, low-maintenance, and eco-friendly foundation while allowing for creativity and seasonal color
Does wetting the ground make it easier to dig?
Slightly damp soil is generally easier to dig than bone-dry, hard ground due to reduced friction, but saturated or waterlogged soil is much harder to dig and should be avoided. Saturated soil becomes incredibly heavy, sticky, and clings to tools. More importantly, working wet soil damages its structure, causing severe compaction.
- How Fast Does Boston Ivy Grow? A Complete Growth Guide - June 9, 2026
- Gravel for Garden Beds: A Functional and Beautiful Option - June 9, 2026
- The Best Mulch for Raised Garden Beds – Pros, Cons, and Tips - June 9, 2026