As a passionate gardener with several raised beds for flowers and vegetables, keeping my beds neatly edged has become a top priority. The right edging finishes beds nicely, keeps soil and mulch contained, and provides a clean look to any garden space.
Over the years, I’ve experimented with various edging options for my raised beds, learning a lot about which materials work best In this detailed guide, I’ll share my experiences to help you pick the ideal edging for your raised garden beds
Benefits of Using Edging for Raised Beds
Installing edging around raised garden beds provides several advantages
- Keeps soil and mulch contained within the bed
- Creates a polished, finished look around bed perimeters
- Provides a straight edge to kick your hose against when watering
- Helps limit weed growth between beds
- Makes mowing and trimming easier for neat bed shapes
- Can protect plants from foot traffic and lawn mowers
- Prevents erosion on sloped sites by securing the bed edges
- Adds decorative flair with numerous material options
Simply put, edging completes a raised bed, both functionally and visually. The materials you choose make a big impact too.
Popular Options for Raised Garden Bed Edging
There are many edging possibilities for raised beds, each with their own pros and cons. Consider these top choices:
Plastic Lumber Edging
- PVC and poly lumber edging comes in various heights and colors.
- Pros: affordable, easy to install, never rots, allows hose cleaning between beds.
- Cons: Can bend over time, not as durable or natural looking as wood/stone.
Wood Lumber Edging
- Use pressure-treated lumber cut to desired width.
- Pros: Versatile, slots easily, natural appeal.
- Cons: Requires refinishing over time as wood weathers.
Landscape Timbers
- Sturdy wood timbers designed for edging and borders.
- Pros: Rugged, slots together simply, wide selection.
- Cons: Needs periodic sealing/treatment. Avoid timbers with creosote.
Steel Edging
- Available as bendable rolls or straight panels in various heights.
- Pros: Very durable, easy to install, no maintenance required.
- Cons: Can have an industrial look depending on style. Avoid sharp top edge styles.
Aluminum Edging
- Lightweight aluminum that resists corrosion.
- Pros: Affordable, holds shape well over time.
- Cons: Can have a flimsy look if too thin. Avoid sharp top edge styles.
Stone/Brick Edging
- Use bricks, pavers, pebbles, or cut stone.
- Pros: Timeless material, very durable, natural appeal.
- Cons: Requires more labor to install. Brick can crack over time.
Reusable Plastic Strip Edging
- Lightweight, snap-together recycled plastic strips.
- Pros: Quick to install, reusable, low maintenance, affordable
- Cons: Less durable than permanent edging, sections can separate
Key Considerations for Choosing Raised Bed Edging
Because there are so many options for edging, keep these things in mind to narrow down your choices:
-
Longevity – How long will the edging last before needing replacement?
-
Cost – What’s your budget for edging? Factor in installation labor too.
-
Appearance – Match the edging style to your garden’s overall look and feel.
-
Height – Size appropriately for your bed’s soil height so it stays contained.
-
Lawn Mower Access – Will edging material interfere with mowing? Is protective plastic trim needed?
-
Install Method – Choose edging you can easily install yourself if desired versus hiring out.
-
Maintenance – Some edging needs periodic sealing, repainting, etc. to stay looking fresh.
-
Plant Protection – Avoid sharp, thin edging that could cut plants or hands. Opt for soft, rounded styles.
Considering these variables will guide you to the ideal edging product for your unique raised beds, plants, and garden design.
Tips for Installing Different Types of Raised Bed Edging
Proper installation is key to edging that stays neatly in place for the long haul. Follow these tips:
Plastic/Wood Lumber Edging
-
Dig a trench the depth of the edging to bury it slightly.
-
Secure with landscape spikes every few feet, and especially on corners.
-
Use corner pieces to neatly finish angles.
-
Backfill over edging lip that protrudes above ground.
Steel Edging
-
Lay and shape edging strips before securing since hard to rework once installed.
-
Drive steel stakes through holes every few feet.
-
Use locking pliers to join pieces. For corners, overlap strips instead of mitering.
Brick/Stone Edging
-
Dig a trench the depth of your material and lay a gravel base.
-
Use a level frequently to keep rows even as you build up layers.
-
Maintain equal spacing between bricks/pavers/stones.
-
Use mortar or polymeric sand between pieces for best stability.
Temporary Plastic Edging
-
Simply push the edging sections into soil along the bed edge.
-
Connect straight pieces or corners together with the built-in channels.
-
Remove and store over winter; replace each spring.
Following the right installation process avoids headaches down the road! Take time to properly install your edging for a polished look.
Decorative Options to Enhance Basic Edging
Beyond the basic edging strips, there are some fun ways to incorporate decorative elements:
-
Accent the corners with decorative stones, painted rocks, or metal flowers.
-
Weave willow or bamboo through steel edging openings to soften the look.
-
For straight lumber edging, alternate sections painted in different colors.
-
Use repeating patterns with brick, tile, or pebbles.
-
Train vines along wire edging or trellises attached to wood planks.
-
Outline just the front of beds and mulch heavily on other sides for partial edging.
Whether you want simple and sleek or colorful and ornate raised bed edging, the options are limitless! Add personal flair that reflects your unique garden style.
Caring for Raised Bed Edging to Maximize Longevity
To help your edging last for many seasons, provide routine care:
-
Reseal or repaint wood edging annually to prevent rotting.
-
Pull weeds in gravel or mortared areas to limit root damage.
-
Avoid spraying herbicides on edging that could degrade materials.
-
Fill any gaps under edging with gravel to limit undercutting from erosion or critters.
-
Reshape plastic edging if pieces bend or pop up using boiling water or a heat gun.
-
Straighten any wiggly areas and restake metal edging into soil.
-
Replace cracked or missing mortar between bricks/stones as needed.
With regular maintenance and by addressing issues promptly, your edging can stay neatly framing those raised beds for years!
Improving Existing Raised Beds with New Edging
Don’t assume you need to redo your entire raised bed just to upgrade the edging. Here are easy ways to refresh the look:
Remove Sod
For in-ground level beds, shovel slice under existing grass around the sides and remove shoelace-wide strips.
Define Clean Lines
Mark new bed edges with spray paint or a hose. Calculate shape and measurements to modify the bed outline if desired.
Dig Trenches
Excavate a trench along the new inside and outside edges, removing grass and roots. Depth depends on edging.
Install New Edging
Follow the recommended installation process for your edging type, staking and backfilling once in place.
Backfill Soil
Shovel garden soil against edging lip to cover. Blend new and existing bed soil.
Fill Gaps
Use leftover soil/sod chunks just outside the edging to fill any gaps or low spots around the bed perimeter.
With a Saturday afternoon of work, you can give tired beds a fresh new edge makeover!
Inspiring Raised Bed Edging Design Ideas
Need a little visual inspiration for edging your raised beds? Here are some eye-catching looks to consider:
-
Contrast white PVC edging against dark mulch or soil for definition.
-
Mimic parterre garden style with dense brick or stone dividing grids.
-
Use graduated heights, tallest in back tapering lower in front.
-
Edge just the corners of freeform beds, connecting with gentle curves.
-
Combine materials – steel panels in front, bricks in back.
-
Frame focal points like archways, obelisks, or patio openings with ornamental edging.
-
Outline beds with shadows – vary edging height, density, or leave intermittent gaps.
The geometry, texture, and colors you choose make a huge impact. Have fun with it!
Key Takeaways on Raised Garden Bed Edging
The edging you choose for your raised beds finishes them beautifully while keeping soil neatly contained. Assess factors like cost, durability, appearance, and installation method when selecting edging. Proper care also maximizes longevity. Whether you prefer straight timber planks, gently curved stone borders, or sleek metal strips, quality edging ties your beds together into a cohesive garden space.
DIY Garden Bed Edging anybody can do
FAQ
What is the cheapest way to edge your garden?
Should you line the sides of a raised garden bed?
What edging is best for a garden?
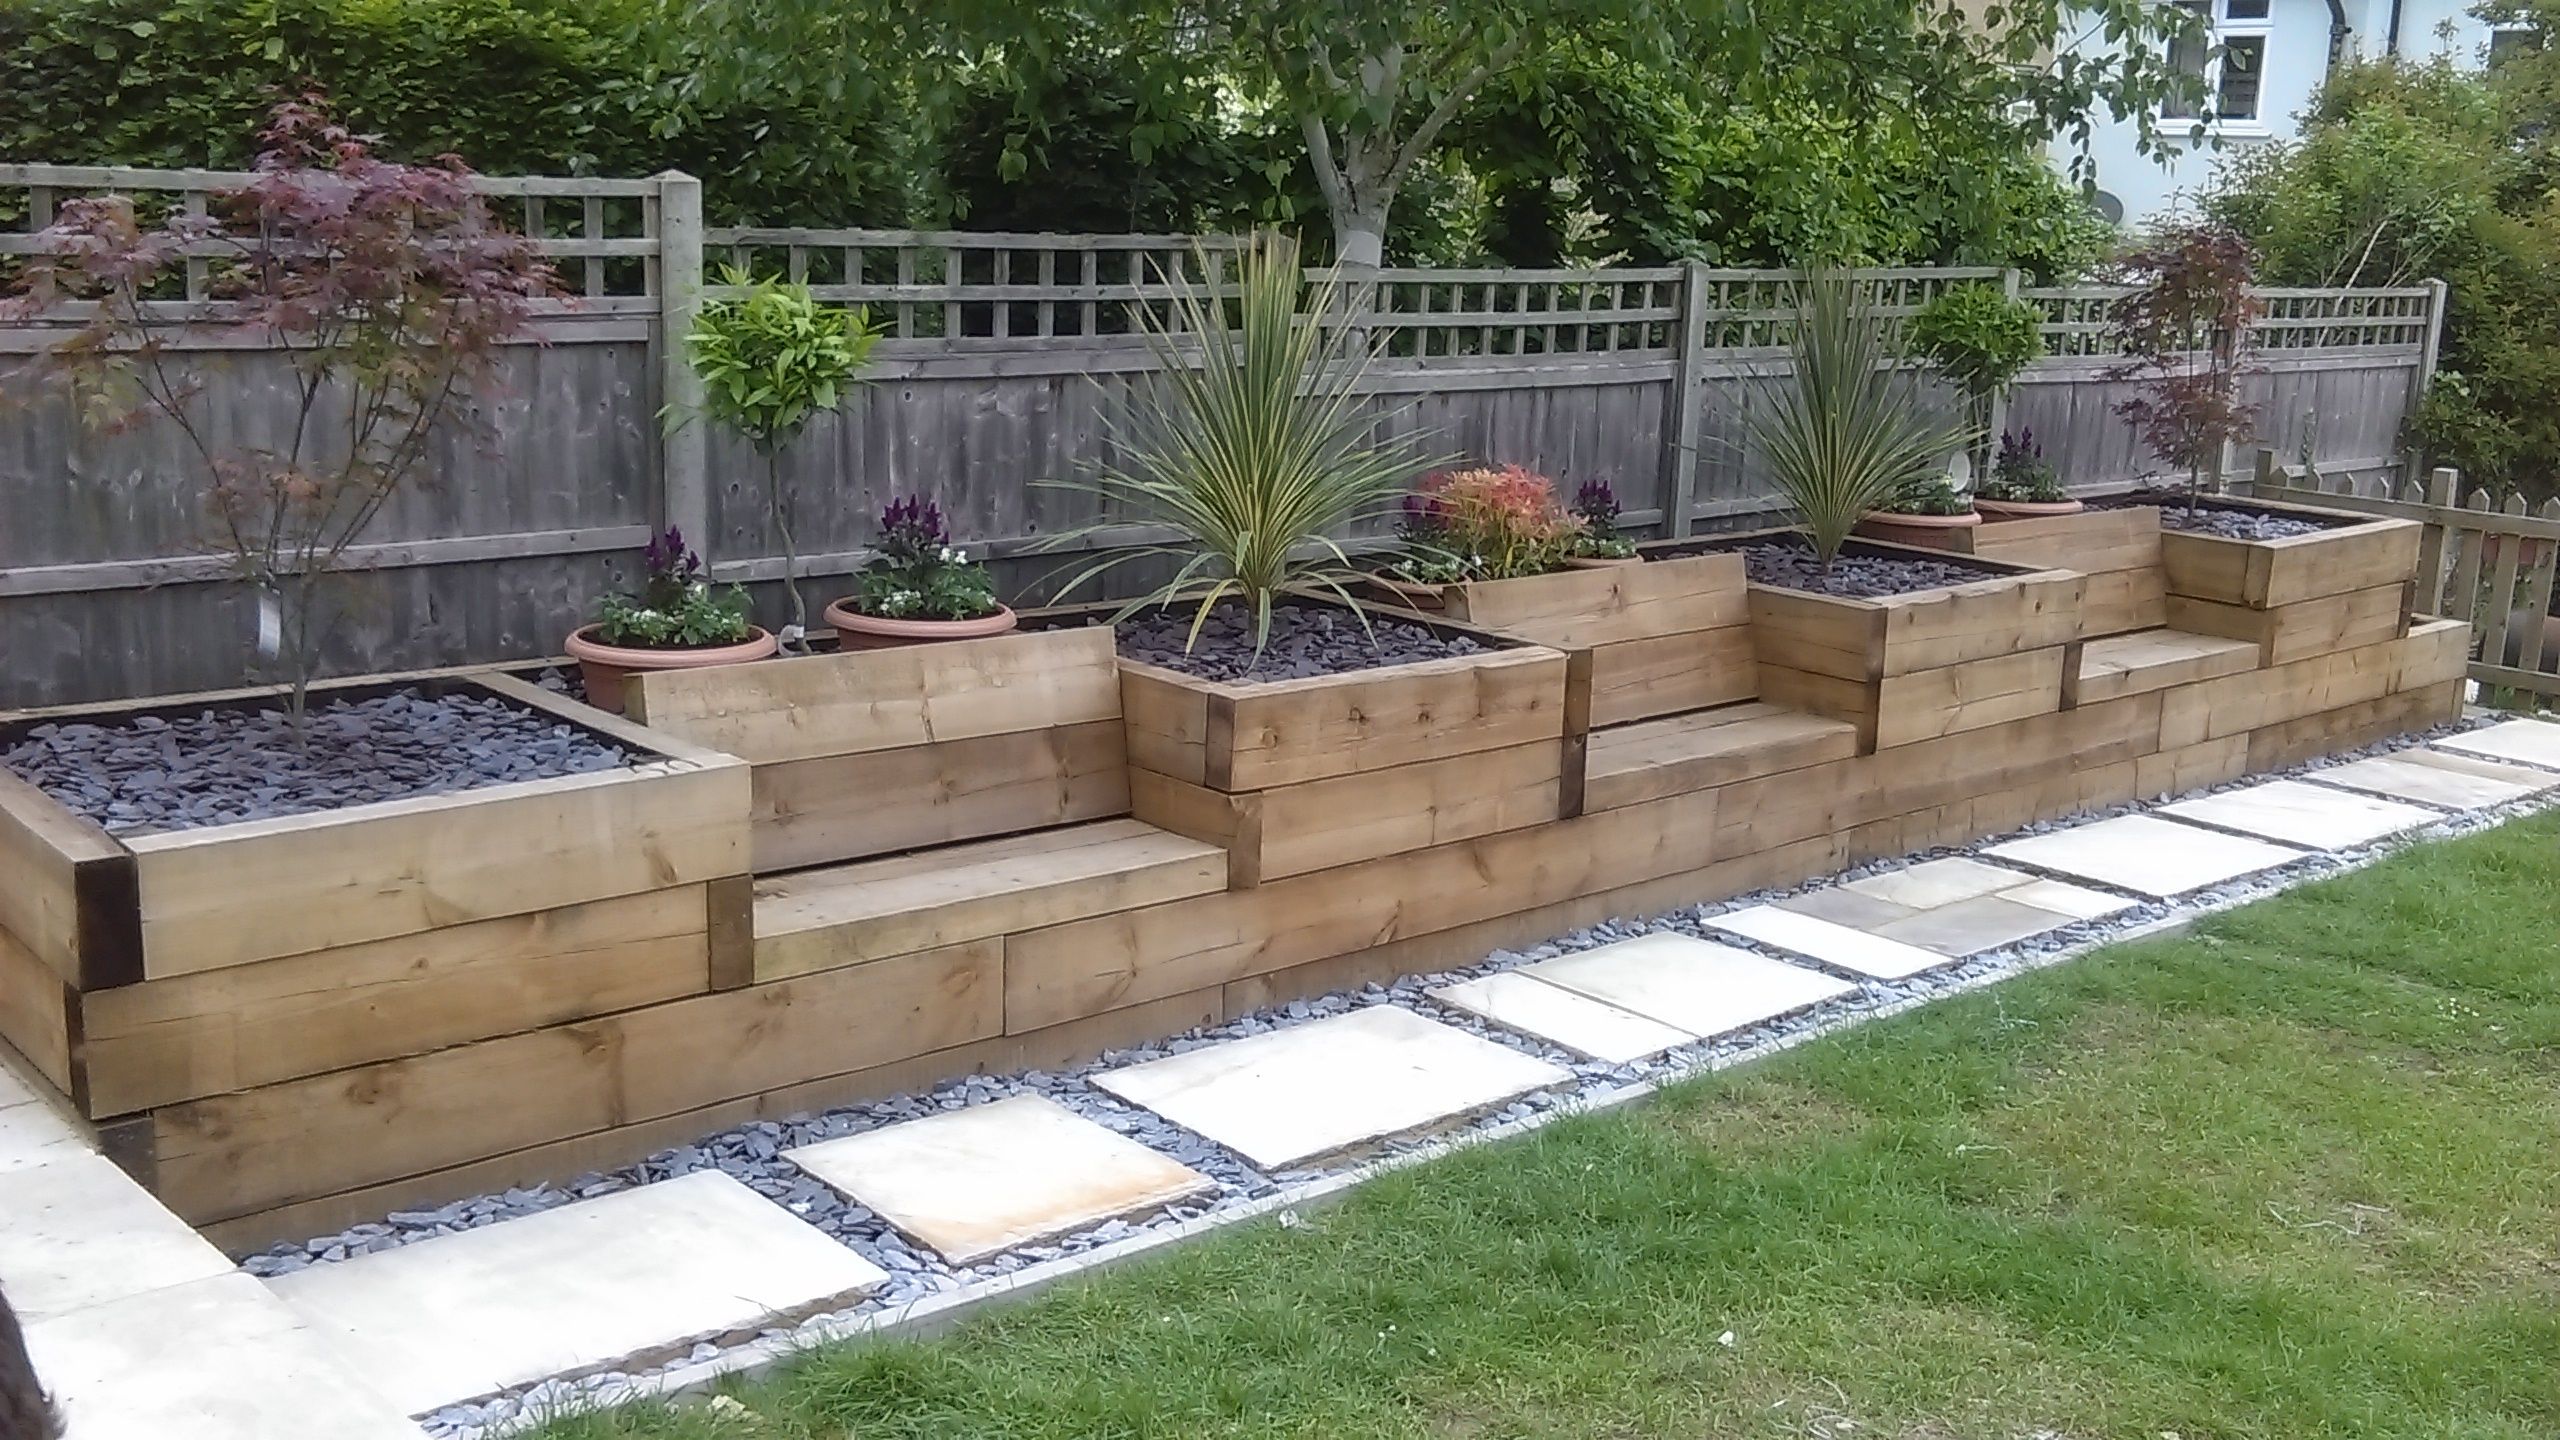
Sleek metal edging creates a raised bed at the back of this garden to allow easy access to fresh herbs and vegetables, while low stone blocks prevent loose dirt from drifting onto the pathway. A line of loose stone improves drainage and provides a textural accent against the decorative greenery. Some edging is subtle, but you can also go big.
Are raised beds better than edging?
Edging is a lower-cost solution to containing your garden beds than raised beds. Repurposing and upcycling are usually my first choice for most projects around the yard for multiple reasons. This make-do-with-what-we-have (or can find) approach avoids buying new, which both conserves resources and saves money.
Should You edging a garden bed?
Because without containing the garden soil, especially with thick layers of organic materials, the beds tend to sprawl and taper down to the garden path. To raise the bed for easier weeding and harvesting. Edging is a happy medium between no edging and a fully raised bed.
What is a good edging material for a garden bed?
Bamboo Garden Bed Edging Bamboo is another incredibly useful natural material. Like wood, this plant material can be used in a huge range of different ways. For example, wider bamboo cane sections can be placed horizontally or vertically, like the logs described above, for simple garden bed edging.
- How Fast Does Boston Ivy Grow? A Complete Growth Guide - June 9, 2026
- Gravel for Garden Beds: A Functional and Beautiful Option - June 9, 2026
- The Best Mulch for Raised Garden Beds – Pros, Cons, and Tips - June 9, 2026